Keeping the rust at bay a little longer.
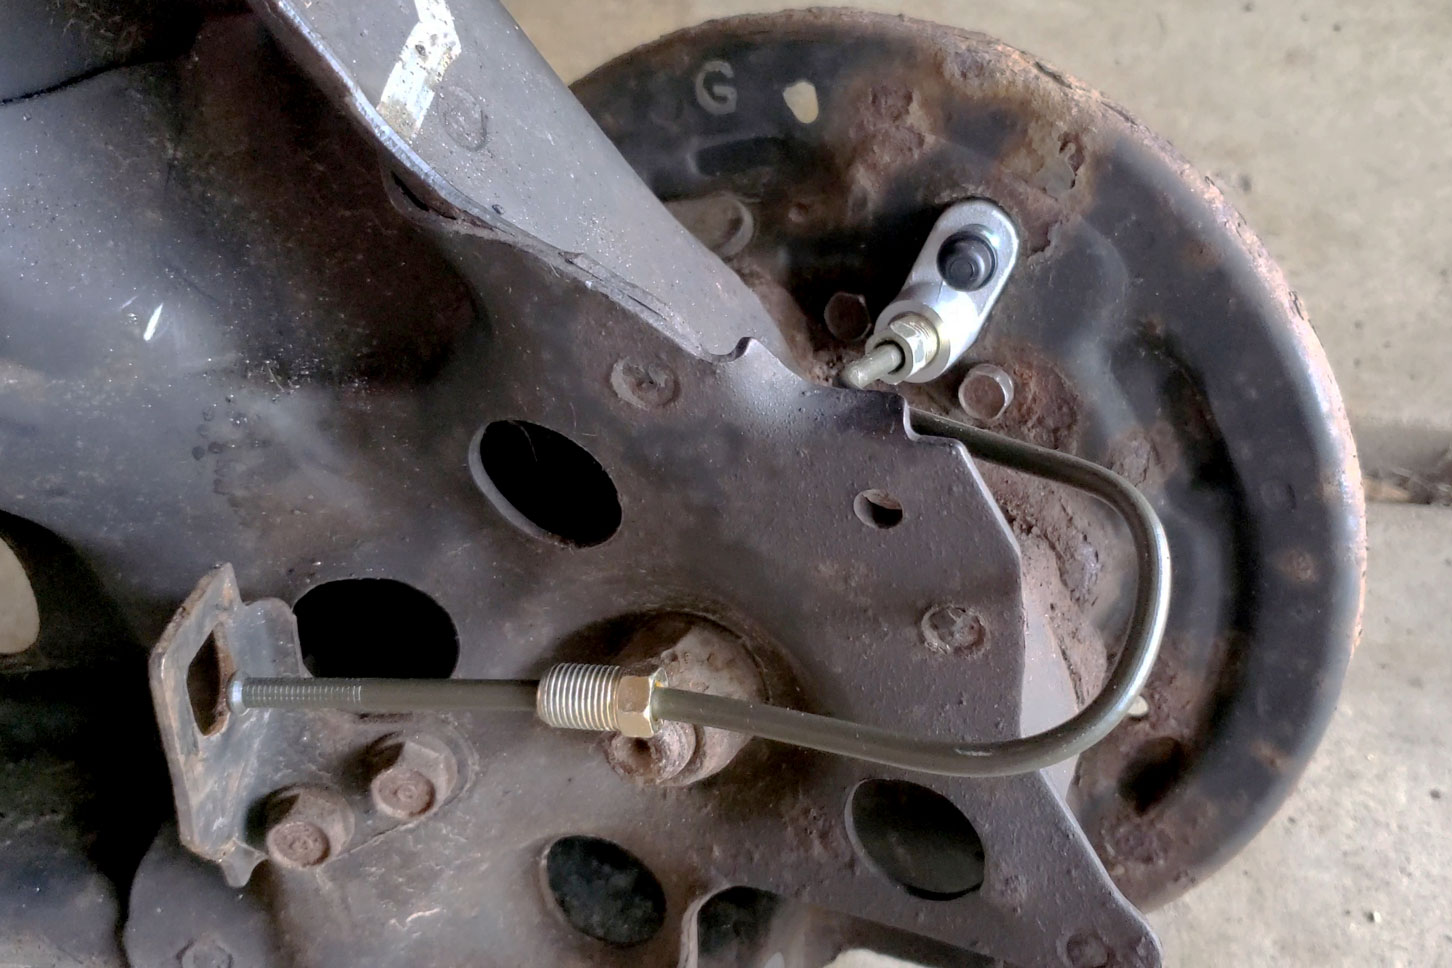
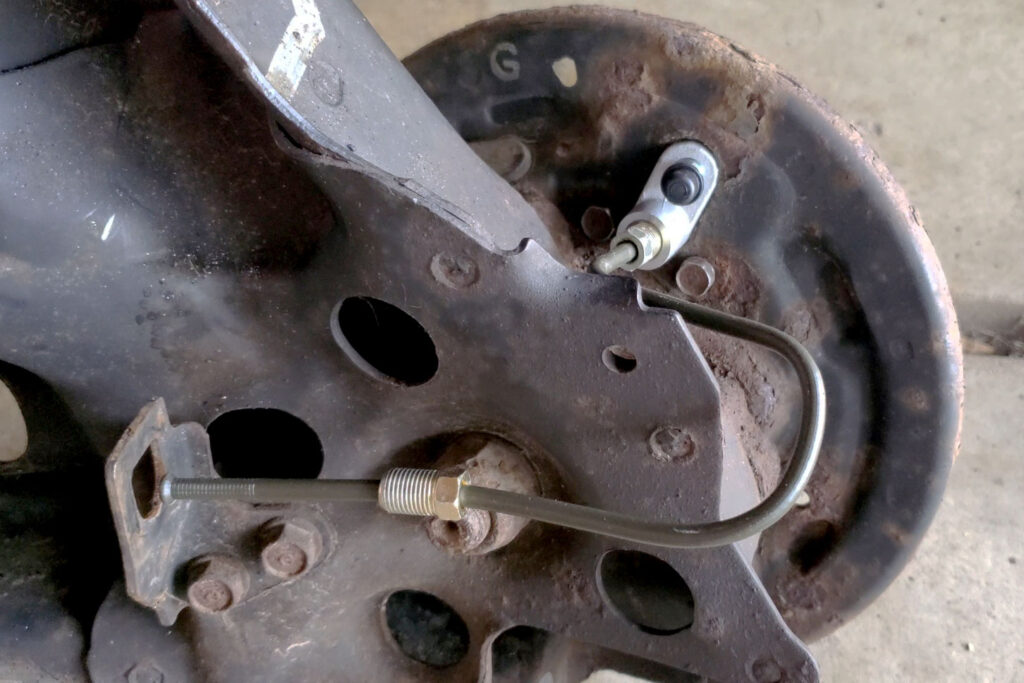
There are some jobs I still hand off to the professionals. I took my recently removed and partially disassembled trailing arms to King Motorsports to have them replace the main bushings, mostly because I do not have a press. I also had them make up new solid lines to the rear wheel cylinders. These are particularly tricky because there are several tight radius bends very close together, but it was the only way, since they can no longer be purchased and mine were completely rotted. They also pressed in some new front wheel bearings and lower ball joints. Having the shop do all this (as opposed to buying my own tools) cost me less in money but more in time, because a shop like that has a large backlog of other work to get through. At least I knew it would be done correctly.

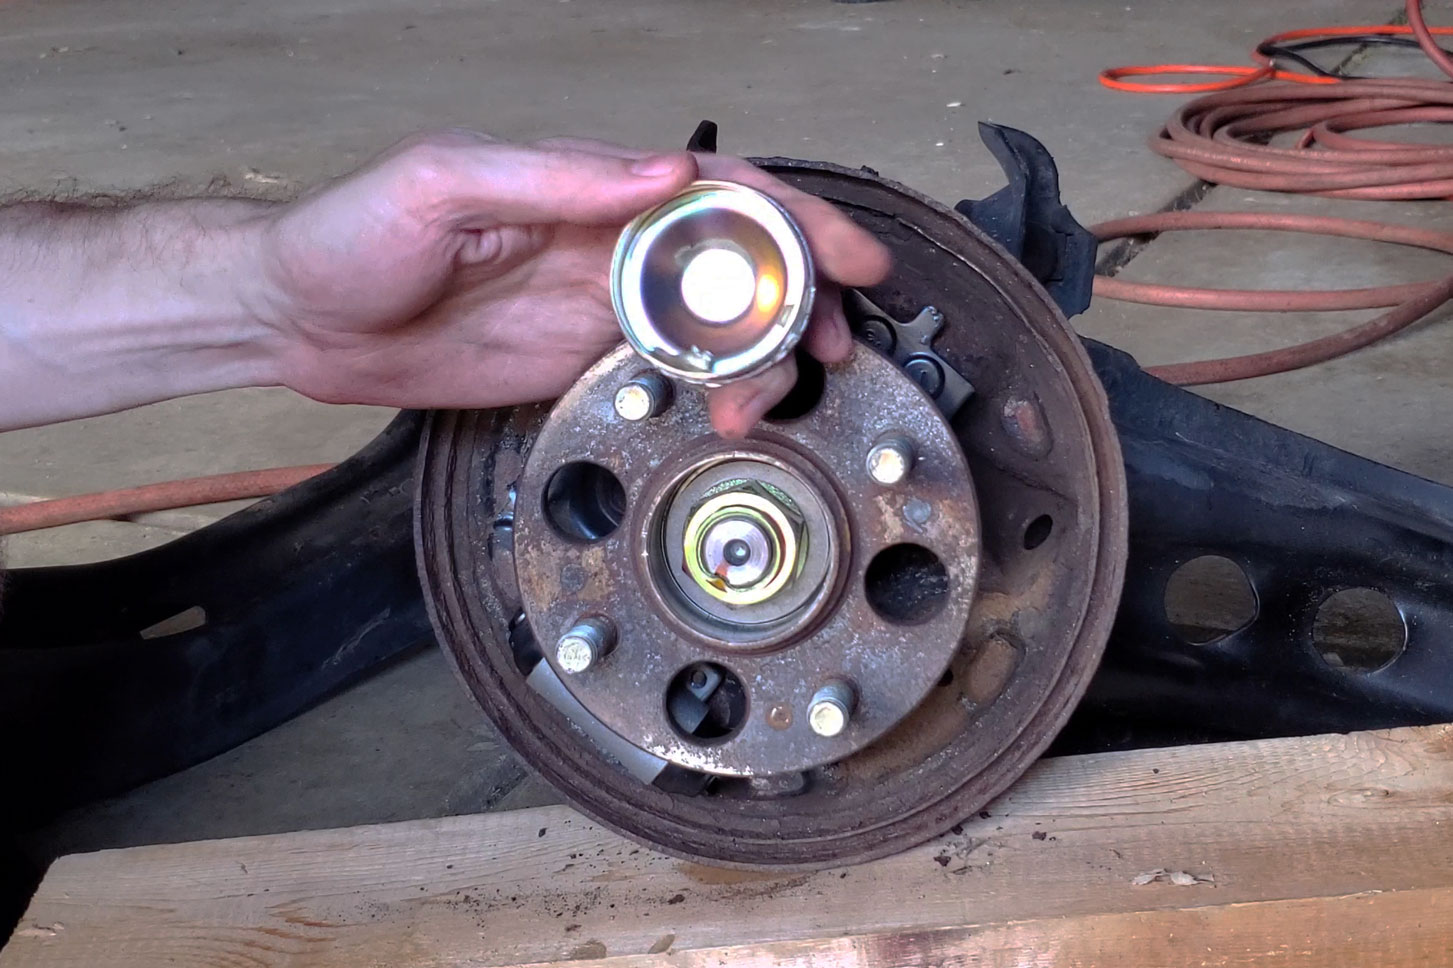
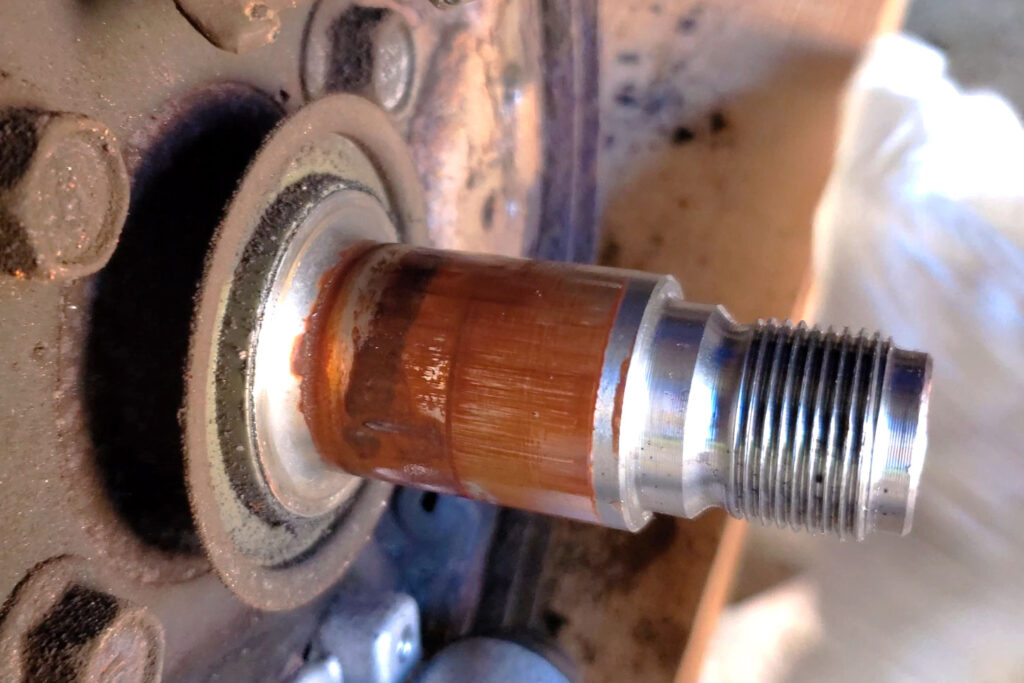
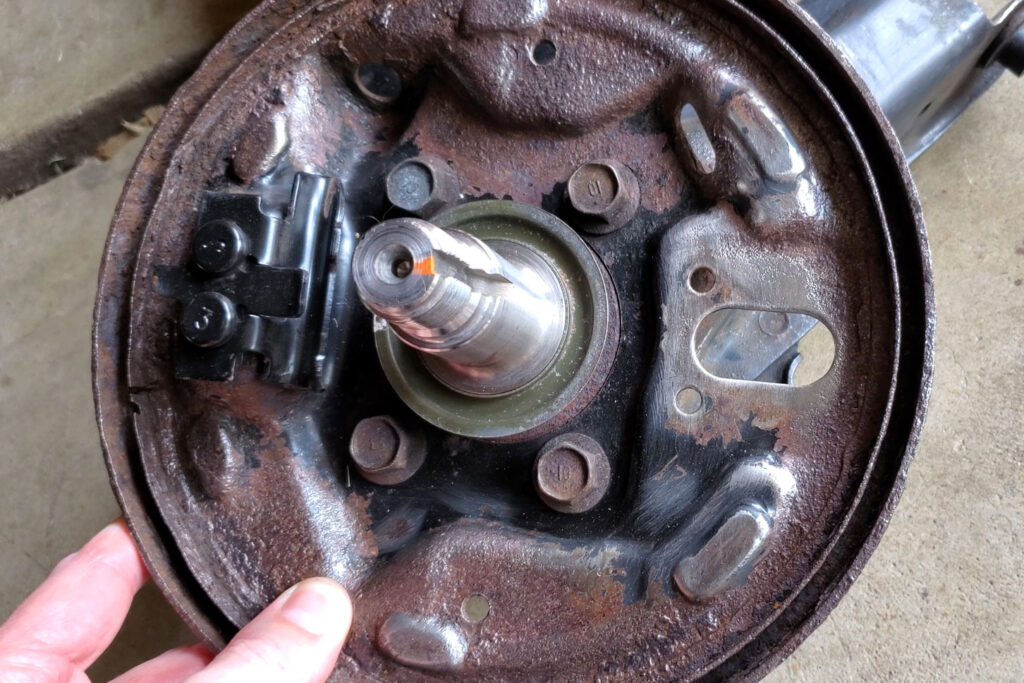
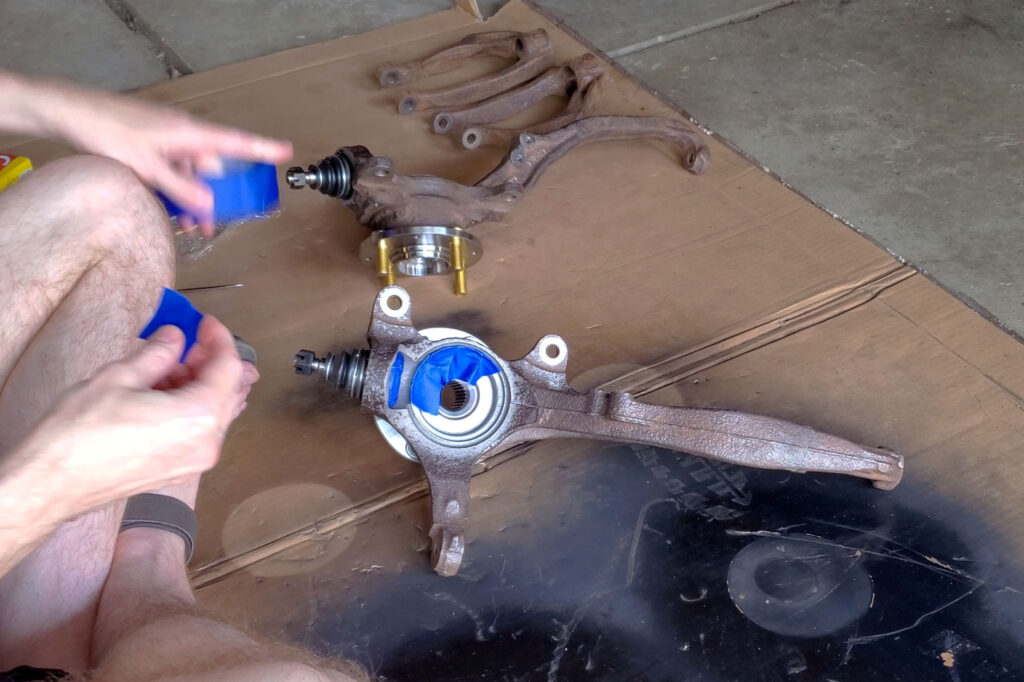
Once the trailing arms were finally back in my hands, I removed the new wheel cylinders and the old hubs. With these parts out of the way, I set about cleaning off a couple decades of brake dust and grime, then attacked everything with a wire wheel to knock off the loose scale. I also have no sandblasting setup, so I decided to do a “good enough” job. No need to take everything down to bare metal perfection, because eventually I intend to replace these trailing arms as part of a rear disc conversion.

Preparing for Paint
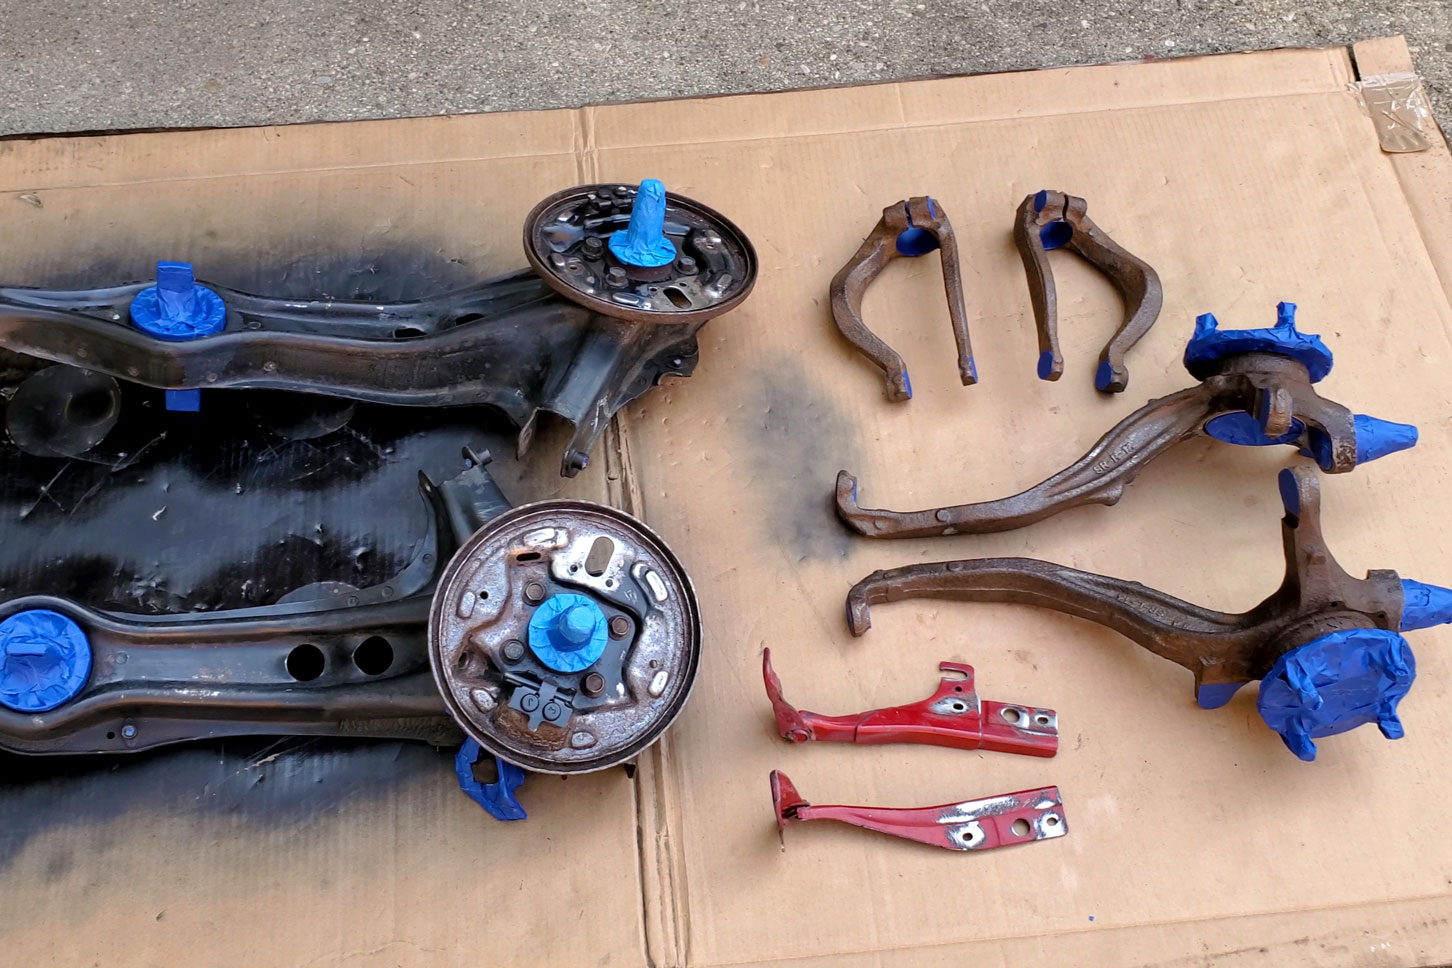
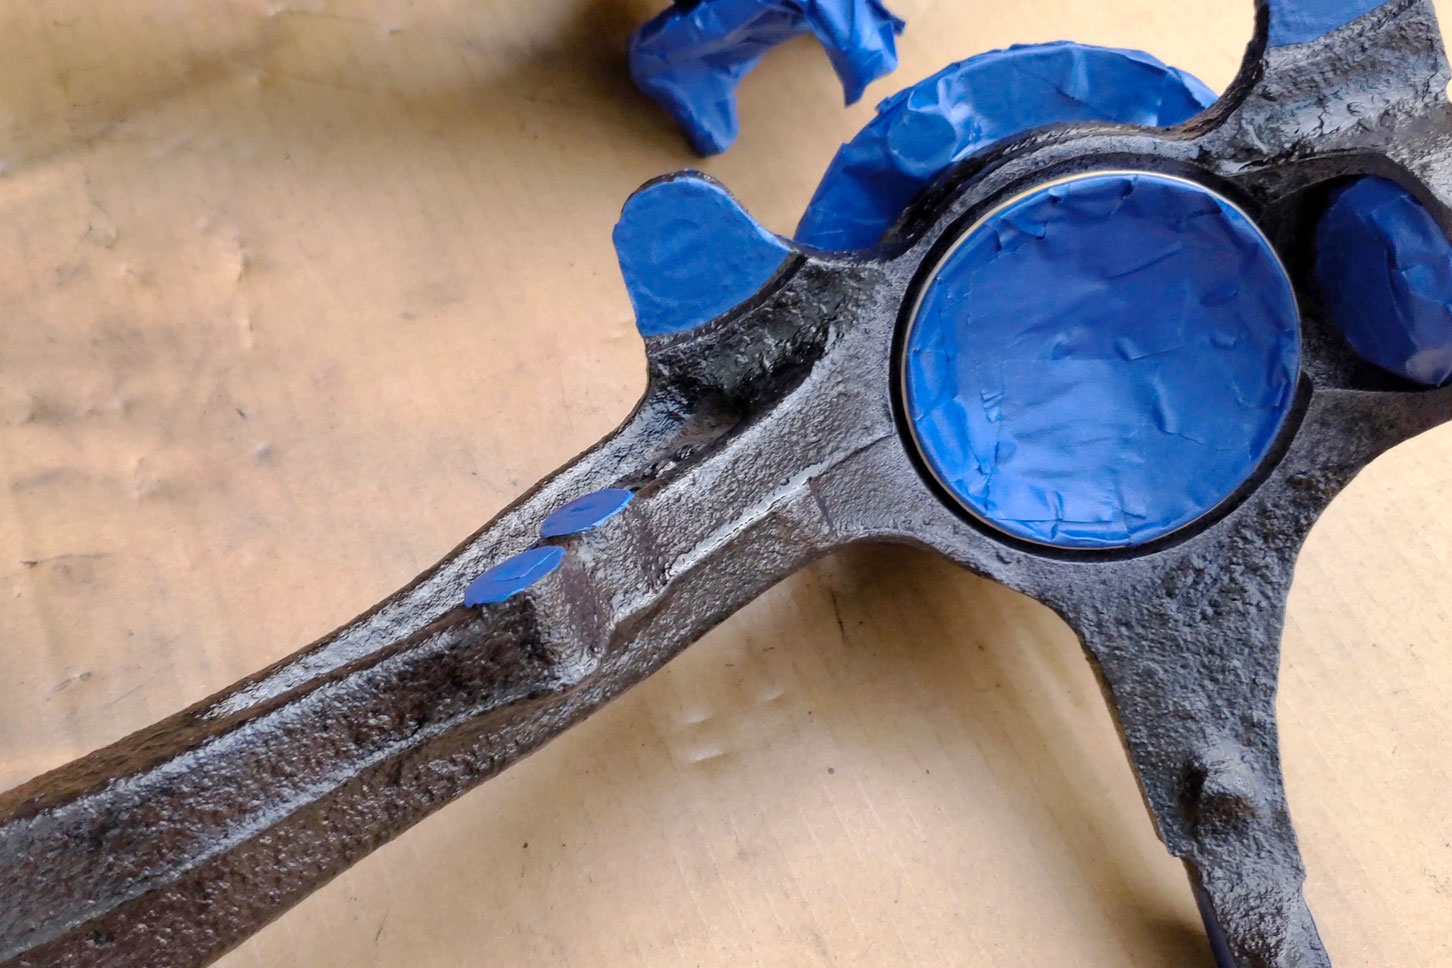
It often seems that the two longest phases of any job are the preparation beforehand and the cleanup afterward. Masking off all the machined surfaces and other parts that I didn’t want to paint took a very long time, but it’s worth it to get a good result. Or even a “good enough” result. So I meticulously stuck tape to things that didn’t want tape stuck to them (the front wheel bearings were especially difficult to mask) until I had everything sufficiently covered.
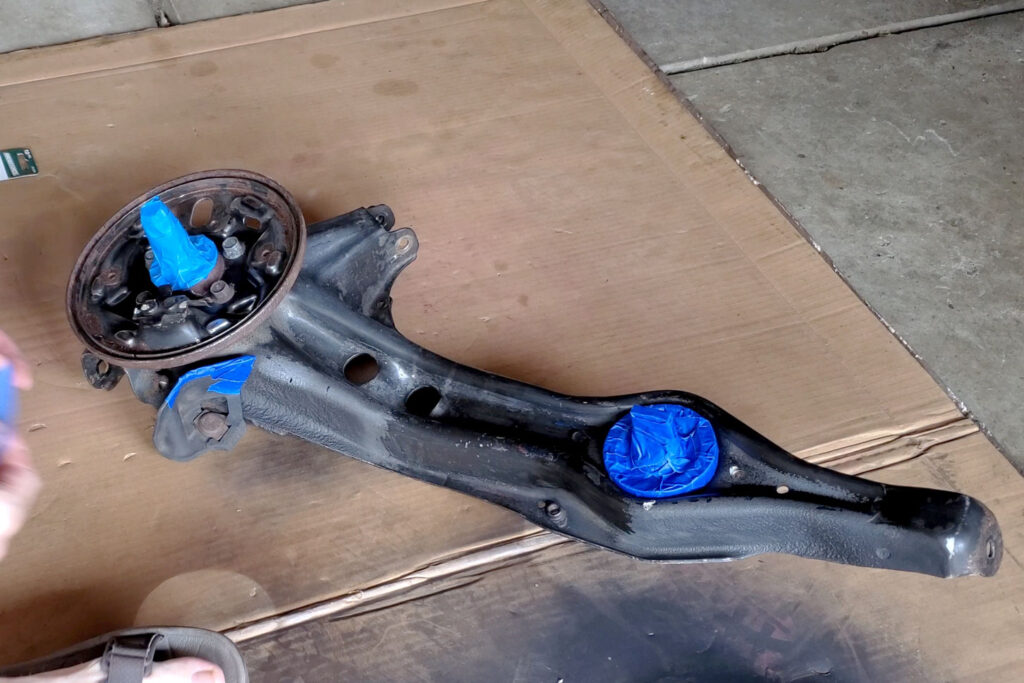
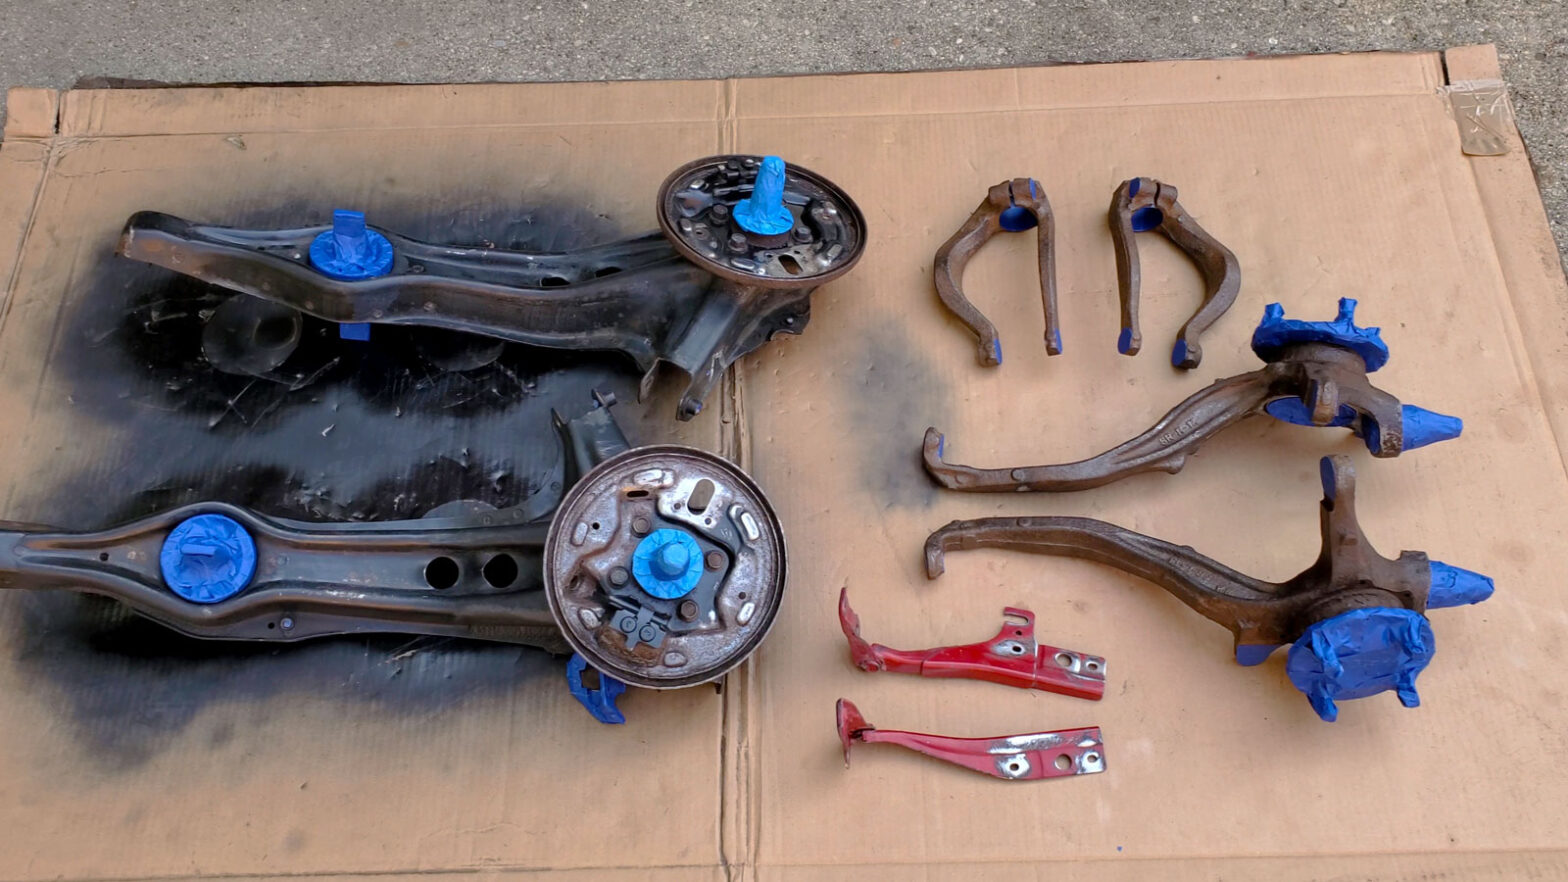
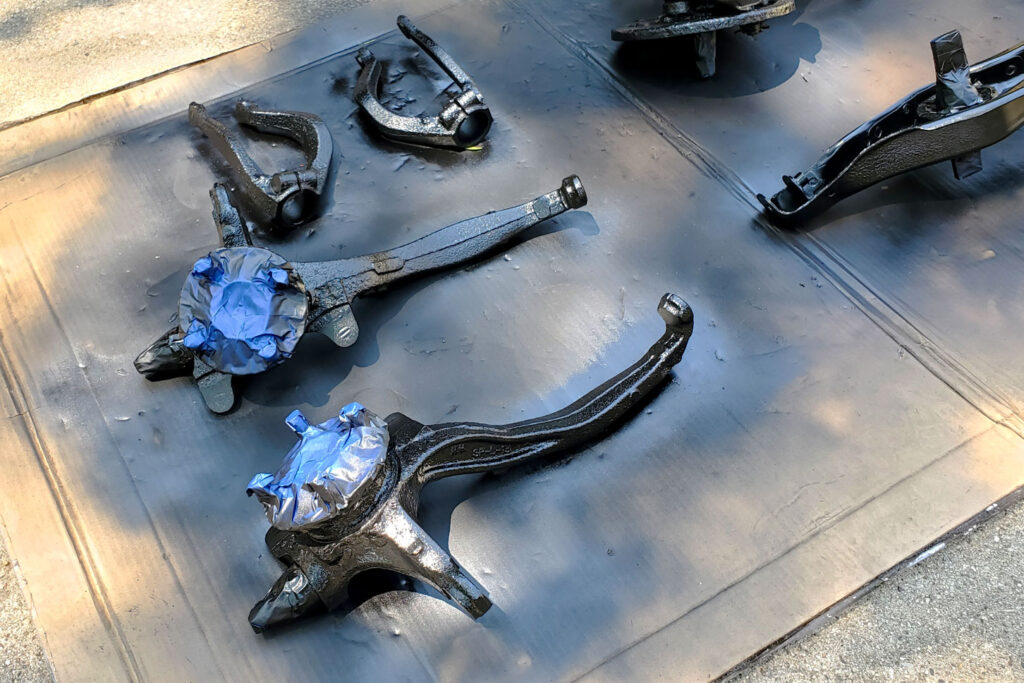
I then laid all the parts out in my spray booth. I mean on a large piece of cardboard in the driveway. I don’t have a spray booth. In the picture below you may spy a couple of red hood hinges; the passenger side hinge on my car was sheared at the pivot point, so I sourced a used pair from eBay. They needed a little work and some fresh paint. The new red paint color will be “close enough”.

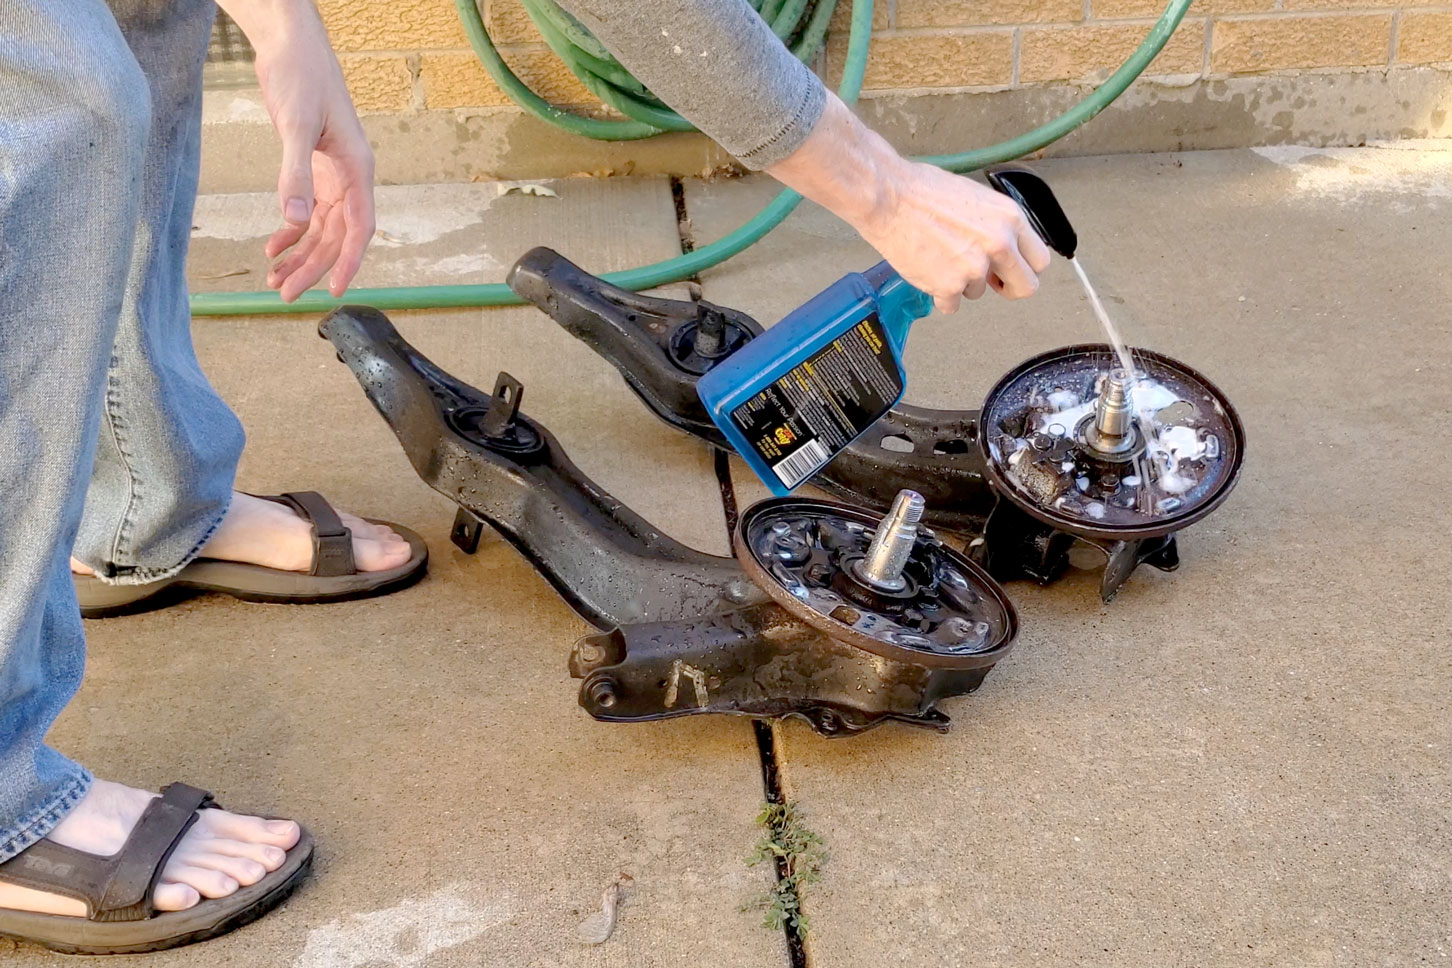
Since I couldn’t get every last bit of rust removed from all these original suspension parts (and you simply can’t buy new ones), the final step before painting was to spray them all down with rust converter. According to the can, this takes about twenty-four hours to fully do its thing and dry. The end result is that all the orange-brown rust turns fairly black, and is supposedly neutralized and ready to be painted. It leaves a slightly glossy sheen when dry, so I scuffed the surface with a red scrub pad and wiped away the resulting dust.
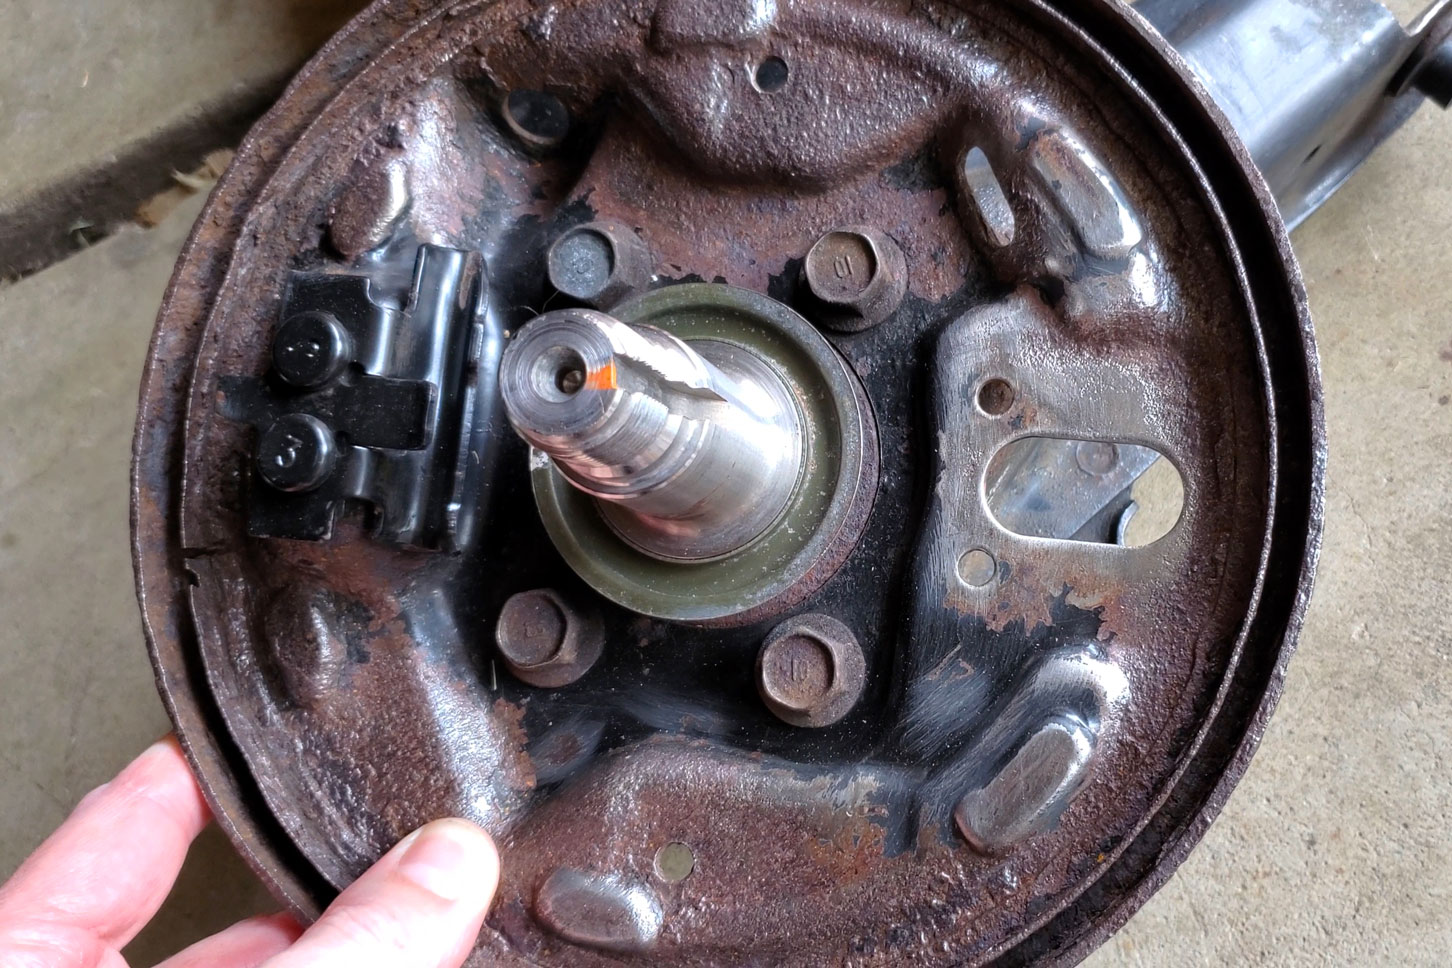
Side note: after painting the front knuckles I had to install the upper control arms (of course). In the process, I did end up scratching a little part near the cotter pin, which began to rust pretty quickly. Metal is gonna be metal. The good news is it’s dense metal, which means a little surface rust is no big deal.

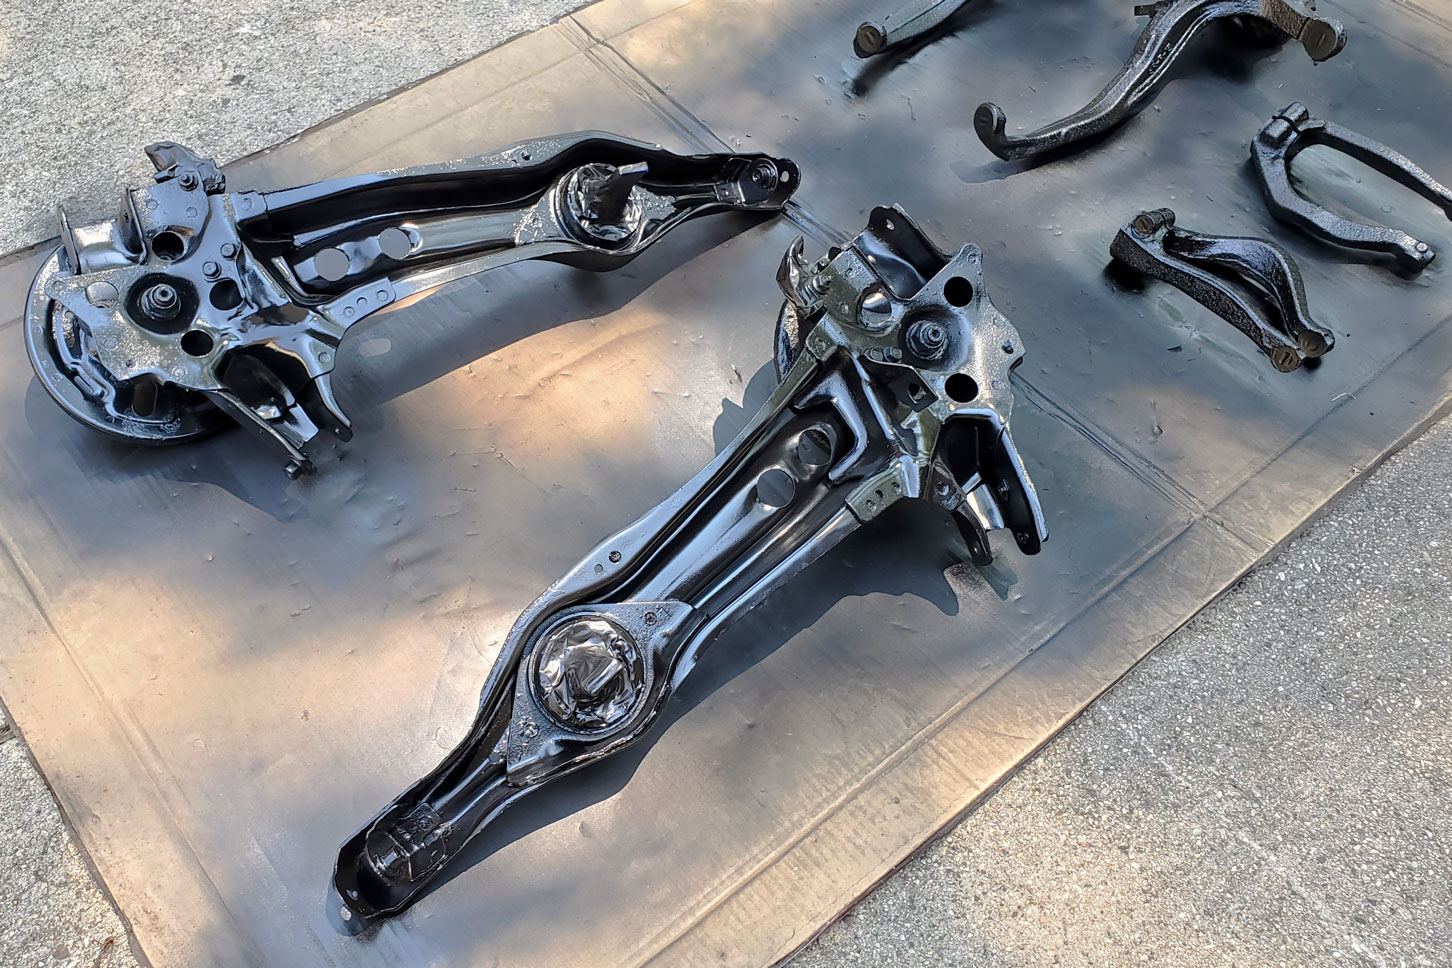
Paint it Black
I found a really nice spray paint at my local Sherwin-Williams Automotive Finishes store. If you’re interested, it’s made by “Fastline+” and it’s called “General Purpose Enamel – Semi Gloss Black”. The part number is FA4XSB. I find it has a very nice spray pattern for being a spray can, and it has better coverage than most spray cans I’ve used. I normally only need two coats. It produces a nice black finish that, while slightly glossy, does not look out of place or too shiny. It’s good stuff; no wonder it is usually out of stock when I try to buy some.

At this point I was ready to reinstall the suspension, but with everything so disassembled, it made sense to address the worn tie rod ends. I’ll get into that in the next post.
Image Gallery