We’re gonna need a bigger wrench.
The outer tie rod ends were looking pretty rusty, and the inner ones were getting loose. There would not be an easier time to replace them now that the entire suspension had been removed from the car. I decided to replace the inner ones while I was at it, and the boots, since they looked a bit worse for wear and weren’t even properly seated on the rack. There’s a good reason for that, which I will get into later.

The Wrong Tool for the Job
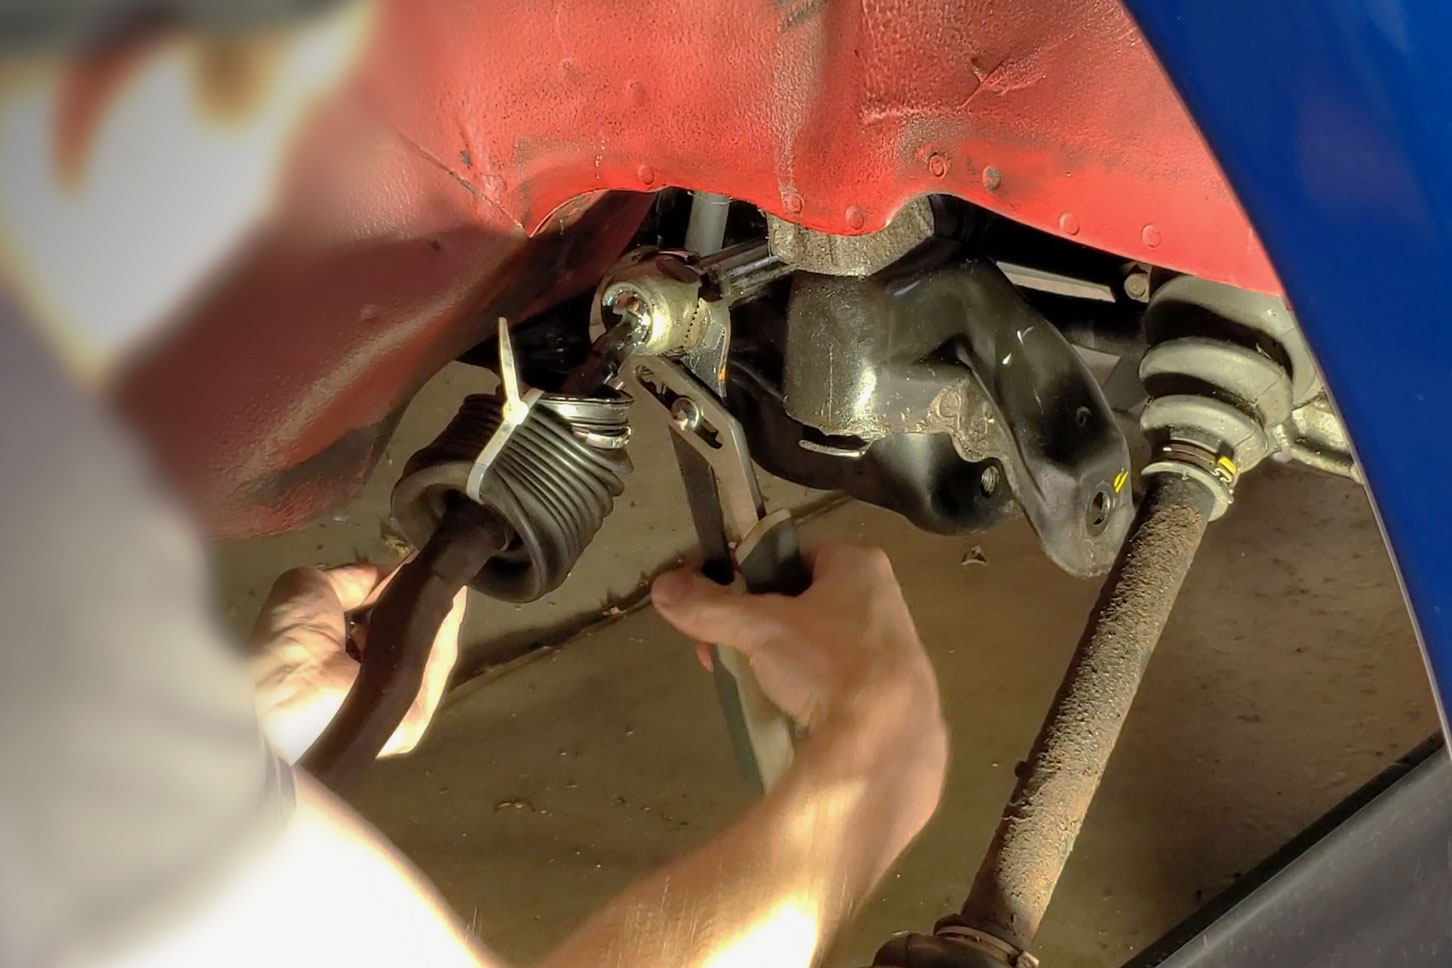
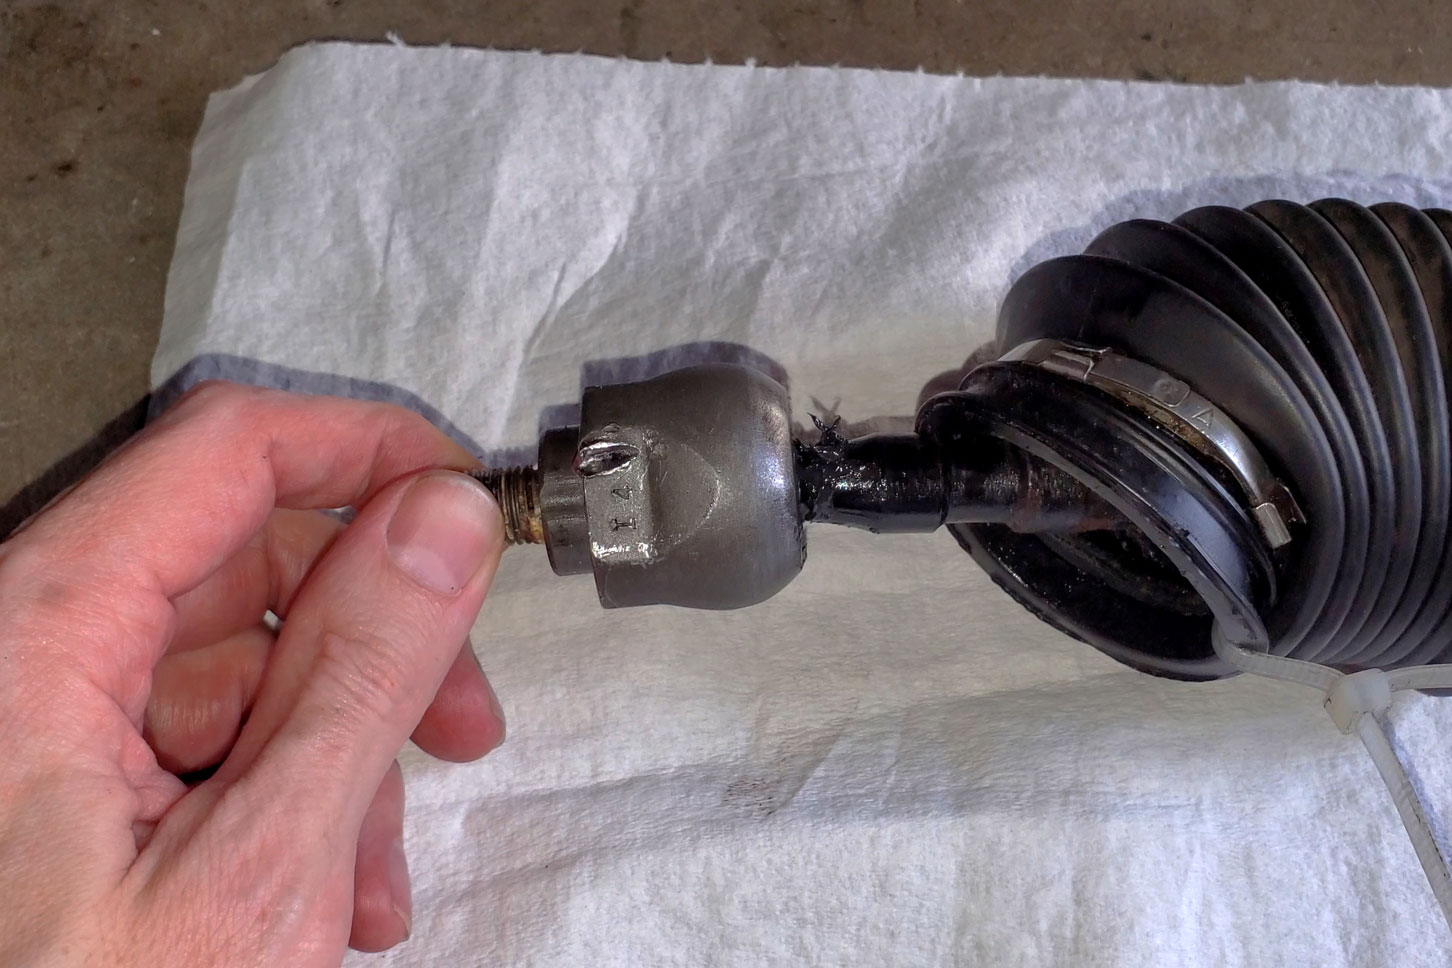
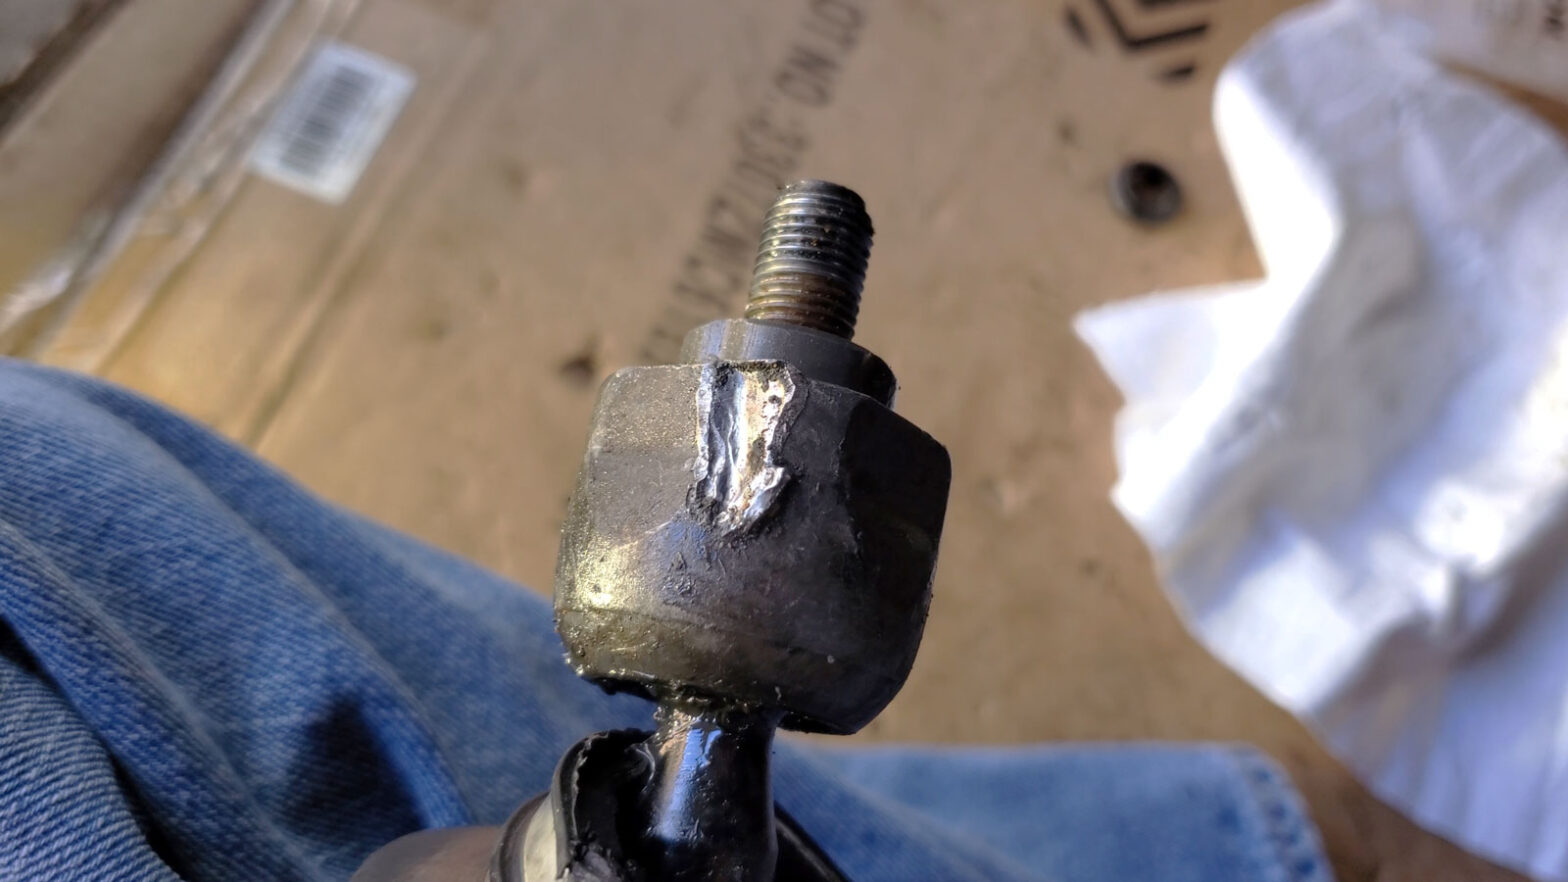
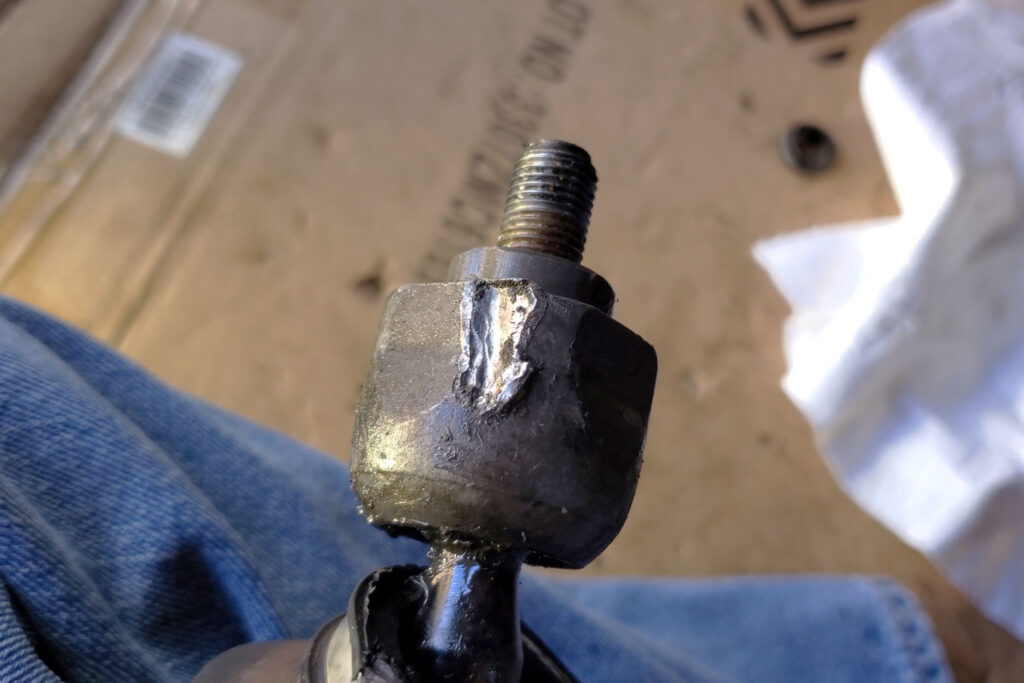
After pulling back the boot on the passenger side, I discovered two things. First, the official service manual is wrong about using a 19mm wrench to brace the manual steering rack while loosening the inner tie rod end. The flats on the end of the rack in fact require a 22mm wrench. I’m not sure if the difference is due to my car having the manual rack as opposed to the powered one. Second, someone had messed with the inner tie rod before, leaving a gouge in one of the flat surfaces. I can only assume that they did not have the correct size wrench and chose to tighten it with an air chisel. I found the same damage on the driver’s side. I’m happy that the rack survived the shock from this; there doesn’t seem to be anything wrong with my steering.

The Right Tool for the Job
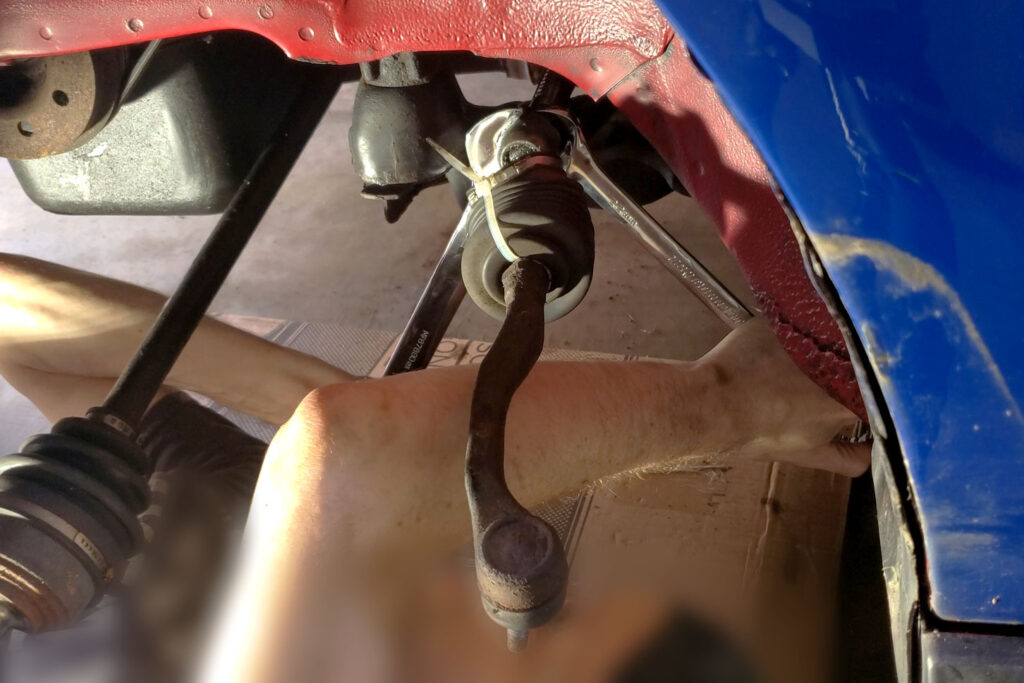
Sure that the outer end was seized to the inner one, I chose to just take them off together. I found the inner tie rod end was too tight to be loosened using a channel lock pliers, so I went to the hardware store, returning with a very large 32mm wrench. This fit the tie rod end perfectly and provided enough leverage to break it loose from the rack.
Then I discovered that the lock washers that came with the new tie rod ends were quite different from the originals, being much larger, but the originals were not damaged, so I just reused them to ensure proper fit.

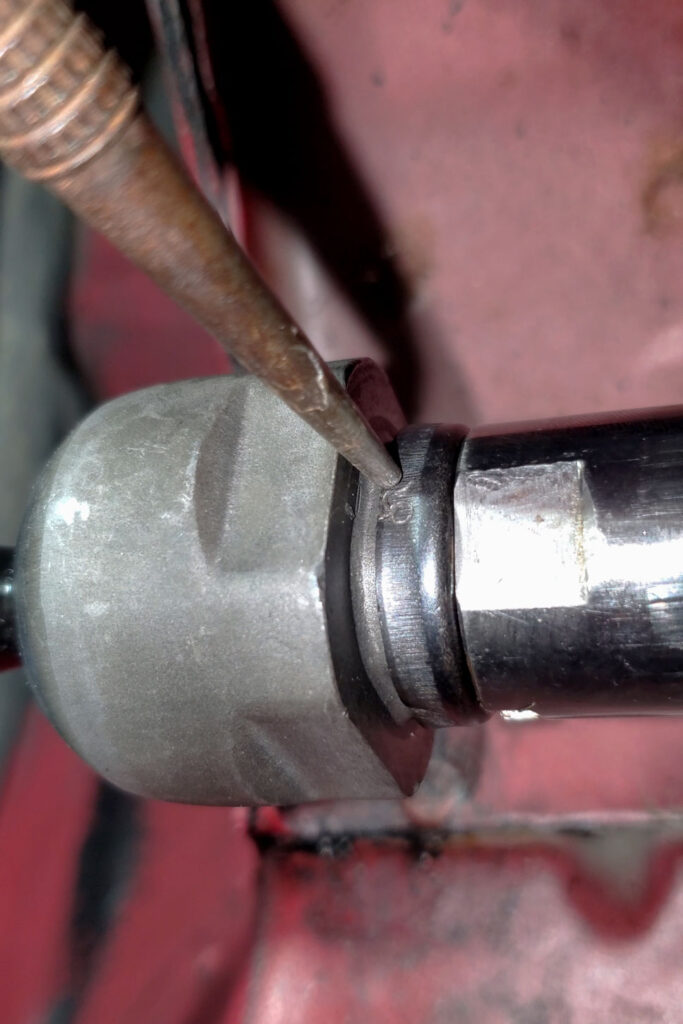
After installing the new inner ends, I staked the reused lock washers against the flat spots on the tie rod, as recommended by the manual. Well, the manual says to do this on a bench, against a wood block, with the entire steering rack out of the car, but that’s way too much effort for my taste. Hammering these down in this manner helps prevent the tie rod end from gradually winding out of the steering rack, which would result in me having a very bad day.
Installing Boots is a Pain
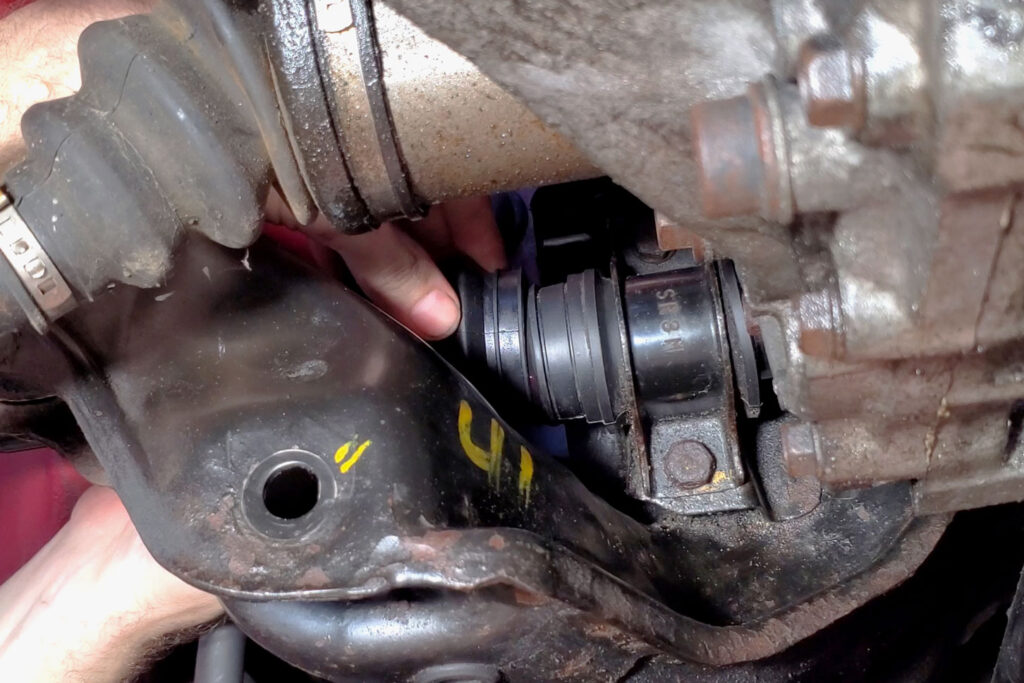
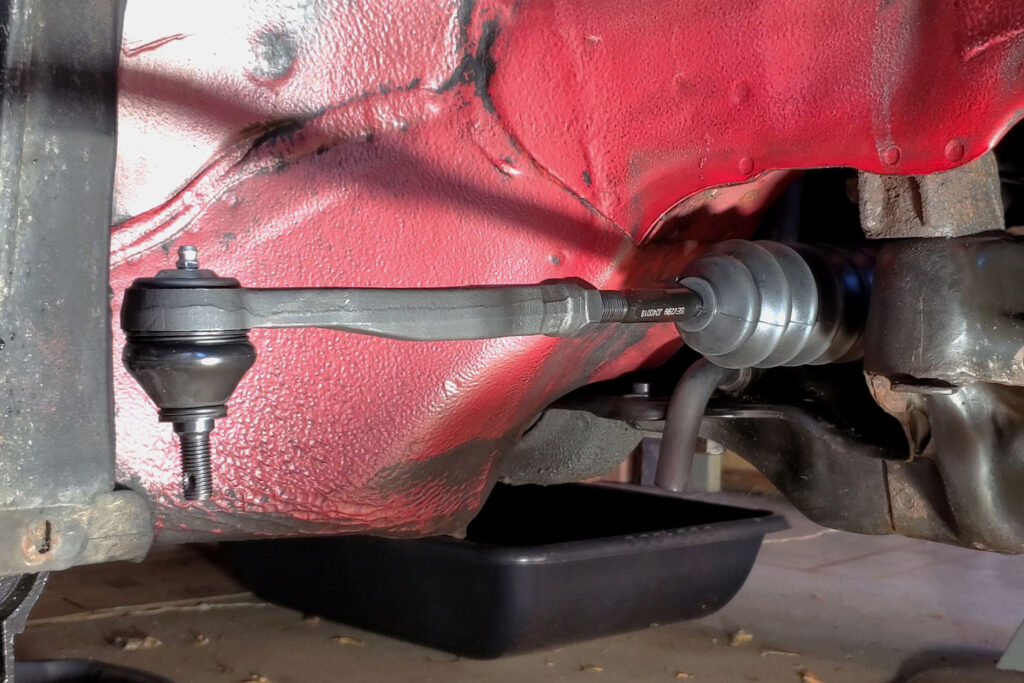
I tried measuring the outer tie rod ends to get the new ones adjusted similarly when installing them, but the alignment ended up being pretty bad anyway. But before I could put those on, I had to deal with the boots. I coated the inner tie rod end ball joints with grease, as well as the inside of the boots. Starting on the driver’s side, I slipped the boot over the end and towards the body of the steering rack.
Then I spent the next half hour or so using every tool and curse word I knew (and maybe inventing a few new ones) to try and get the boot to slip over the end of the steering rack body. As I struggled with the not-quite-flexible-enough rubber boot, I came to understand why the previous owners left it improperly installed. I was not about to do the same and allow debris into the steering rack, so I persevered and eventually got the boot seated over the end of the metal housing.
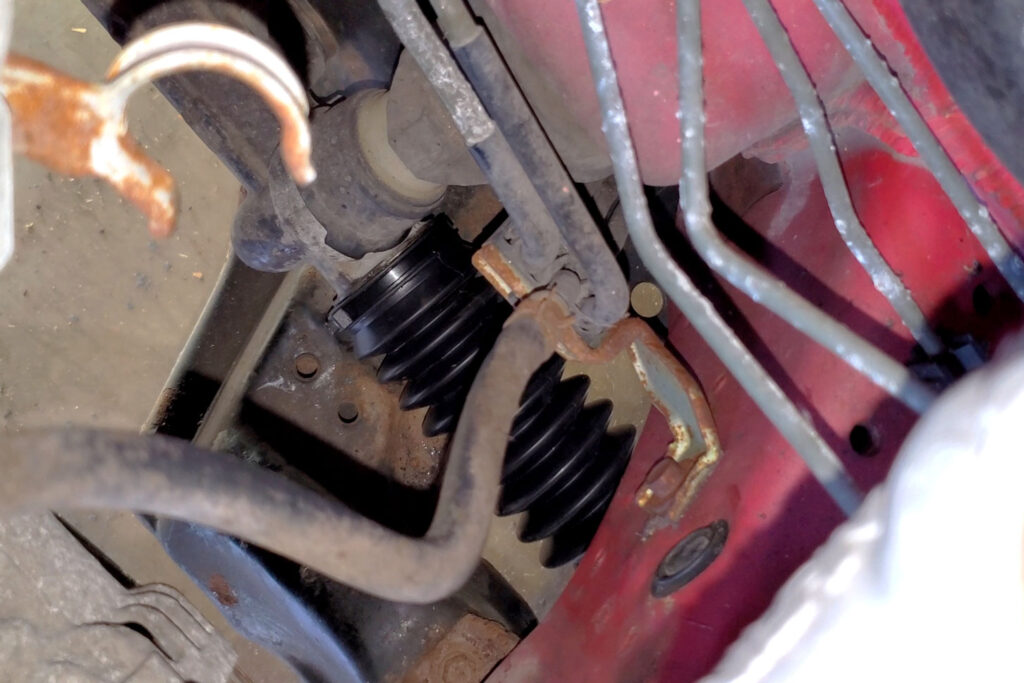
The passenger side was much easier, because the boot slips over a rubber bushing on that end. Thank God. The ends of the boots simply get zip ties to hold them in place, instead of the older-style metal bands.
Finishing Up
I squirted some grease into the outer tie rod ball joints via the zerk fittings, which I have never tried doing before. I’m actually not sure if this was necessary or if the ends already had grease in them. Whether I got it wrong or not, I ended up having to replace them after just a couple years and not many miles, because the boots on these began to crack. That’s what you get when you buy budget parts I guess. It was a simple matter to install the new outer ends and tighten the jam nut.
I love installing new parts. It’s so much better than trying to remove ancient parts that are rusted and seized. From this point on, as far as the suspension was concerned, it was all new stuff going back in.
Image Gallery