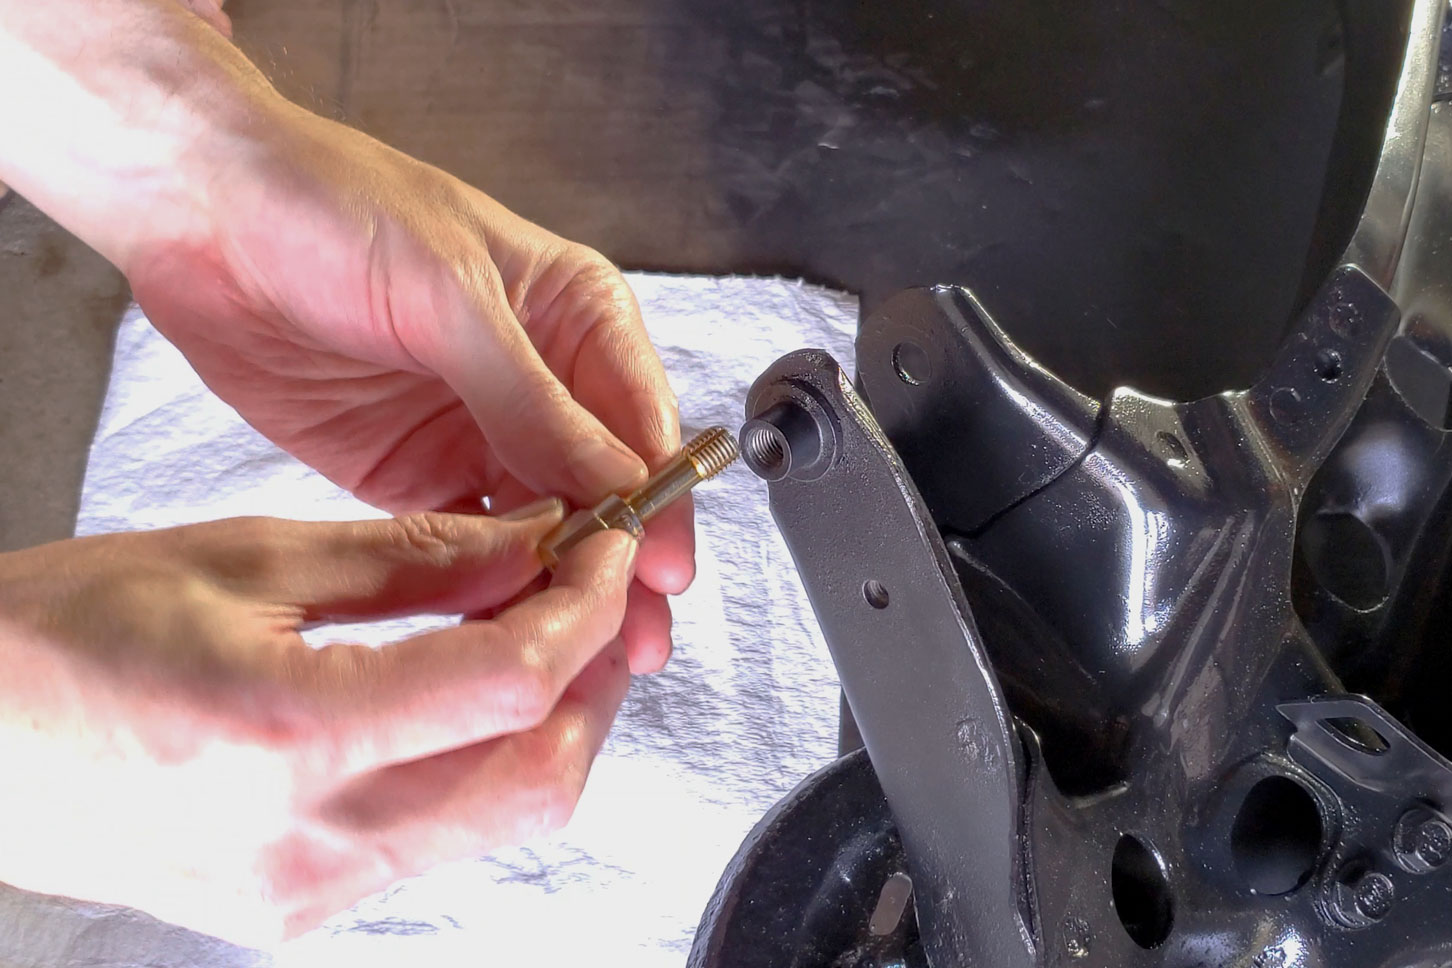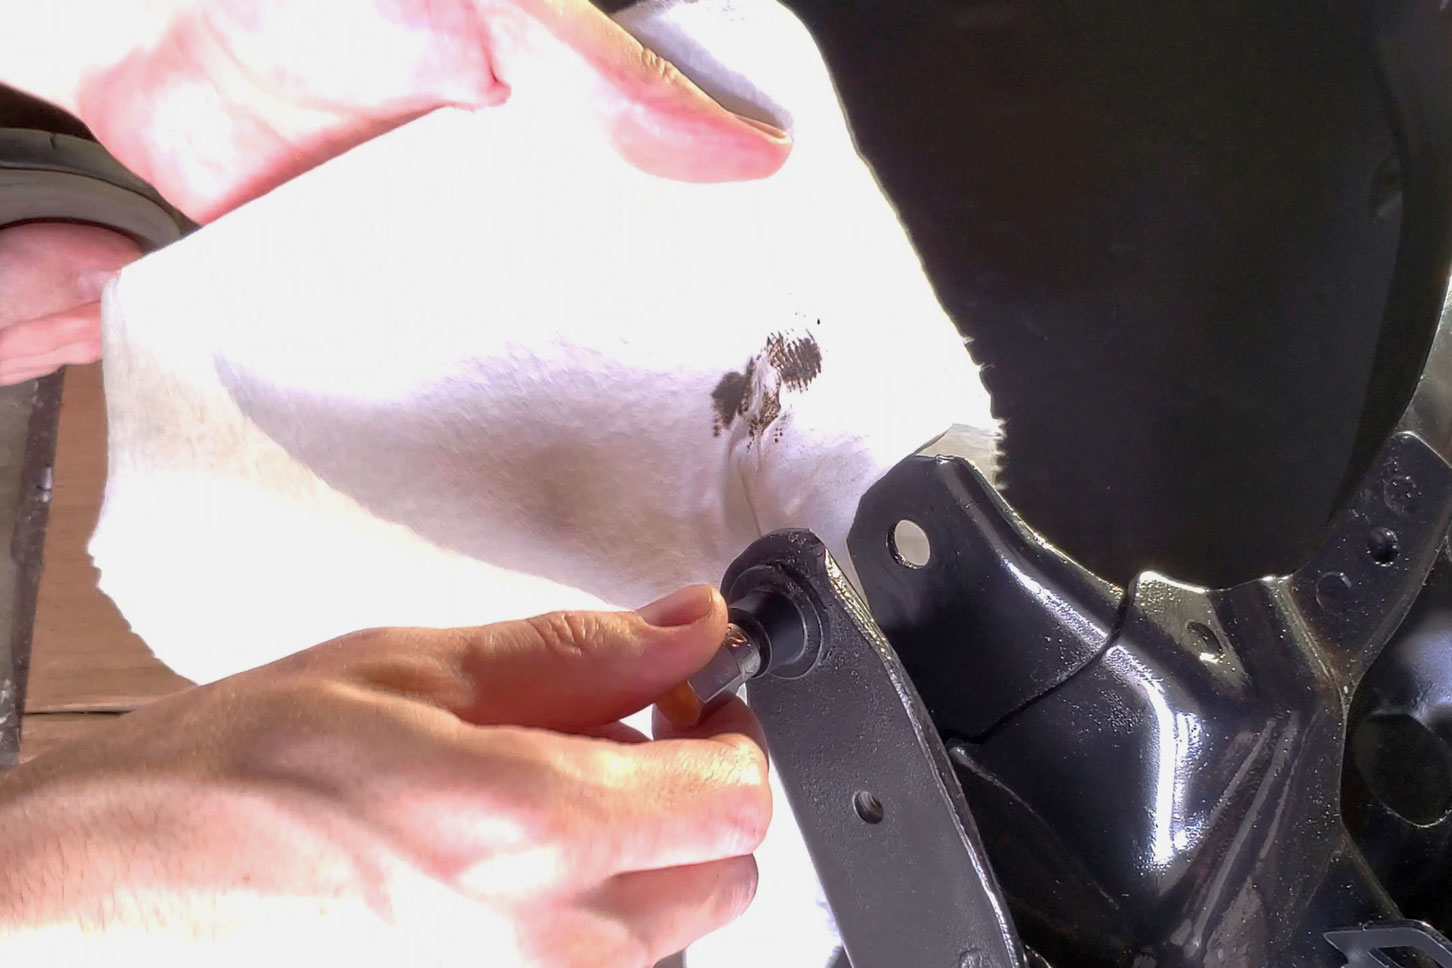
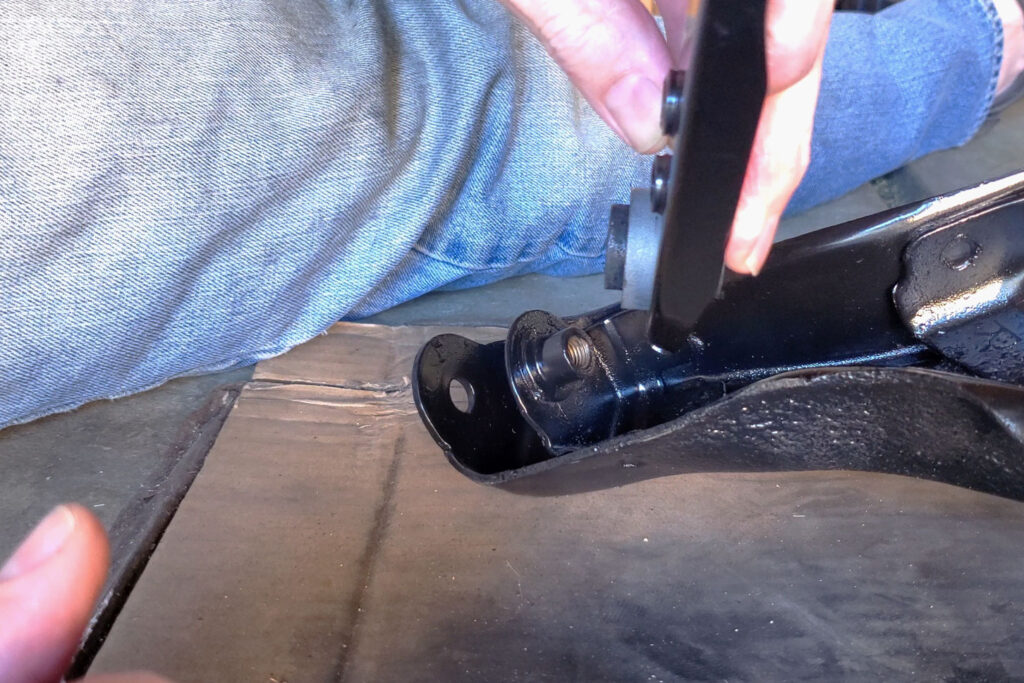
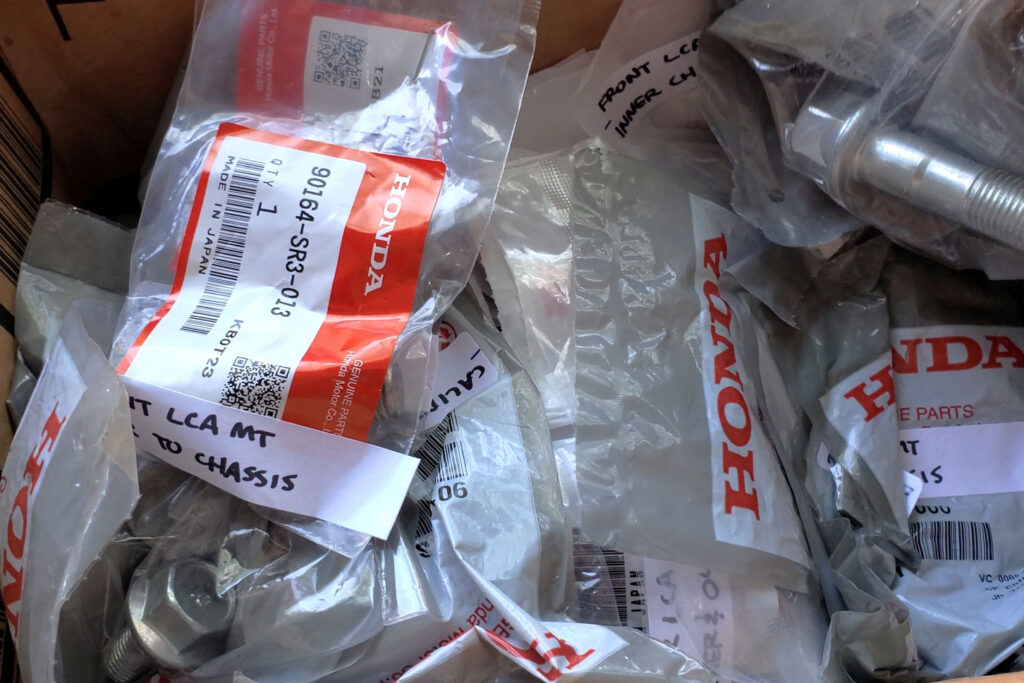
New hardware, anti-seize everywhere.
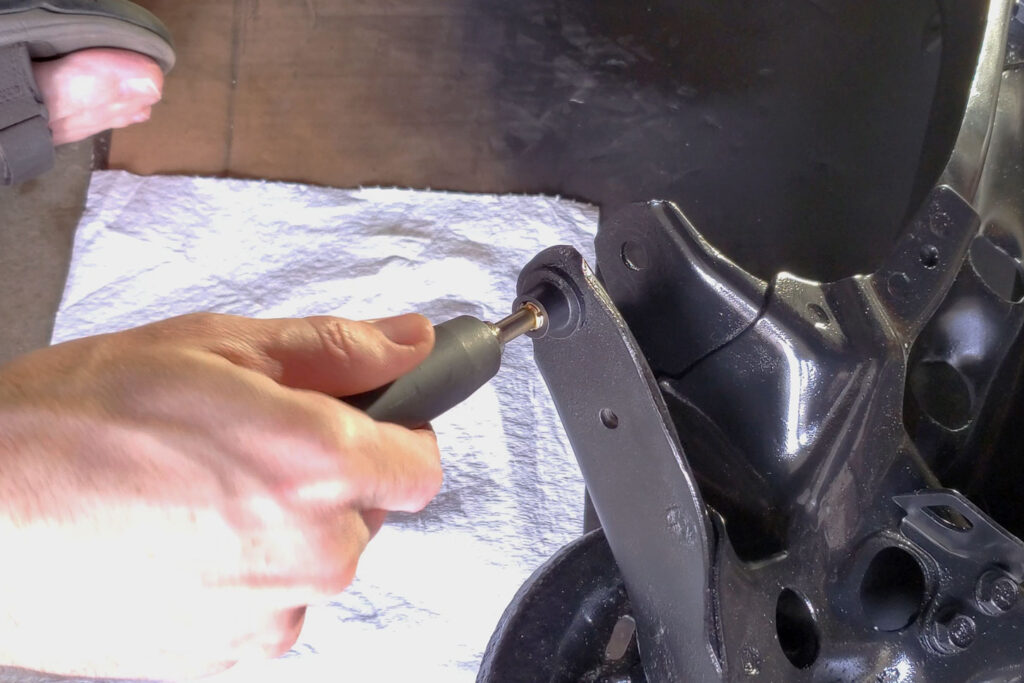
With a fresh coat of paint on the trailing arms, I was eager to get them back in the car with all the new control arms and hardware. I wanted to be sure that the new hardware would assemble smoothly, so after peeling off all the masking tape, I used my thread chasers to clean the rust and grime out of the holes on the trailing arms.


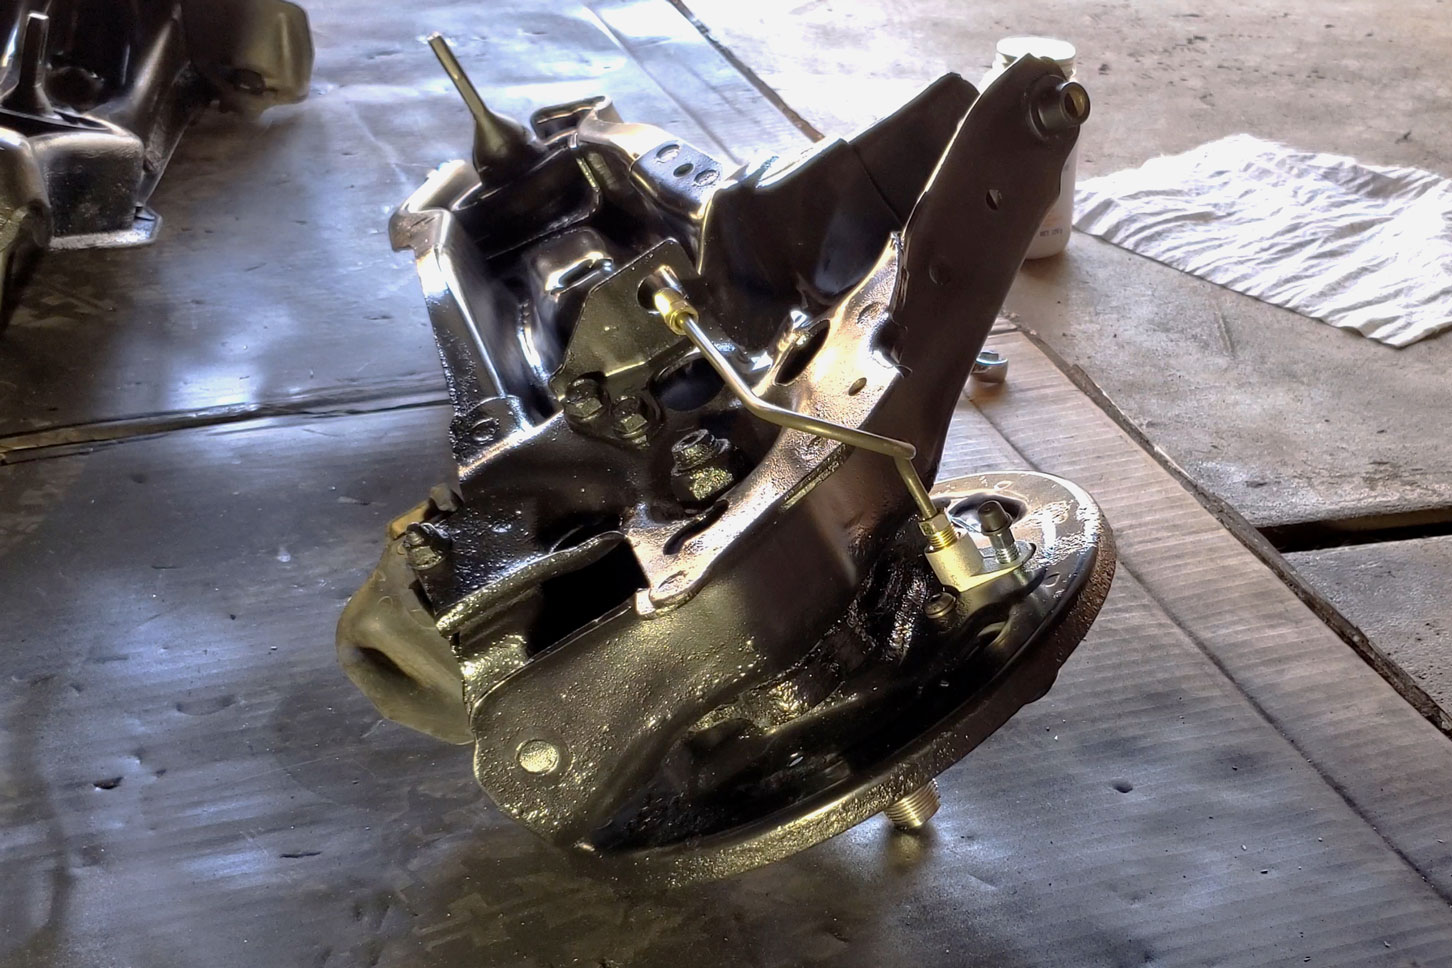
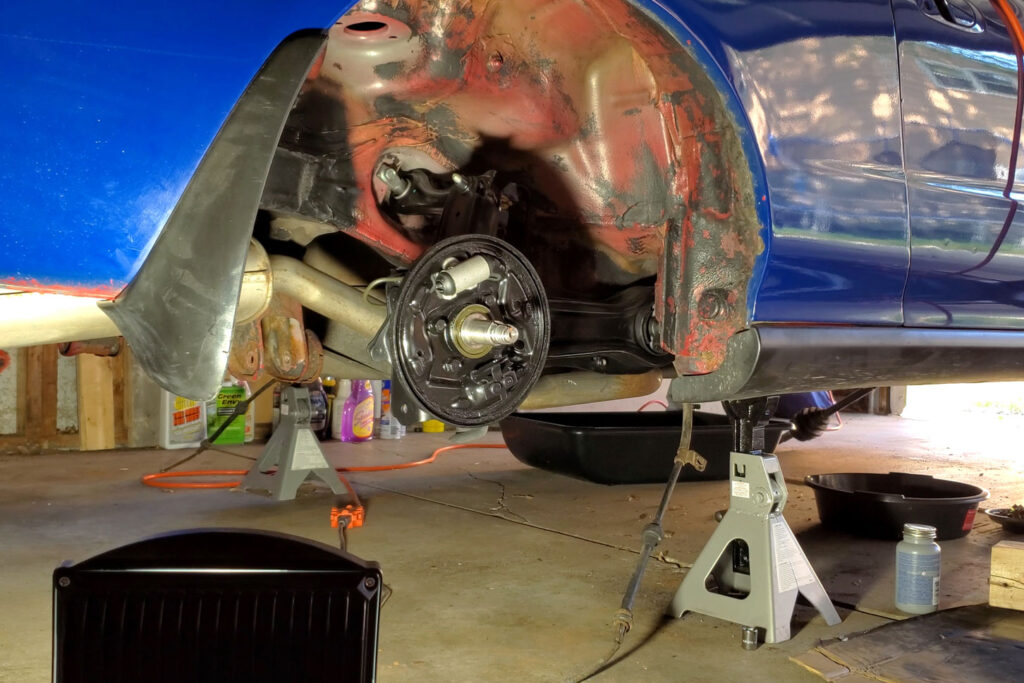
New Wheel Cylinders and Lines
Drum brakes can be a pain to service, but the nice thing is that the parts are usually cheap. I installed new wheel cylinders along with freshly made solid brake lines. The original solid lines had corroded so badly that they could not be removed without destroying them. They are also no longer available from Honda, which is not a surprise, but that’s unfortunate since they are apparently difficult to bend. I would not know, since I had these made by the shop that serviced the trailing arm bushings, but they sure look tricky.


Installing the Trailing Arm, Take One
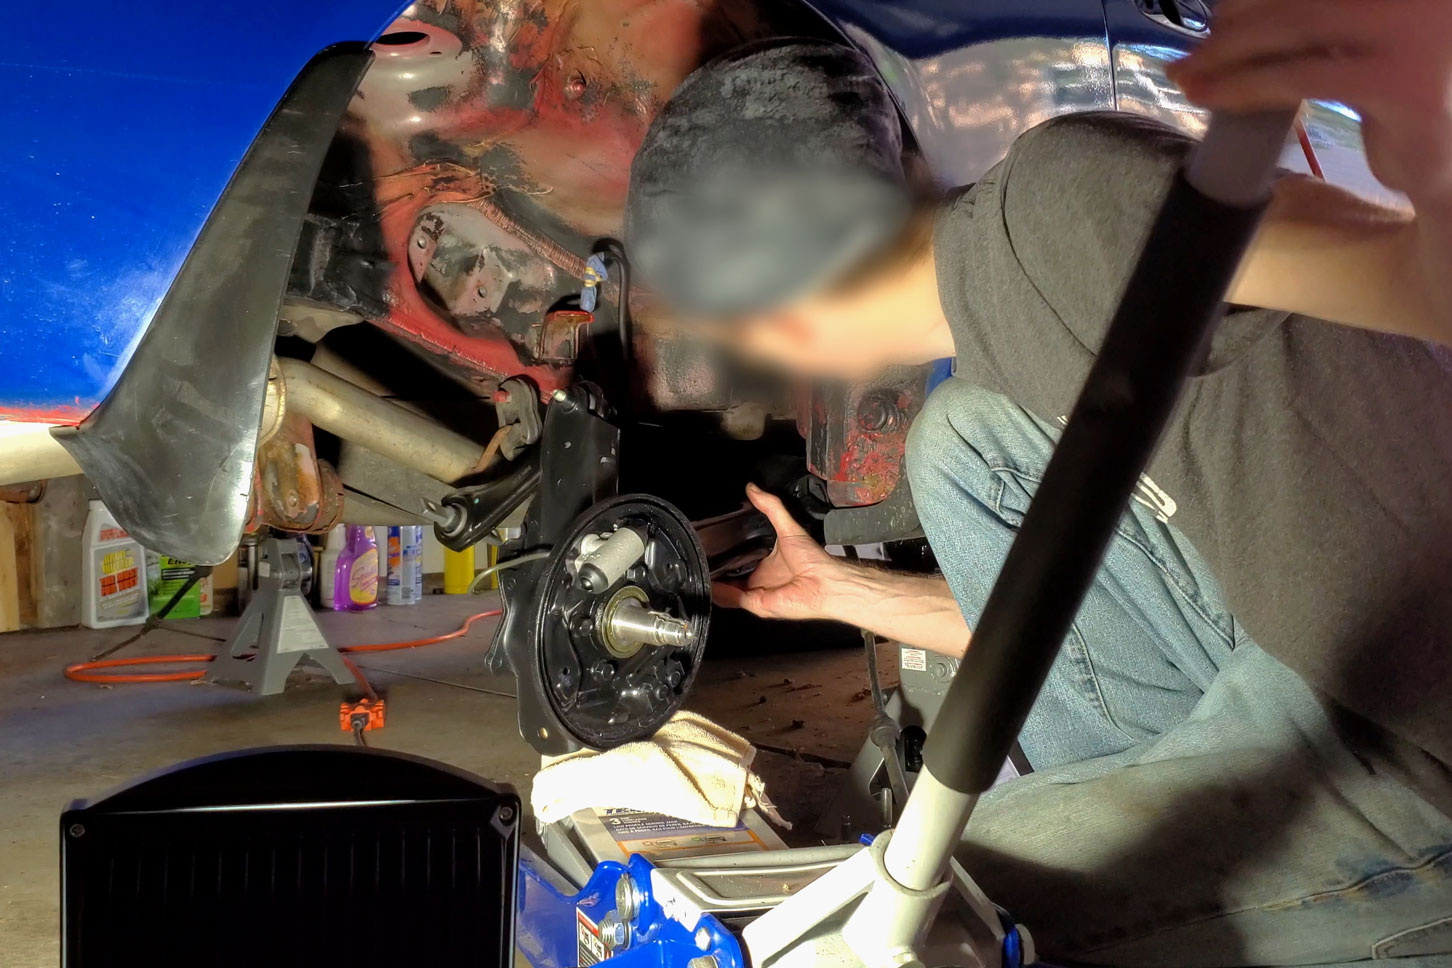
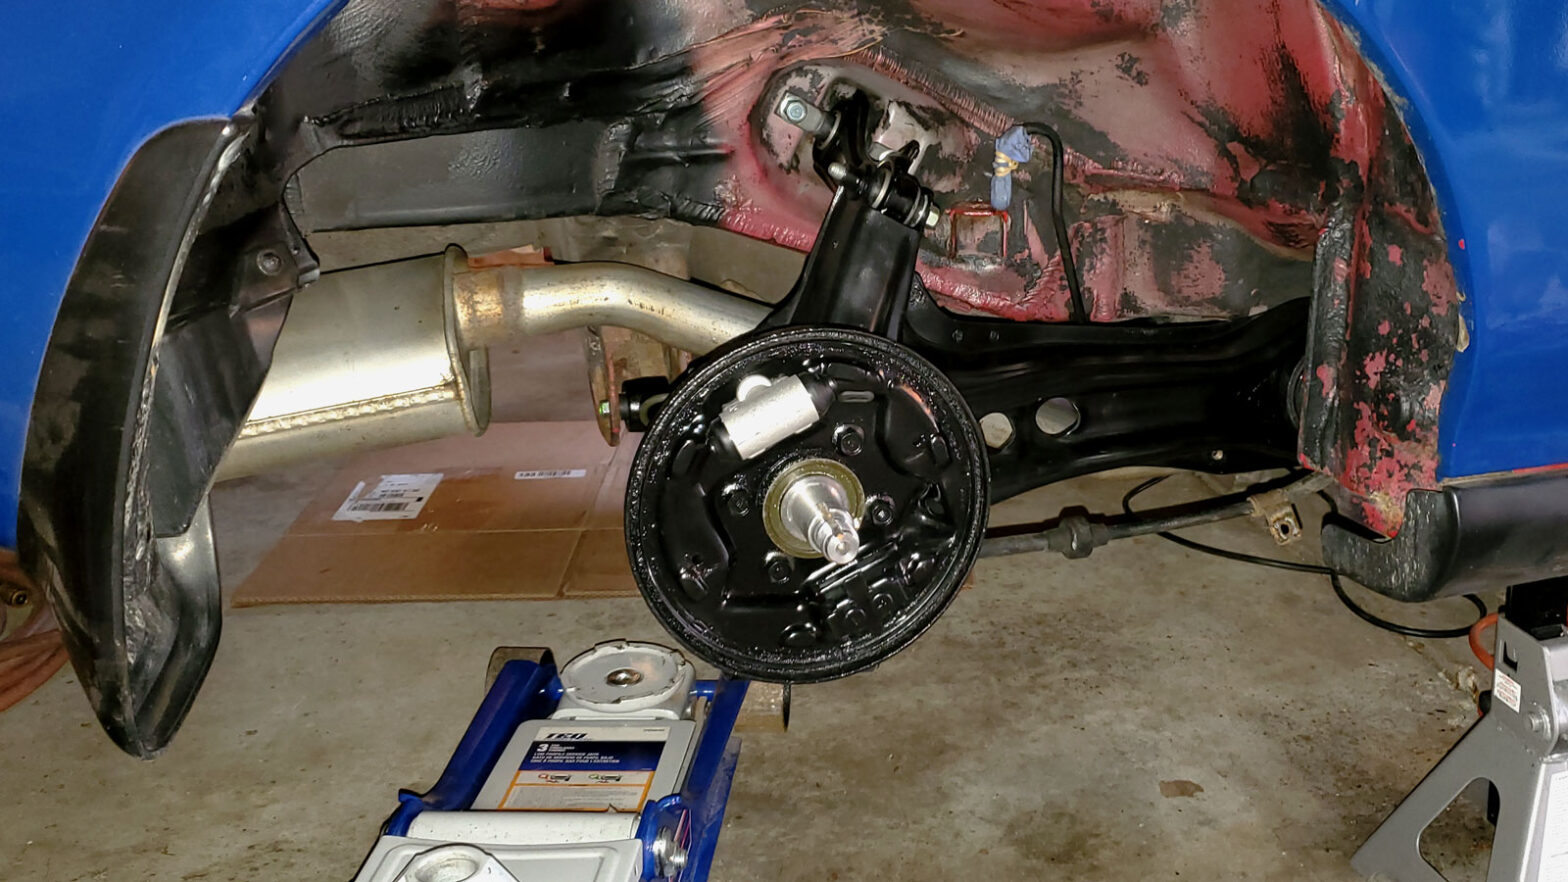
I bolted the upper control arm to the trailing arm and balanced it on the floor jack, then lifted it into place with relative ease. After I got the main bushing and upper control arm bolted to the car, I attempted to install the toe adjuster arm at the front of the trailing arm, only to discover that there isn’t enough room to get the bolt in once the trailing arm is in the car, so it all had to come back out.

Installing the Trailing Arm, Take Two
With the control arms installed, I was finally able to get the trailing arm bolted in and hanging by itself. I used all new OEM hardware and applied anti-seize compound to the shaft of each bolt to ensure it would not get seized in the bushings in the future. The only problem with anti-seize is it gets everywhere. I tried to be careful about what I touched but it’s really impossible to keep it localized.
I didn’t torque everything down at that point; that needed to be done with the suspension under normal load. Otherwise, the bushings would end up being constantly twisted. Plus, I had new coilovers to install. But first I had to reassemble the front suspension. I’ll cover that in a future post.
Image Gallery