Budget parts need a little finesse.
The great thing about old Hondas is there are lots of affordable parts available. The bad thing is that some of those parts are a little too affordable. Some manufacturers are a bit lacking in quality control, but if you’re willing to fuss with things a little, you can replace your entire front suspension pretty cheaply.
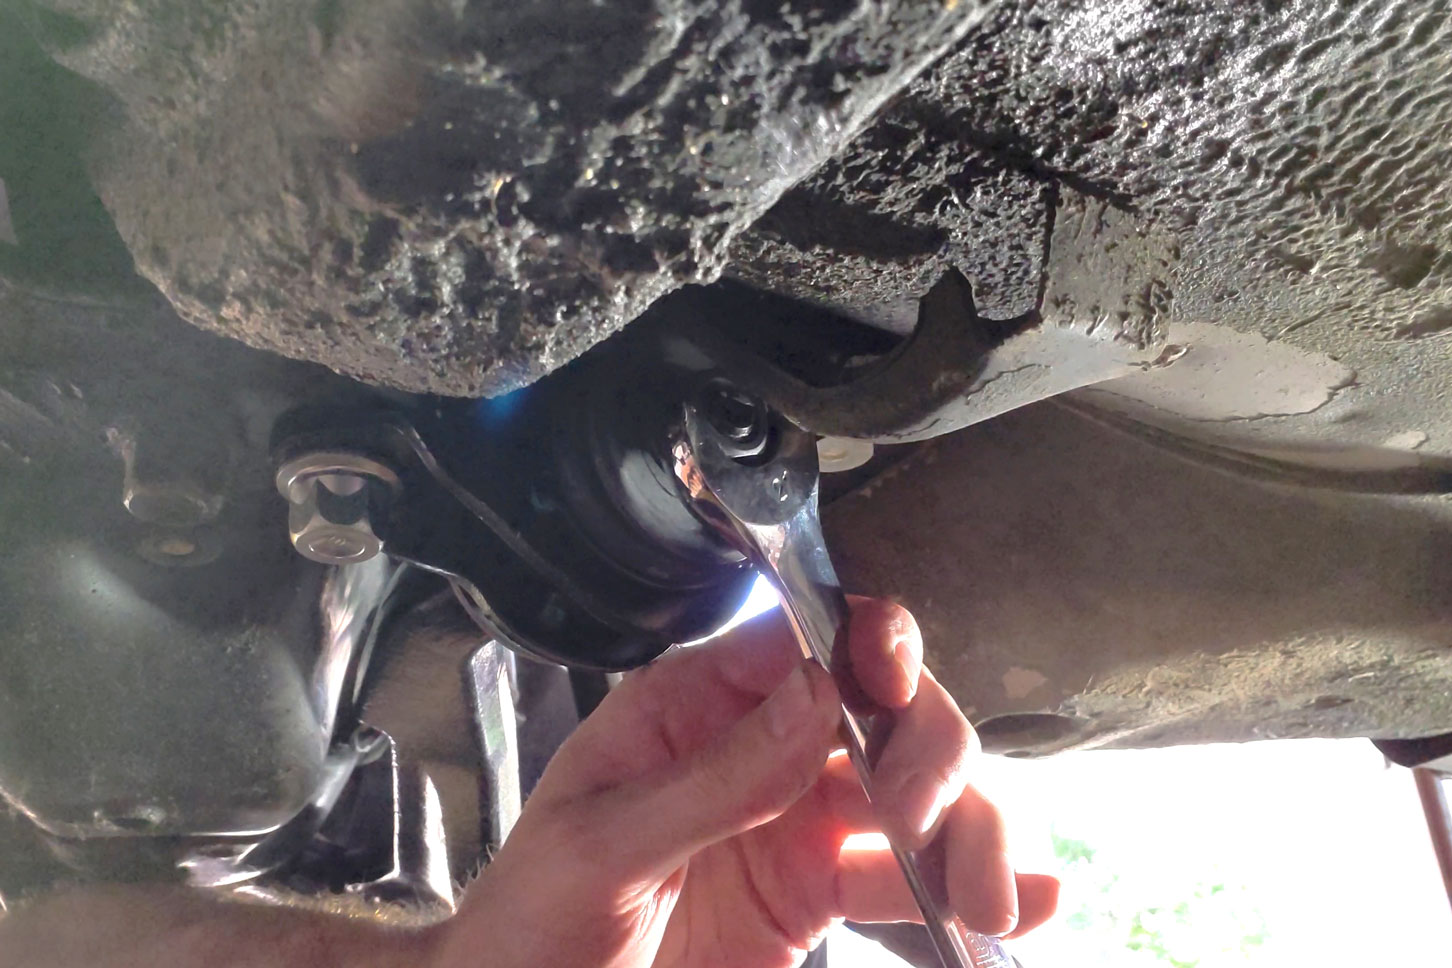
Case in point: the threads on the end of my new lower control arms were mangled, despite having a protective sleeve on them for shipping. No worries, though; a little time spent with the thread repair tool and they were just fine.

Fixing Past Mistakes
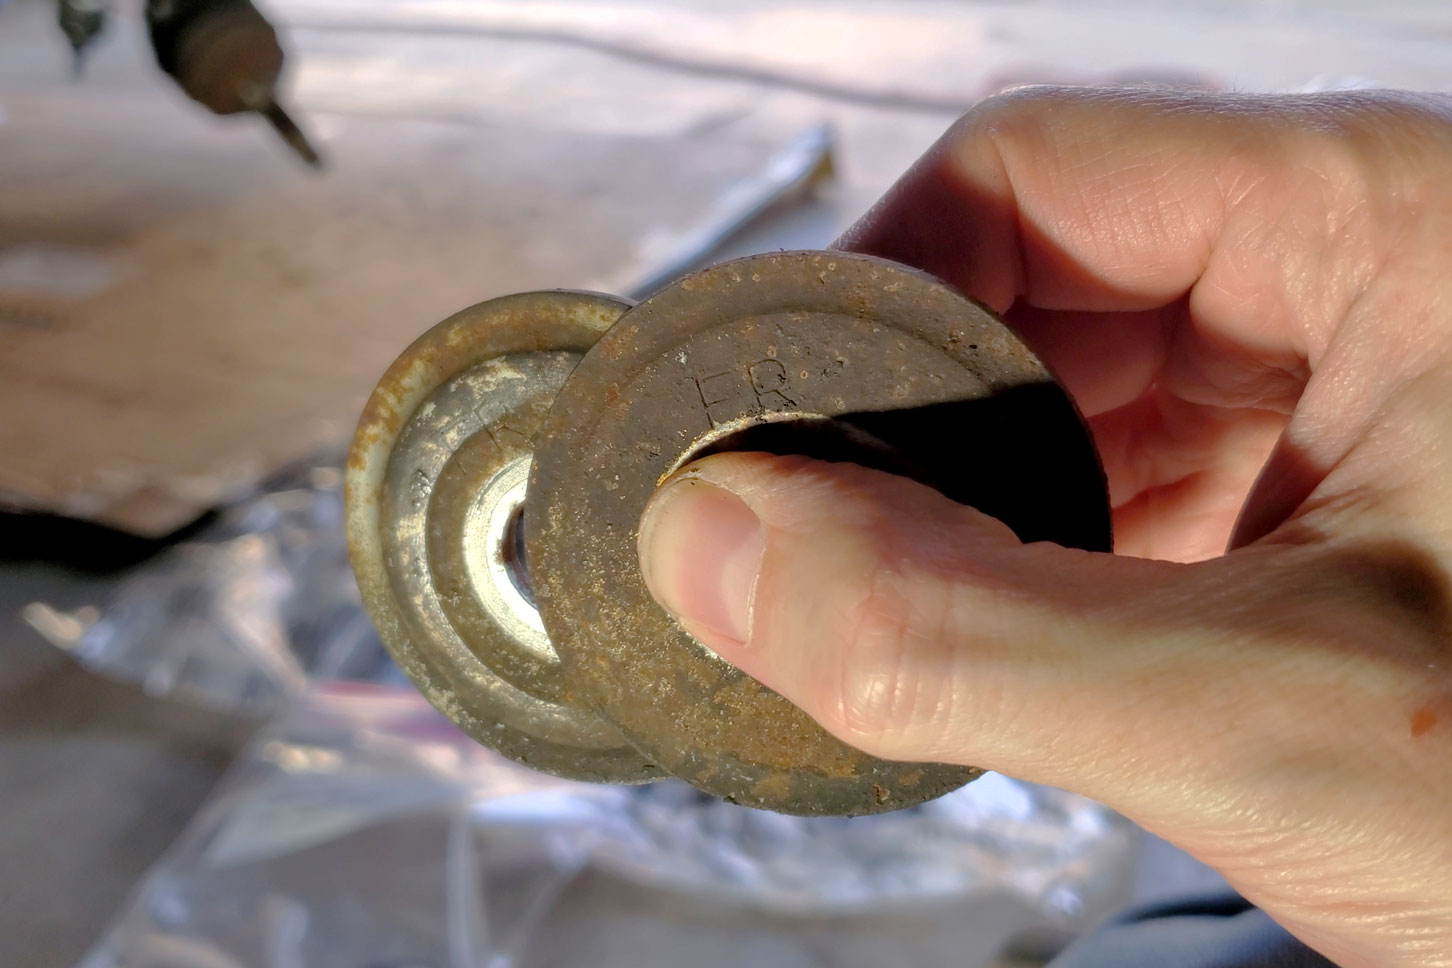
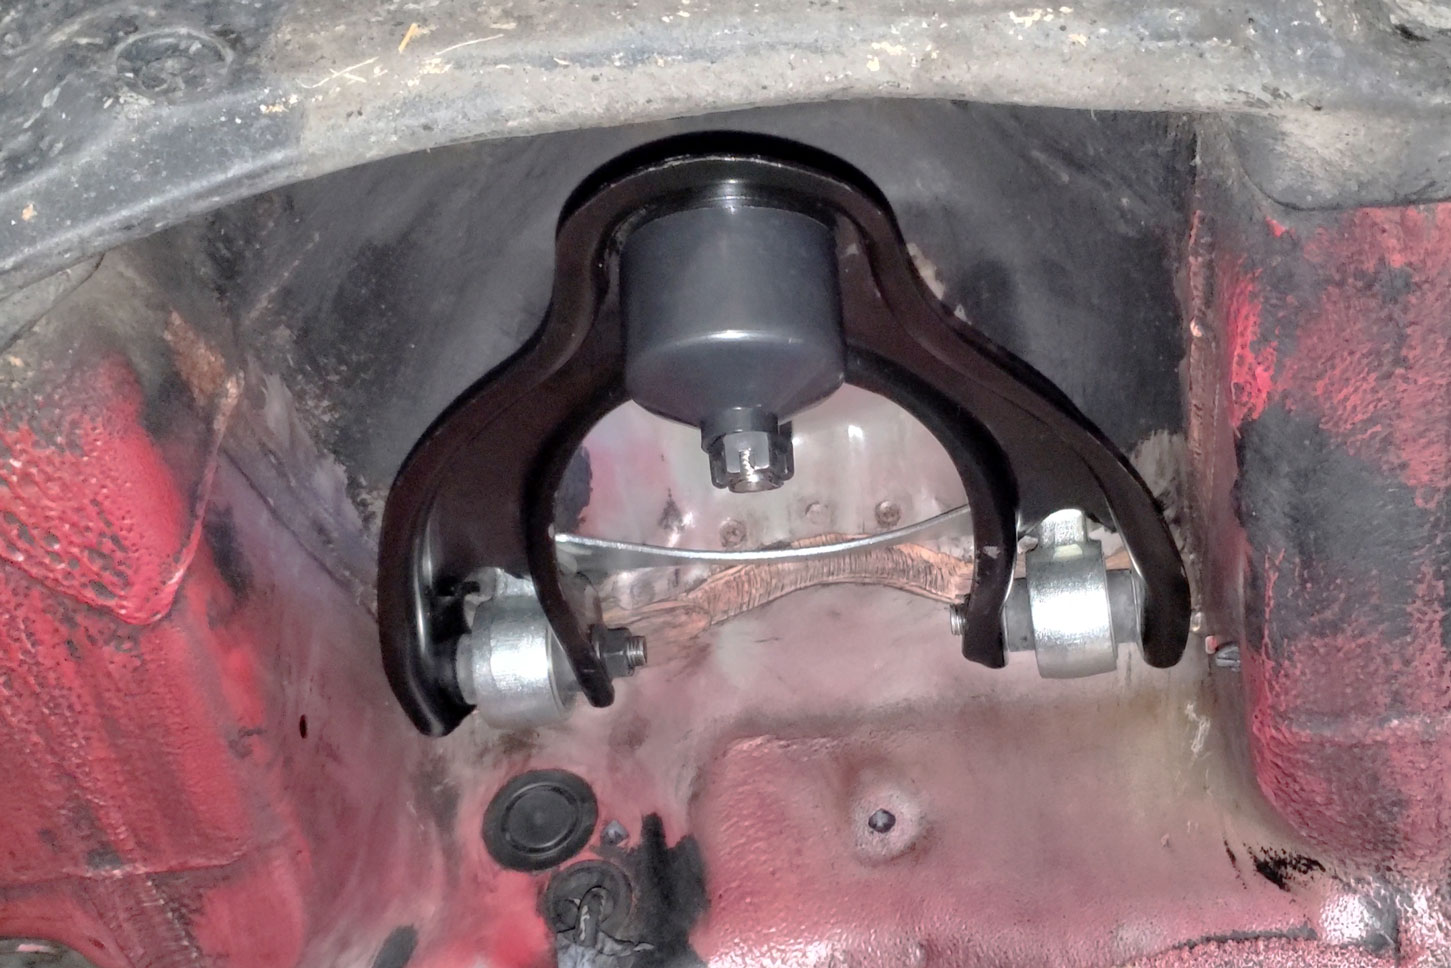
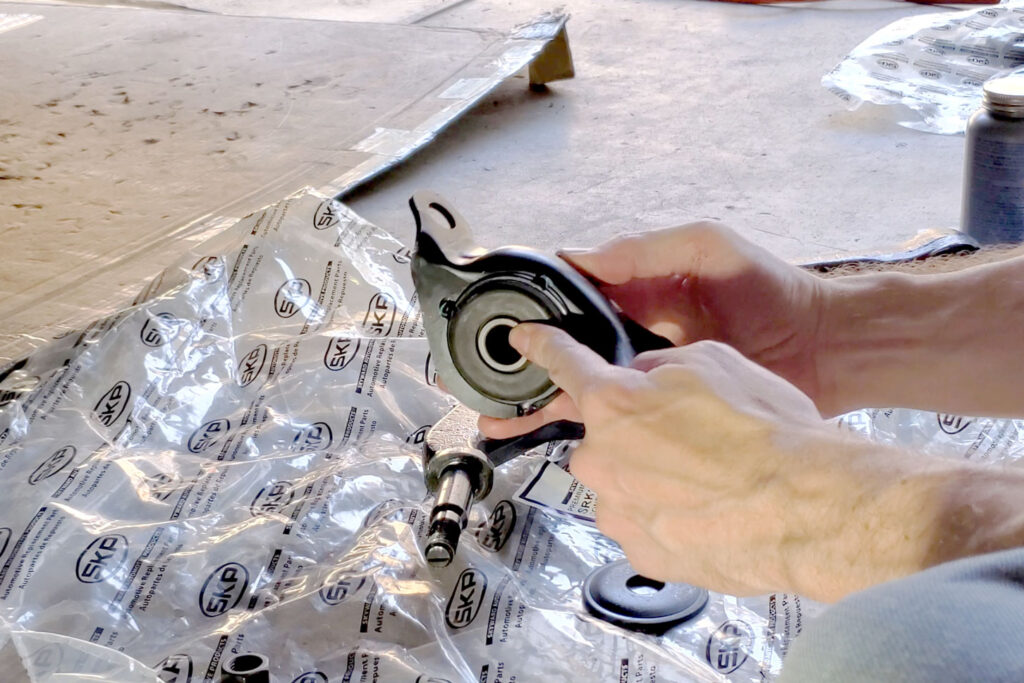
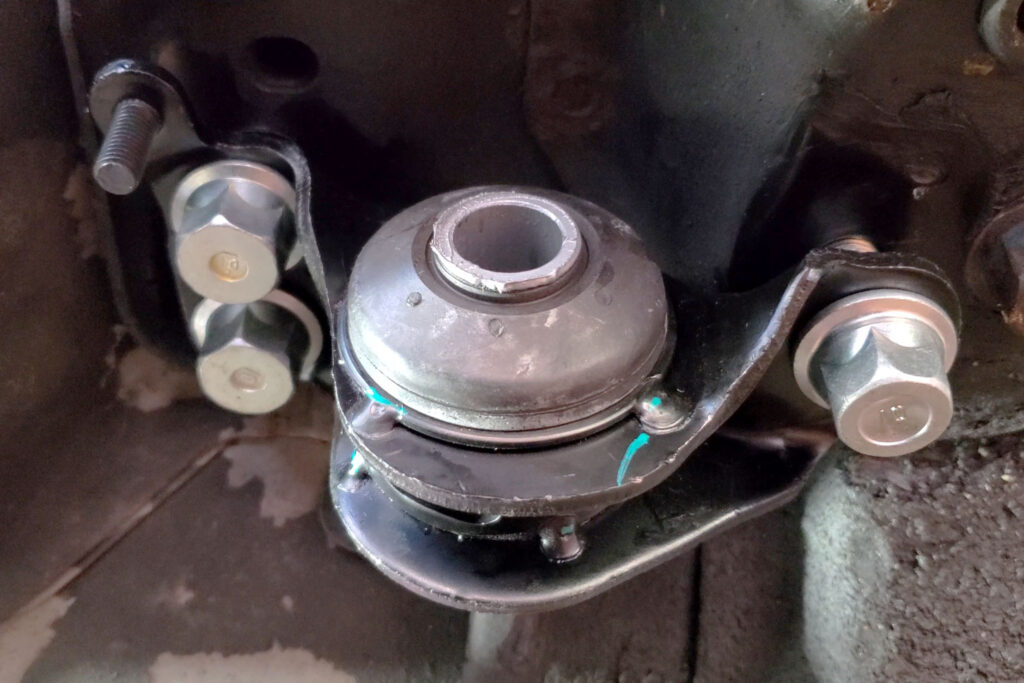
When installing the large bushing on the lower control arm, you have to properly align a couple large, tapered washers. I think these large bushings were one of the few suspension components replaced during the life of the car, because someone had put one of them in backwards. They are clearly marked “FR” to indicate which side of the washer should be facing the front of the car. When oriented correctly, the washers contact the metal sleeve in the center of the bushing.

When oriented incorrectly, as they were, the washer touches only the rubber of the bushing. Apparently this was working well enough that no one noticed anything weird, but I’m sure it was at least a little dangerous. The washers go on either side of the bushing as shown in the animation below.
There’s a Trick to Installing
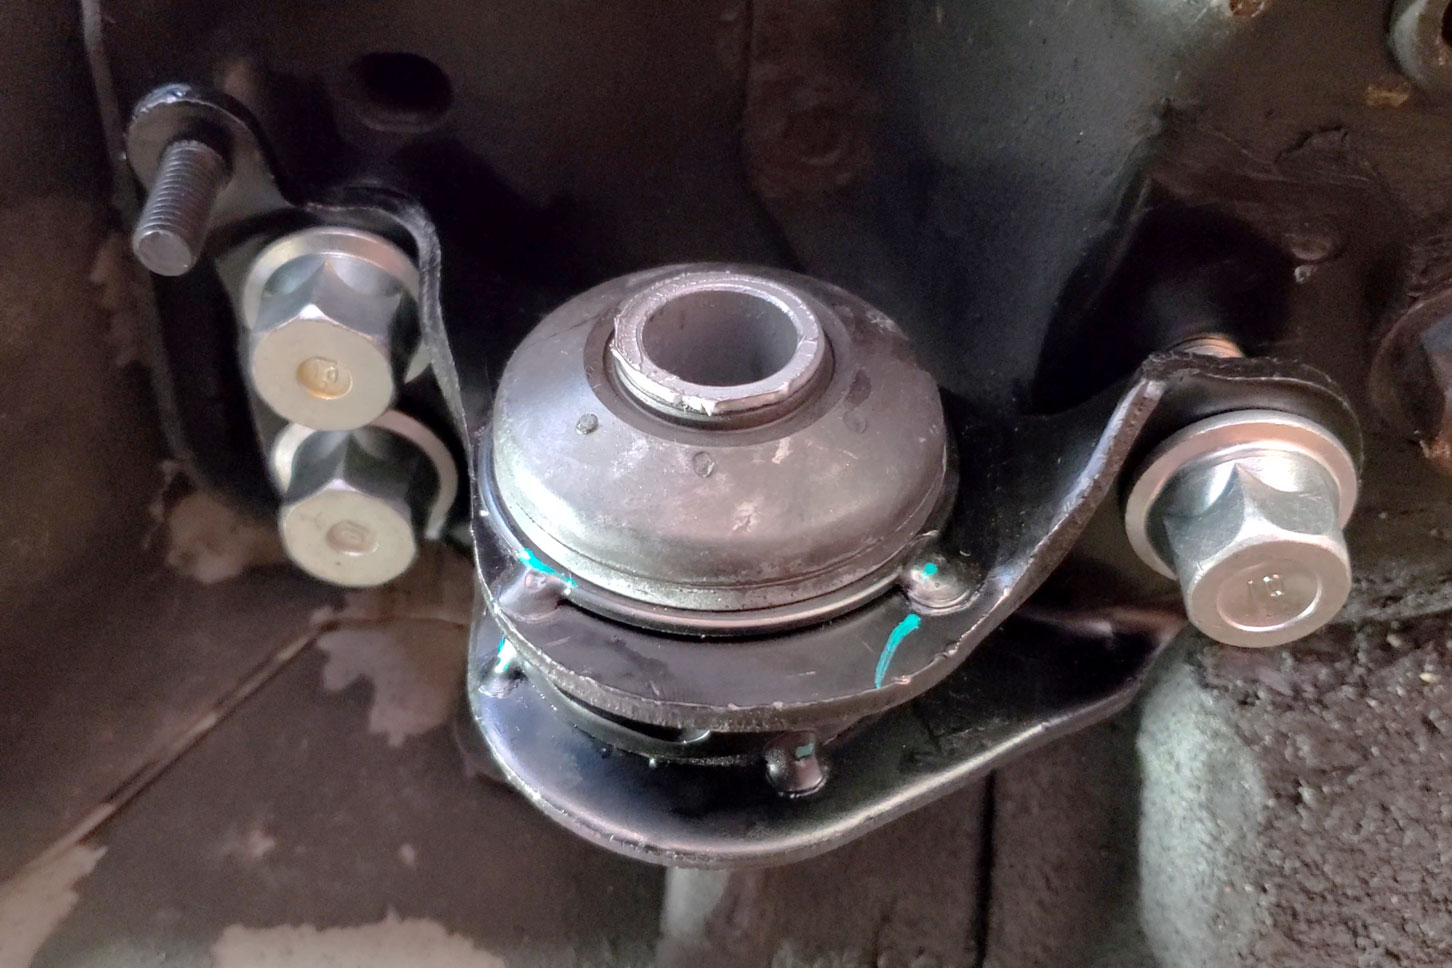
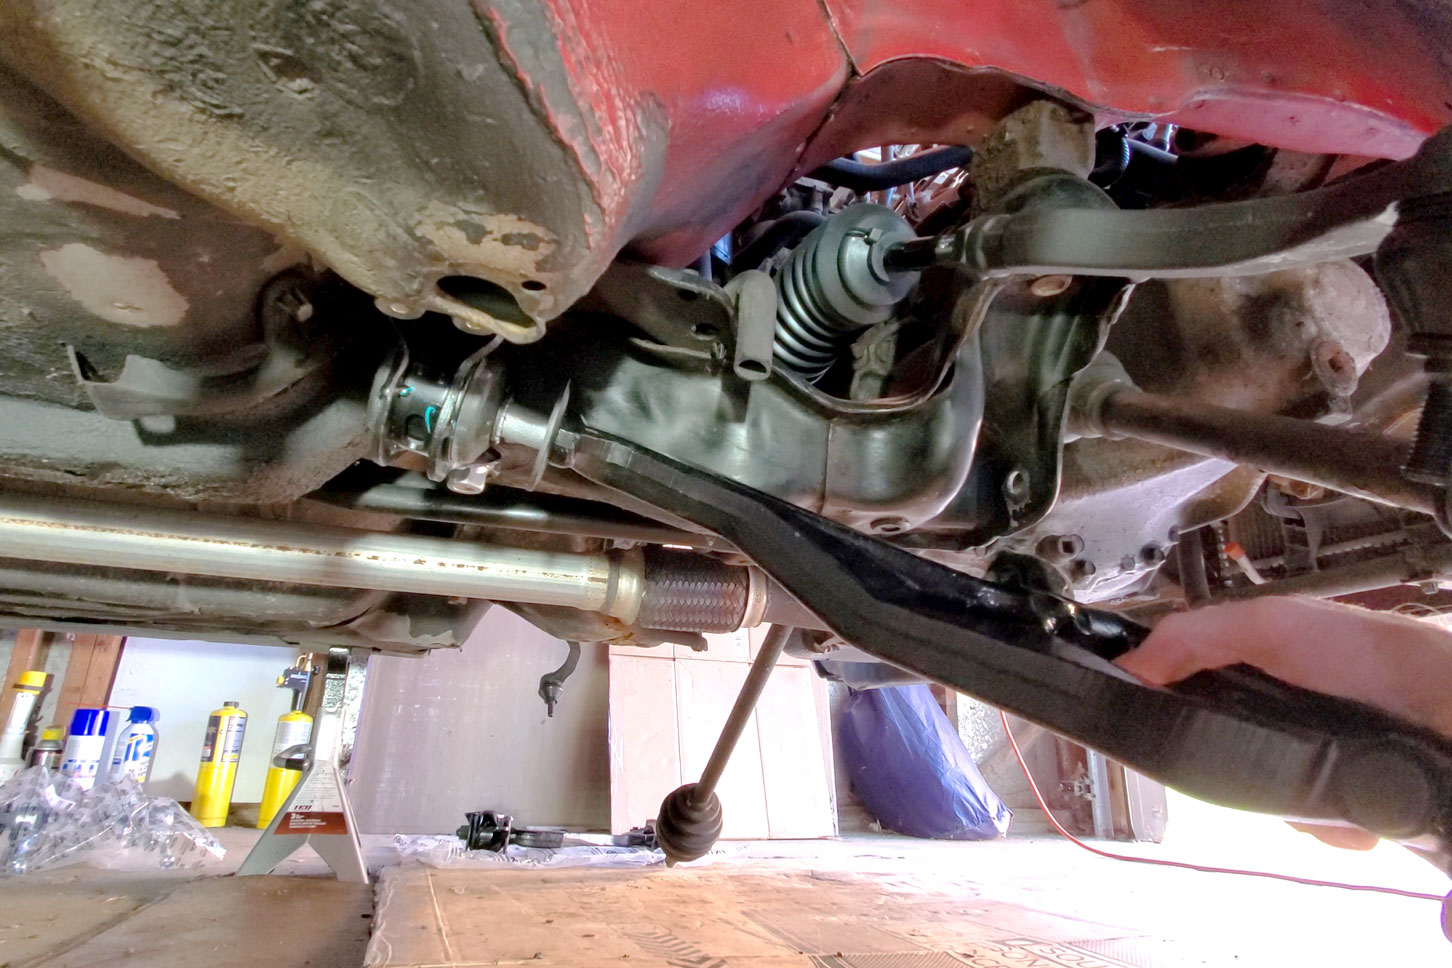
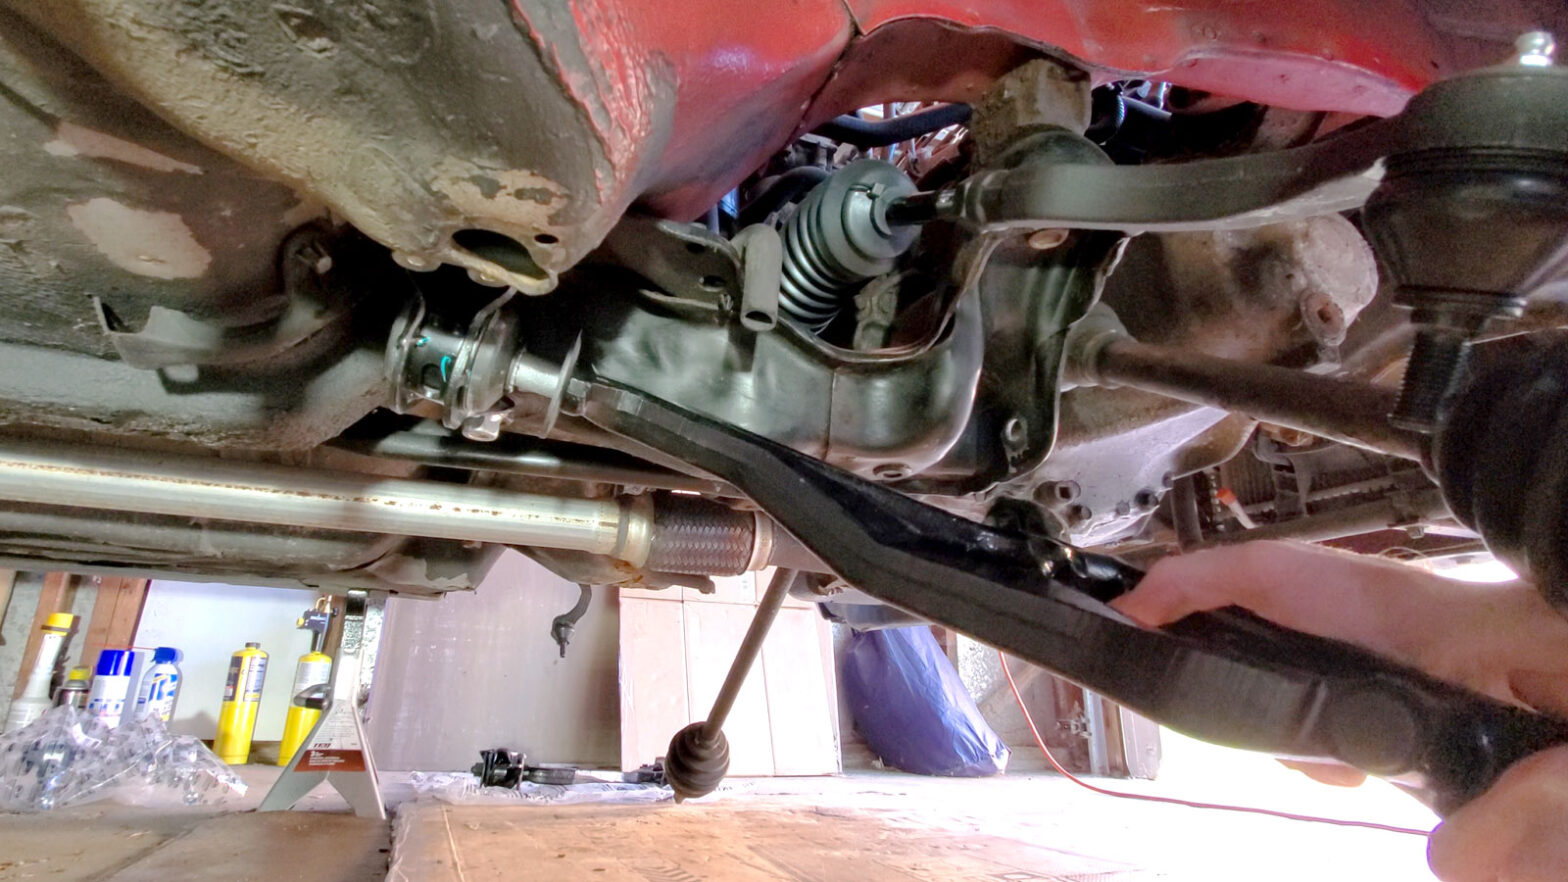
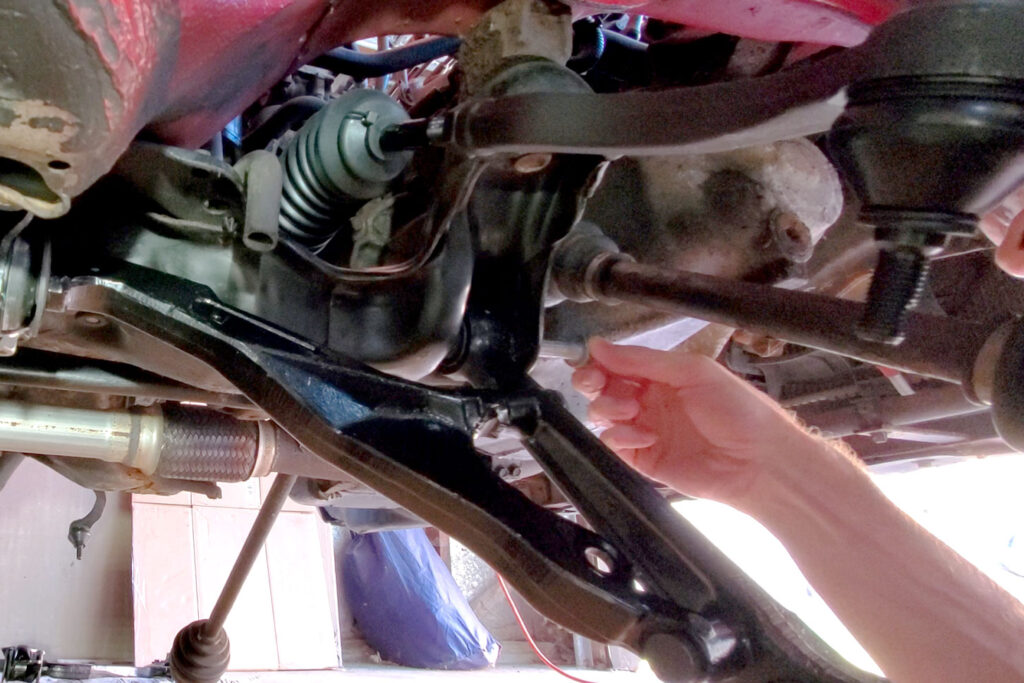
On my first attempt installing the lower control arm, I put the bushing on the end of the arm first, then tried to line everything up as I bolted it into the car. Maybe this should be possible if the chassis is relatively straight. I think mine is not. Or maybe it really is a bit tricky no matter how perfect the chassis is. Whatever the case, after I had gotten forward bolt started in the bushing that attaches the control arm to the sub-frame, I found I could no longer line up the three large bolts that attach the rearward bushing.
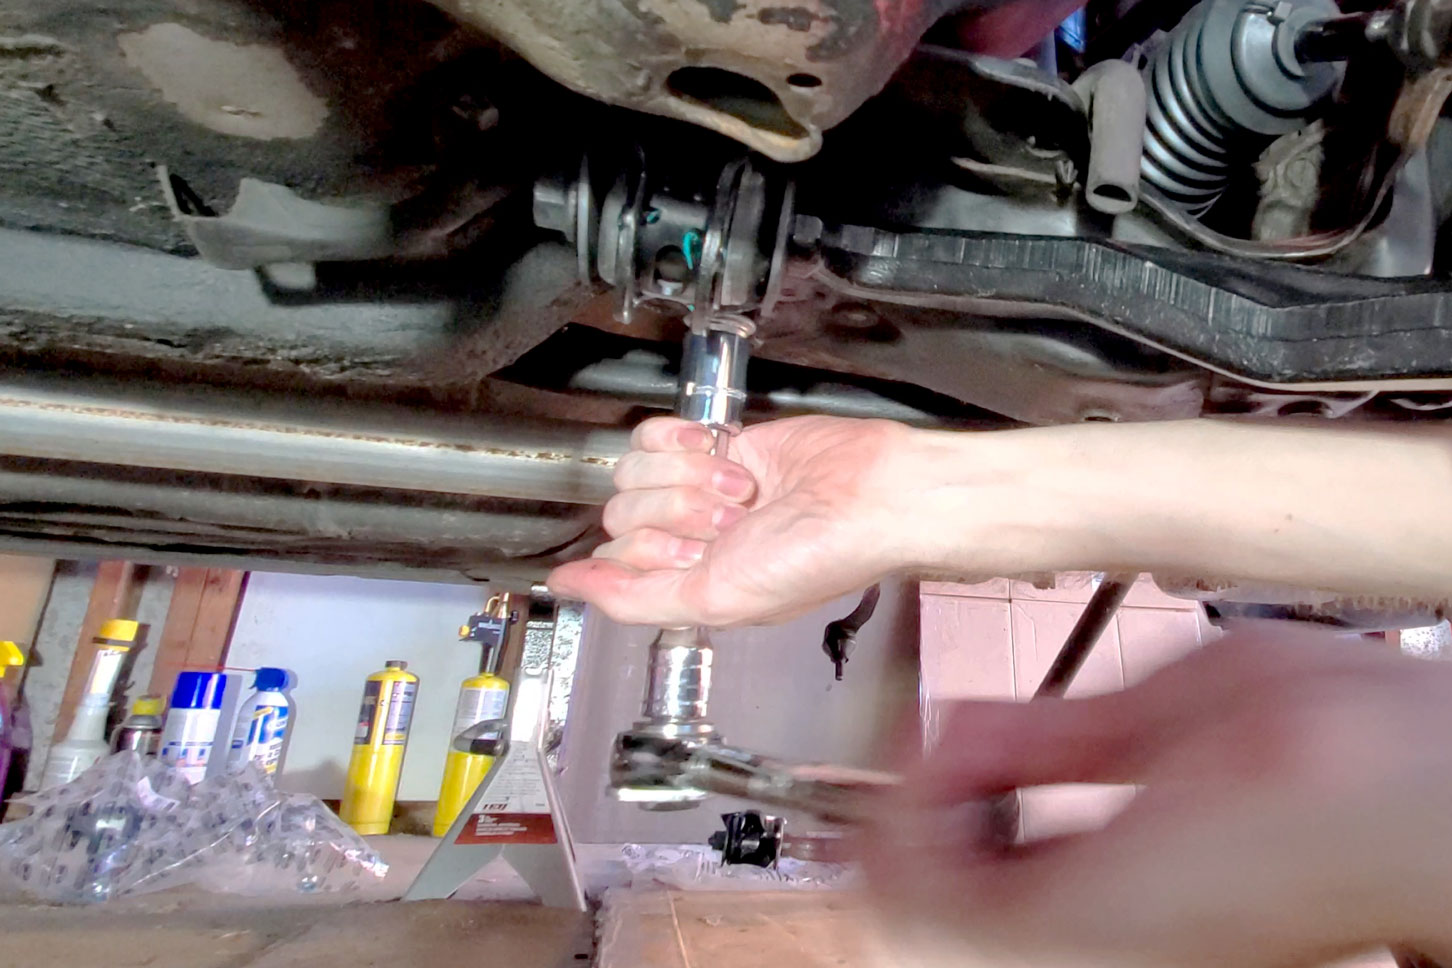
Taking it back off, I discovered that the best way to install the lower control arm is to first install the large rearward bushing, loosely threading in the three bolts so there would still be some play in its position. Second, shove the control arm’s shaft through that large bushing. From there, slot the front bushing into the sub-frame and thread in the bolt. After that’s in place, tighten down the three large bolts for the rearward bushing. Finally, tighten the end nut. It’s not possible to fit a torque wrench in there, so I just used the imaginary torque wrench that’s built into my arm.


Fitment Issues Upstairs, Too
The upper control arms had their own problems. That bracket that joins the top studs together kept popping off, though I don’t suppose it matters once everything is torqued down and it’s sandwiched in there. The upper studs didn’t line up very well though, the threads scraping off bits of paint as I forced them into the strut tower holes. There really wasn’t anything else I could do; they were probably off by more than a couple millimeters. I’ll put some higher quality control arms in there someday and hope those fit up more accurately.

I had come a long way, but the suspension wasn’t complete yet. I still had to assemble the coilovers and install them. Yes, they came with some assembly required, as well as the re-use of the factory top hats. The joy of budget parts!
Image Gallery