Budget means doing some of it yourself.
Everyone knows that once you buy a Honda, you have to lower it. Forget ride quality and comfort, you bought a Honda to look cool and take those corners hard. The problem is, quality coilovers are expensive and cheap coilovers are, well, cheap. Who cares how many clicks of damper adjustment you get when the shocks start leaking oil after six months to a year?
But wait, there’s another option: Progress Tech. This company makes a budget-friendly set of coilovers that are built to last and handle track duty well. They currently offer two versions of their kit: CS2, which provides ride height adjustment and nothing else, and the higher-tier CS3 version that offers rebound adjustment. I bought the less expensive CS2 kit back in 2021, because I was mainly focused on lowering the car and getting a good quality product that was relatively simple to understand. I was new to the whole coilover thing and didn’t want to confuse myself with damper settings.
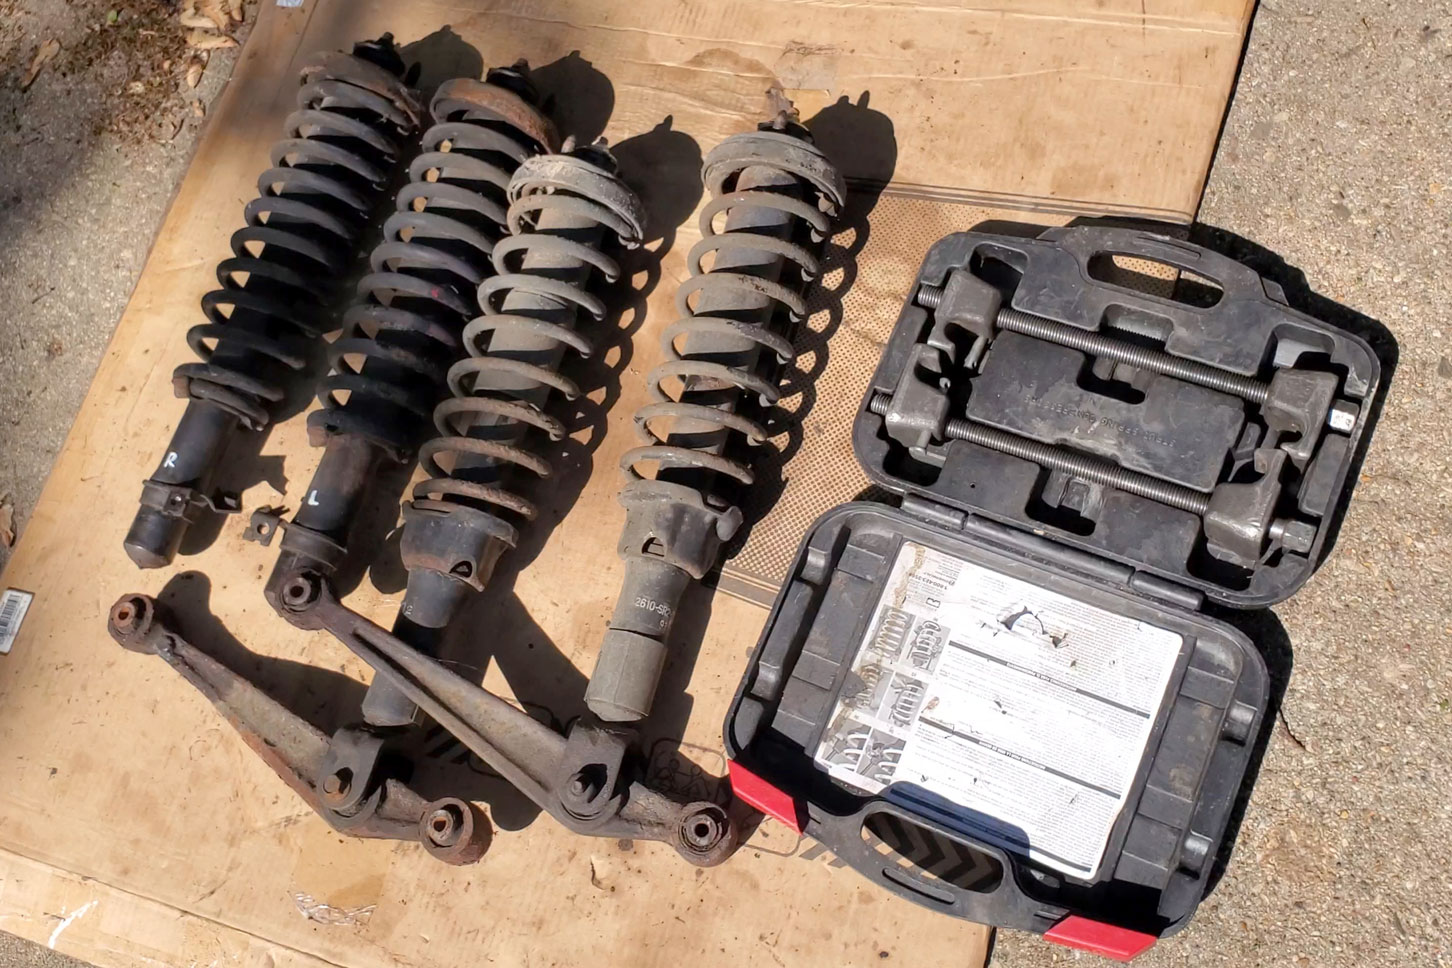
The only “downside” of the Progress kit is that you have to reuse the factory strut tops (known as “top hats”), and you have to do a lot of the assembly yourself. With all of my old suspension components successfully removed from the car, the first step was to disassemble the original struts and get the top hats.
Extracting and Restoring Top Hats
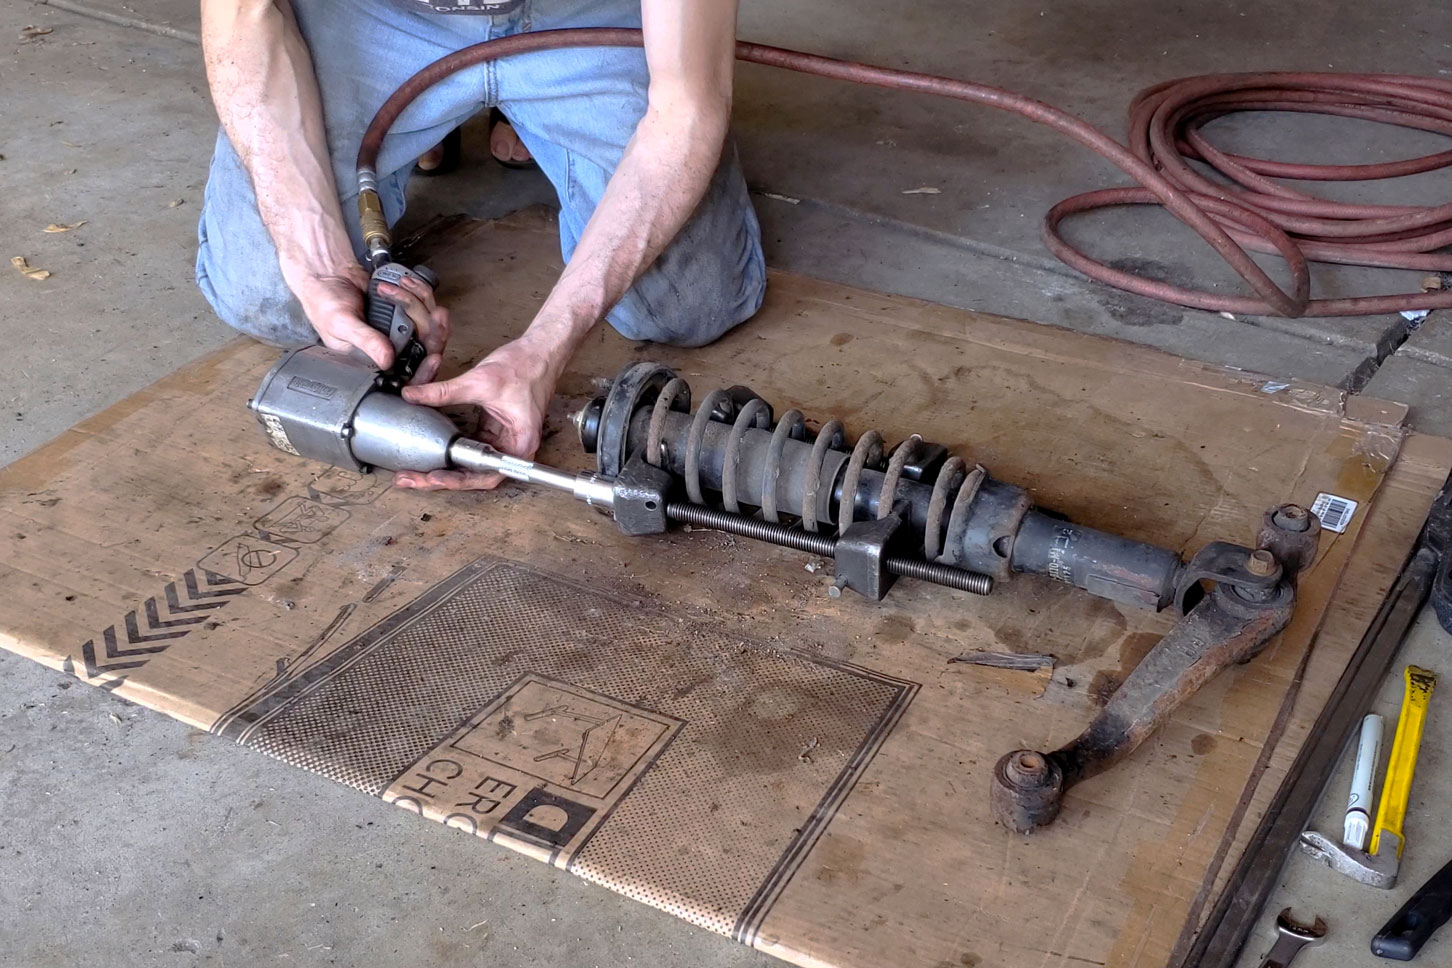
To disassemble struts, you need to first compress the springs safely. Even removed from the car, the springs are under tension and can seriously injure you or even kill. The simplest way to do it is to borrow a set of mechanical spring compressors from the local auto parts store.
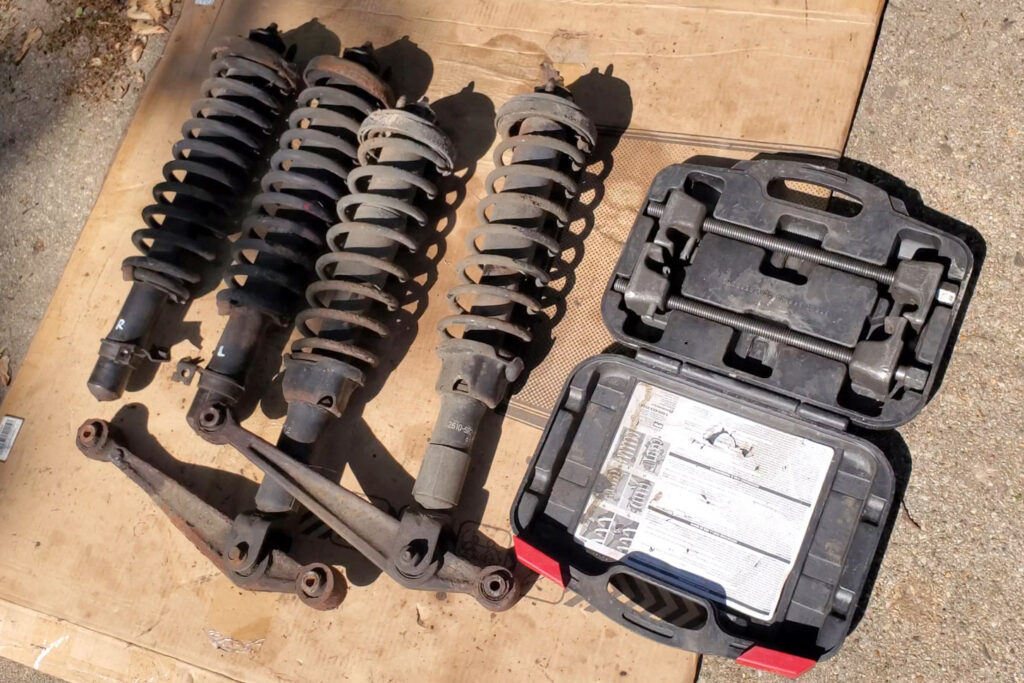
I borrowed a spring compressor tool from my local auto parts store.
I could tell the shocks were original by the date stamped on the side: March 25th, 1993. My guess is that’s when the struts were made and were probably put into the car shortly thereafter. So I figure my car was assembled in Suzuka sometime at the end of March in 1993. There was also a little Japanese character on the shock tube.


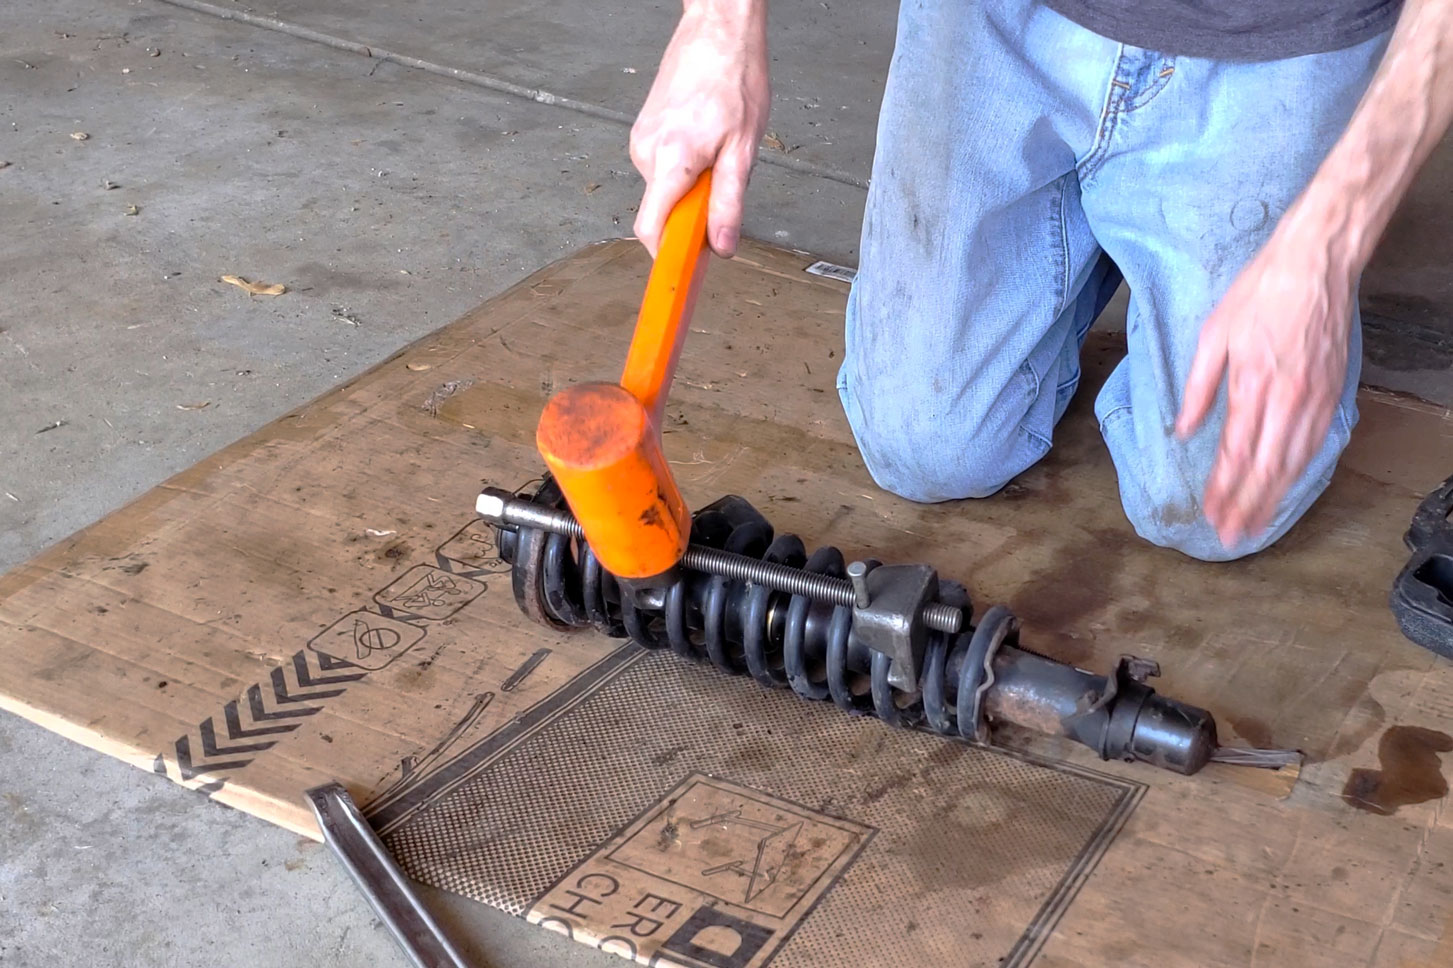
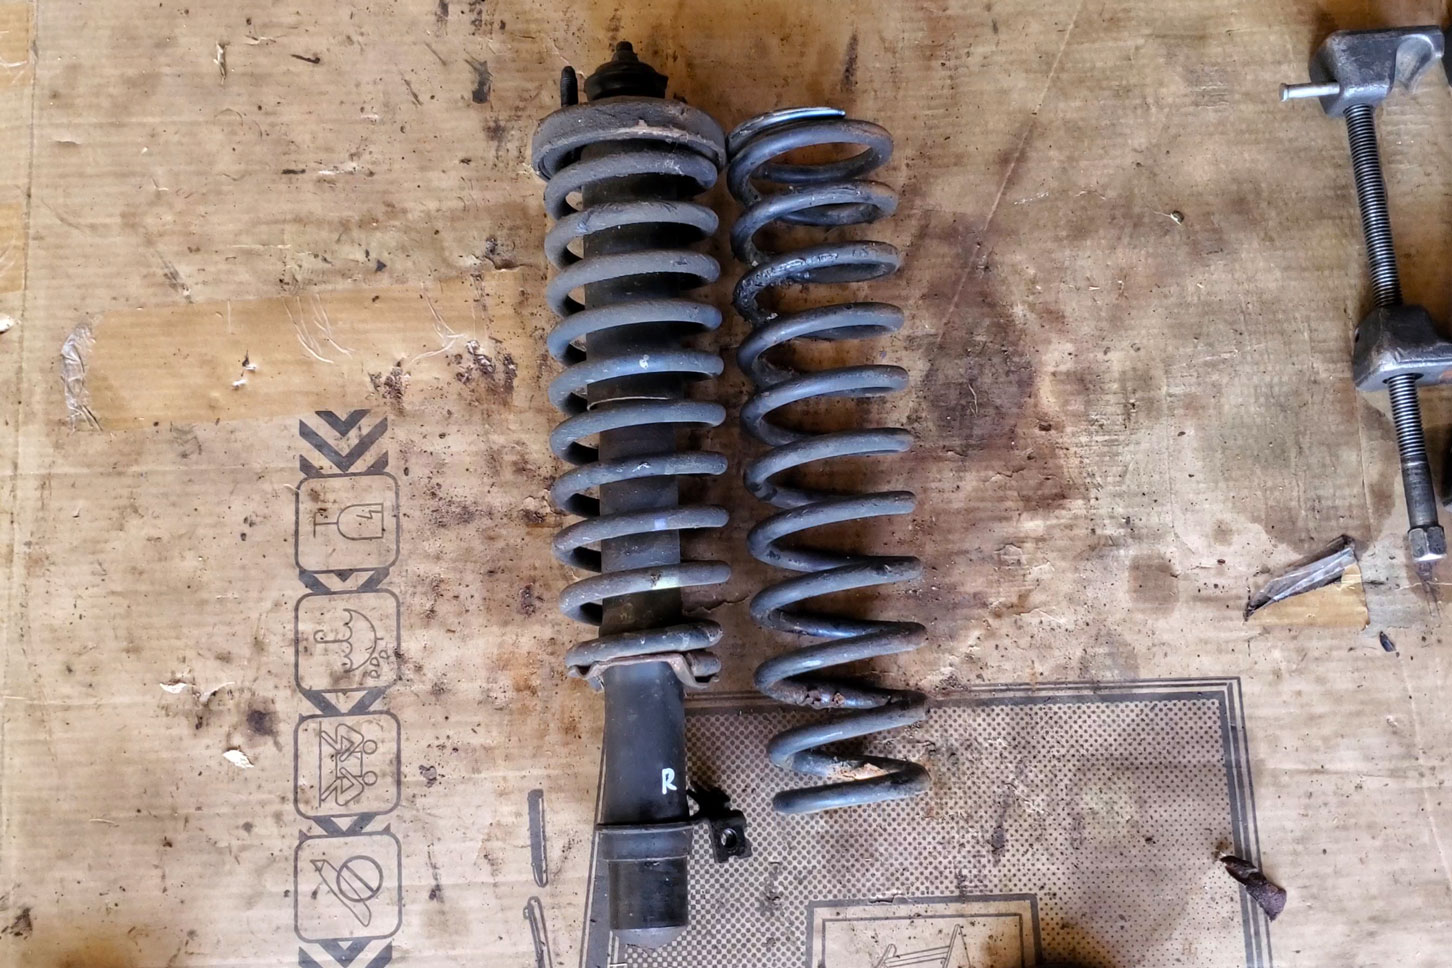
The front spring coils are much closer together than the rear ones, so I struggled a bit to get the jaws in between the coils. I first tried prying on them, which was somewhat successful, but brute force was much more effective. Positioning the tool roughly and then smacking it with a plastic mallet popped the jaws through.
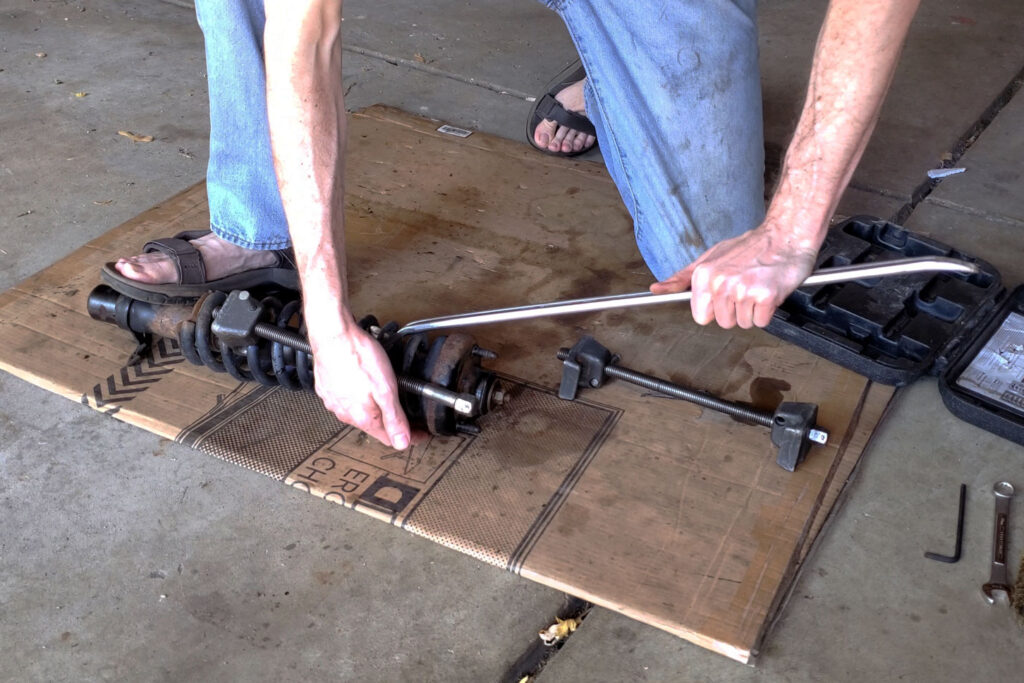

The spring compressor instructions say not to use power tools, but my arm was extremely tired after just one spring, so I switched to the impact gun, alternating side to side in short bursts. It worked fine and nobody died.

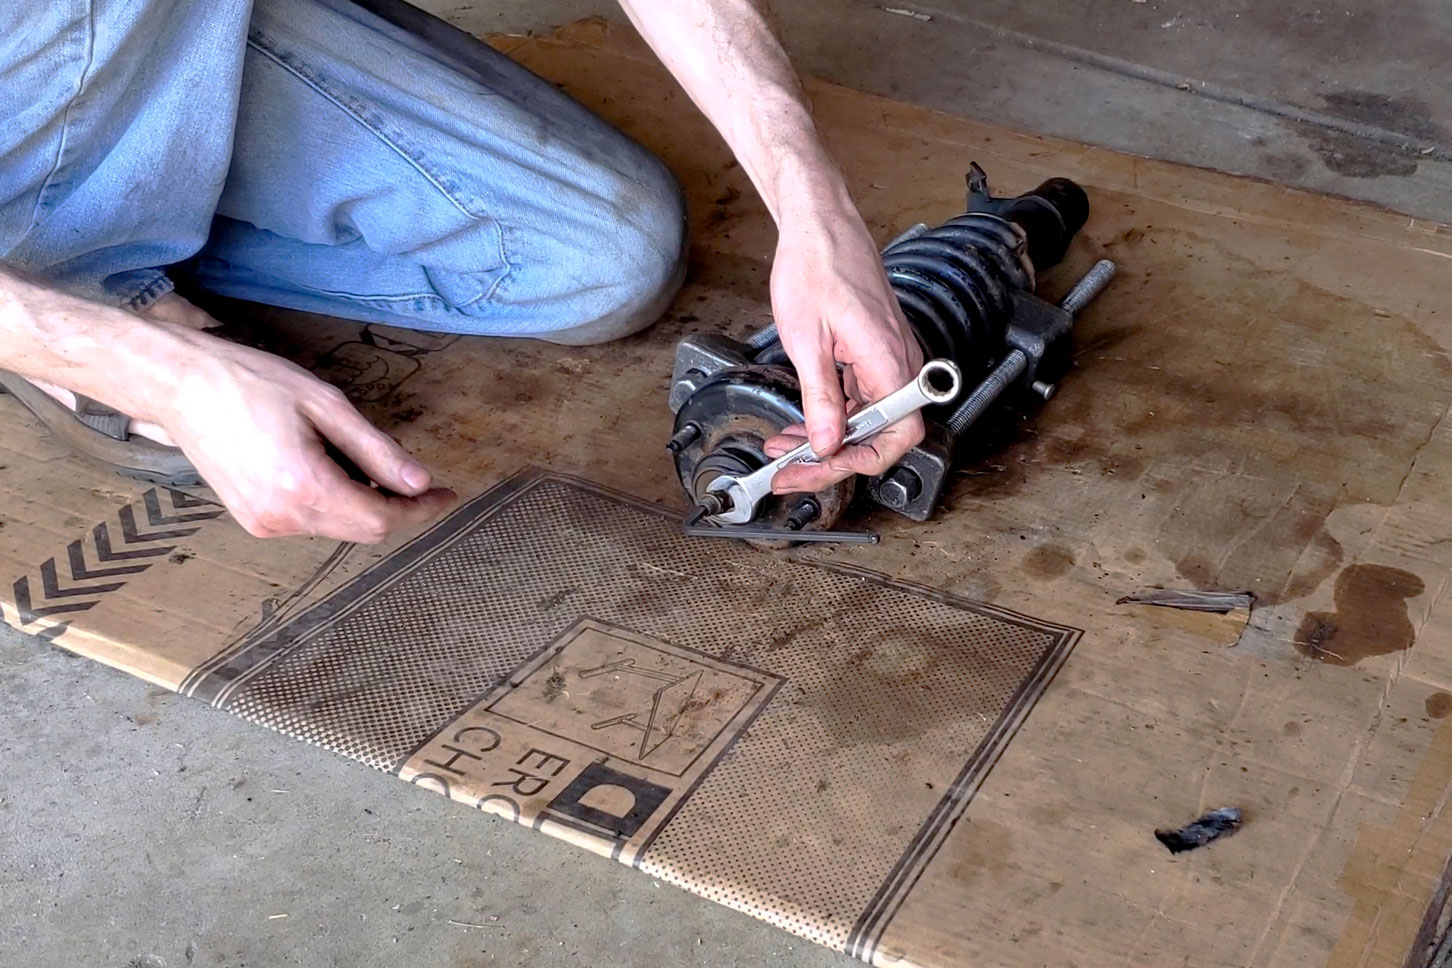
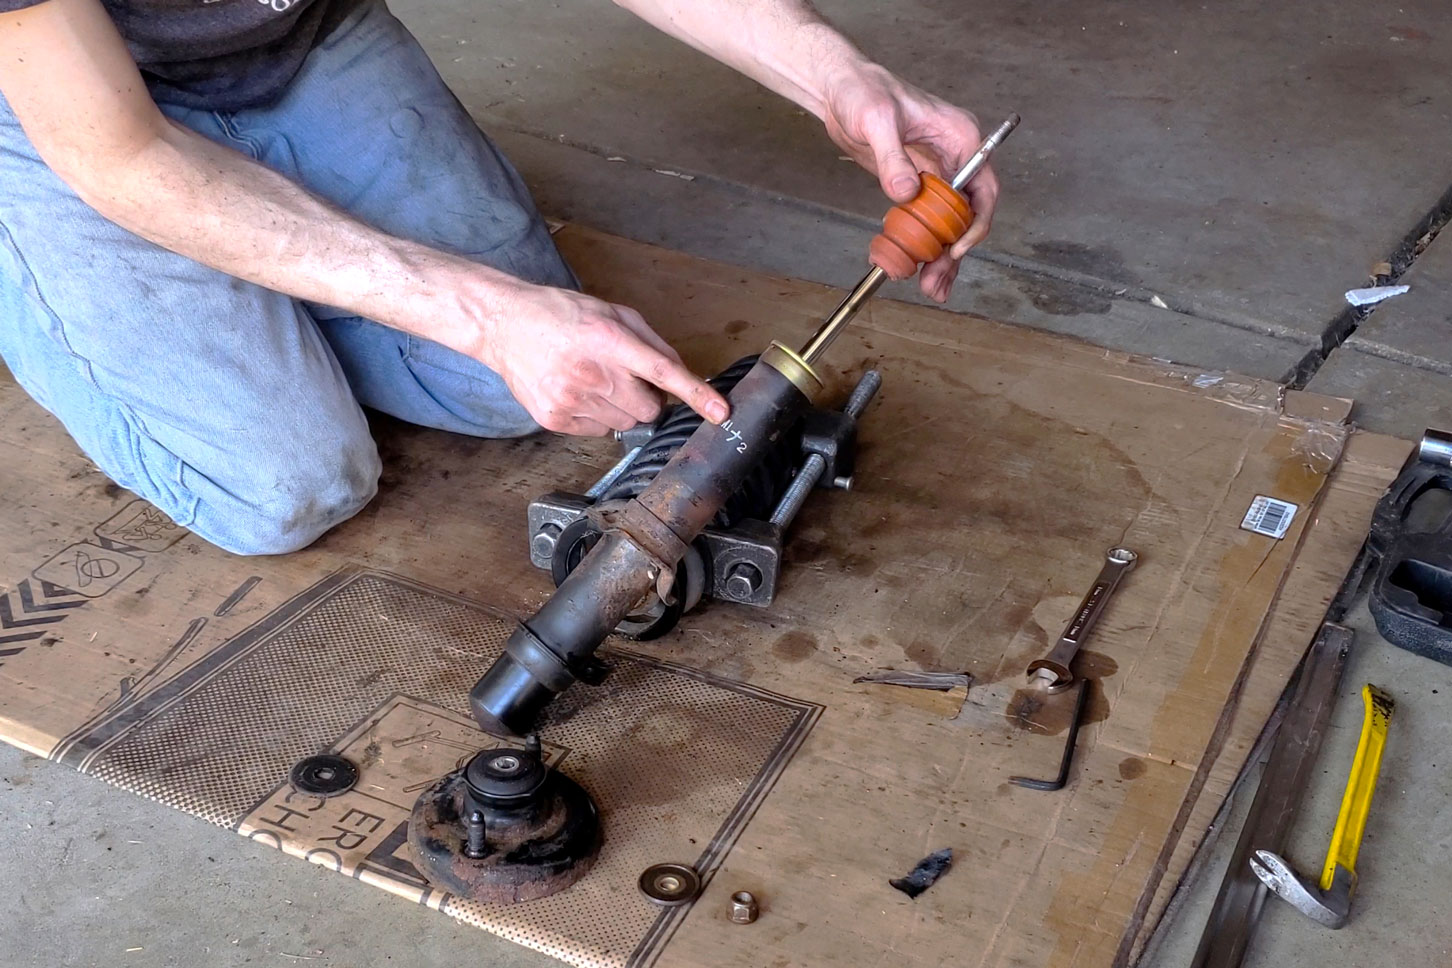
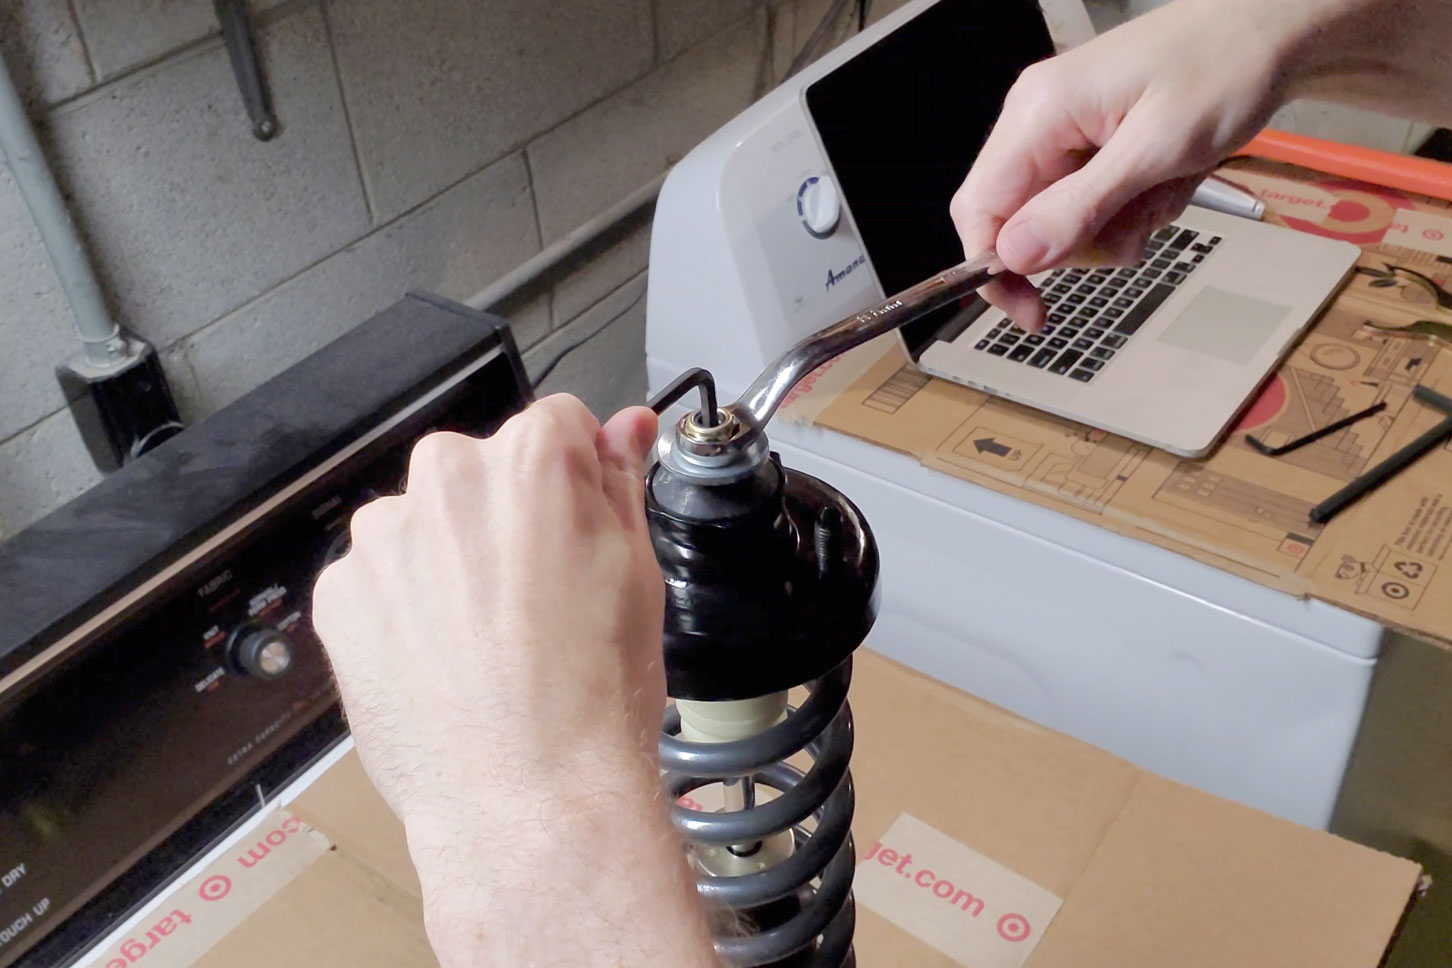
After compressing the spring enough to unseat it from the top hat, I could loosen the nut and disassemble the strut.

The top nut needs to be loosened while holding the shaft in place with a hex key. After 28 years, it can be very stubborn.

The difference in spring height when uncompressed is dramatic. These store a lot of energy.
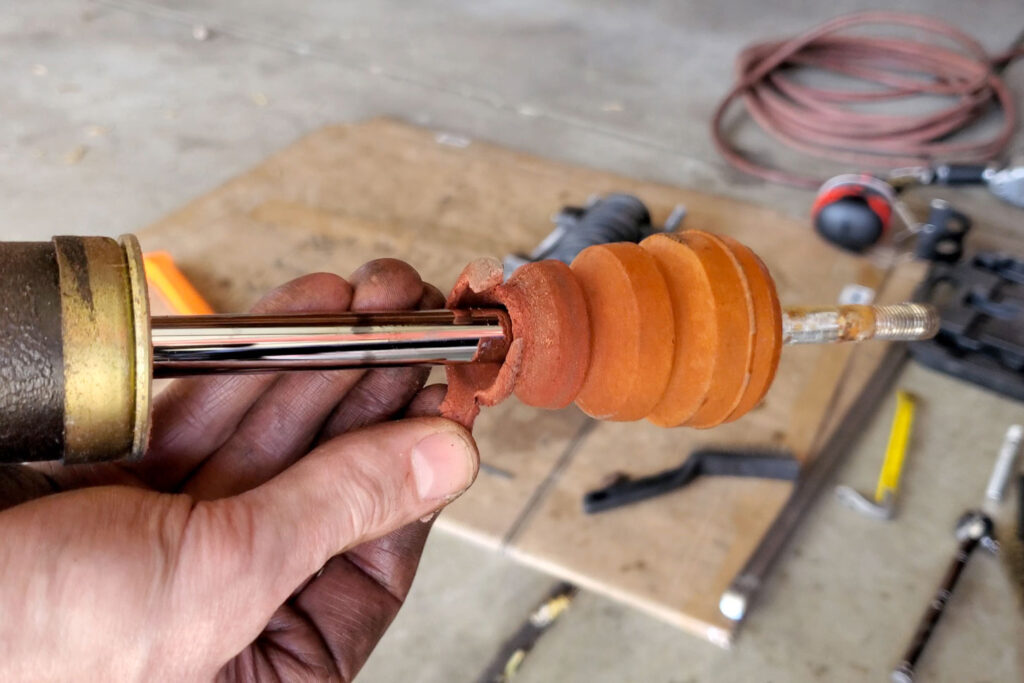
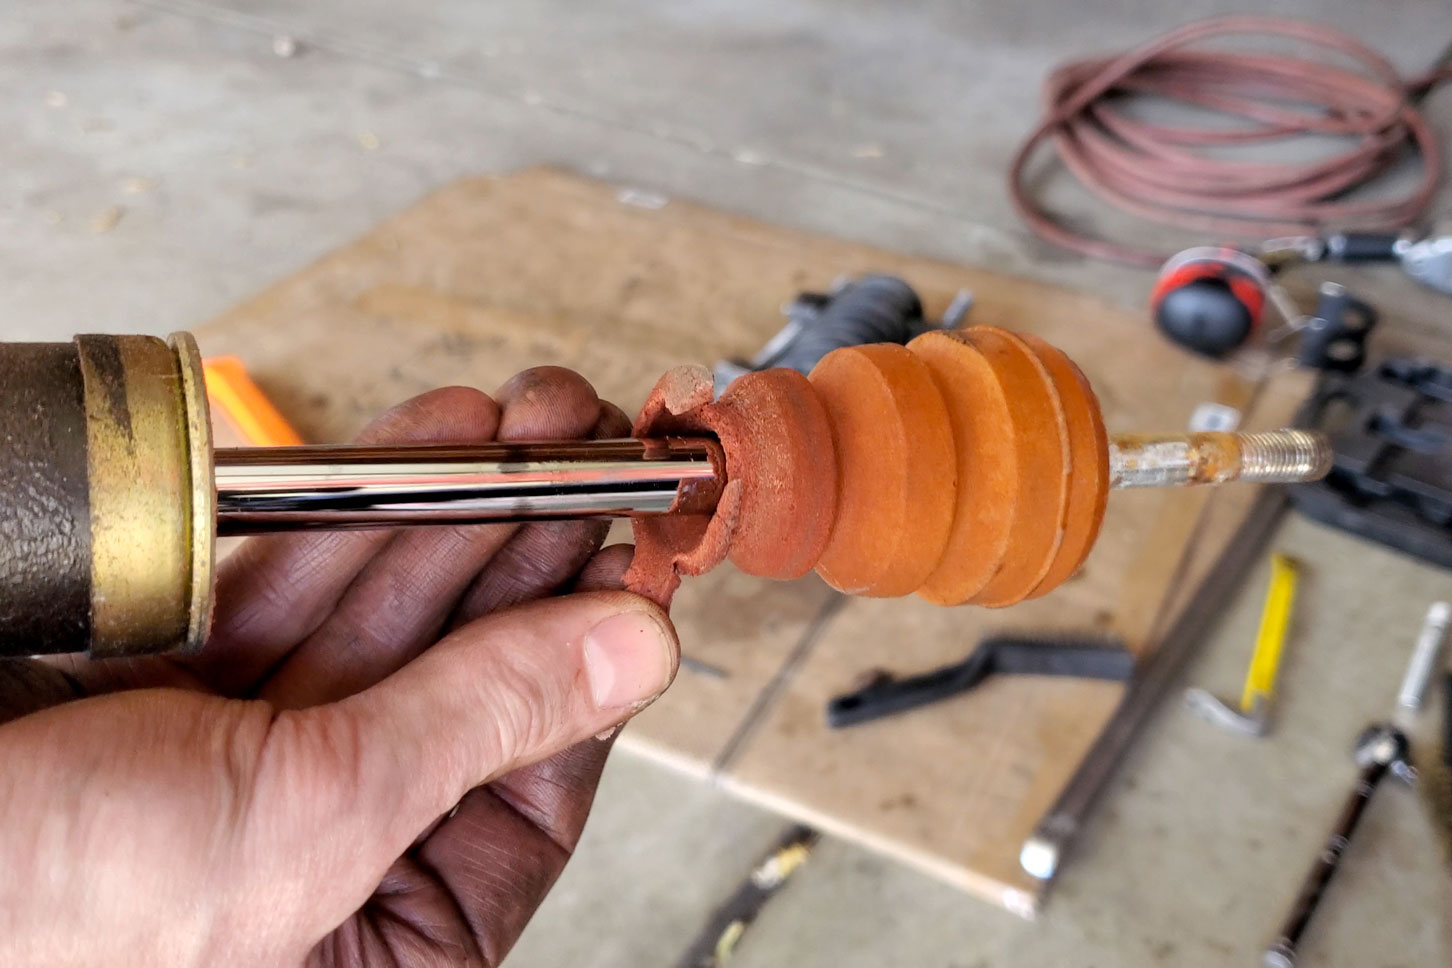
The bump stops were mostly still there, but definitely crumbling to bits.

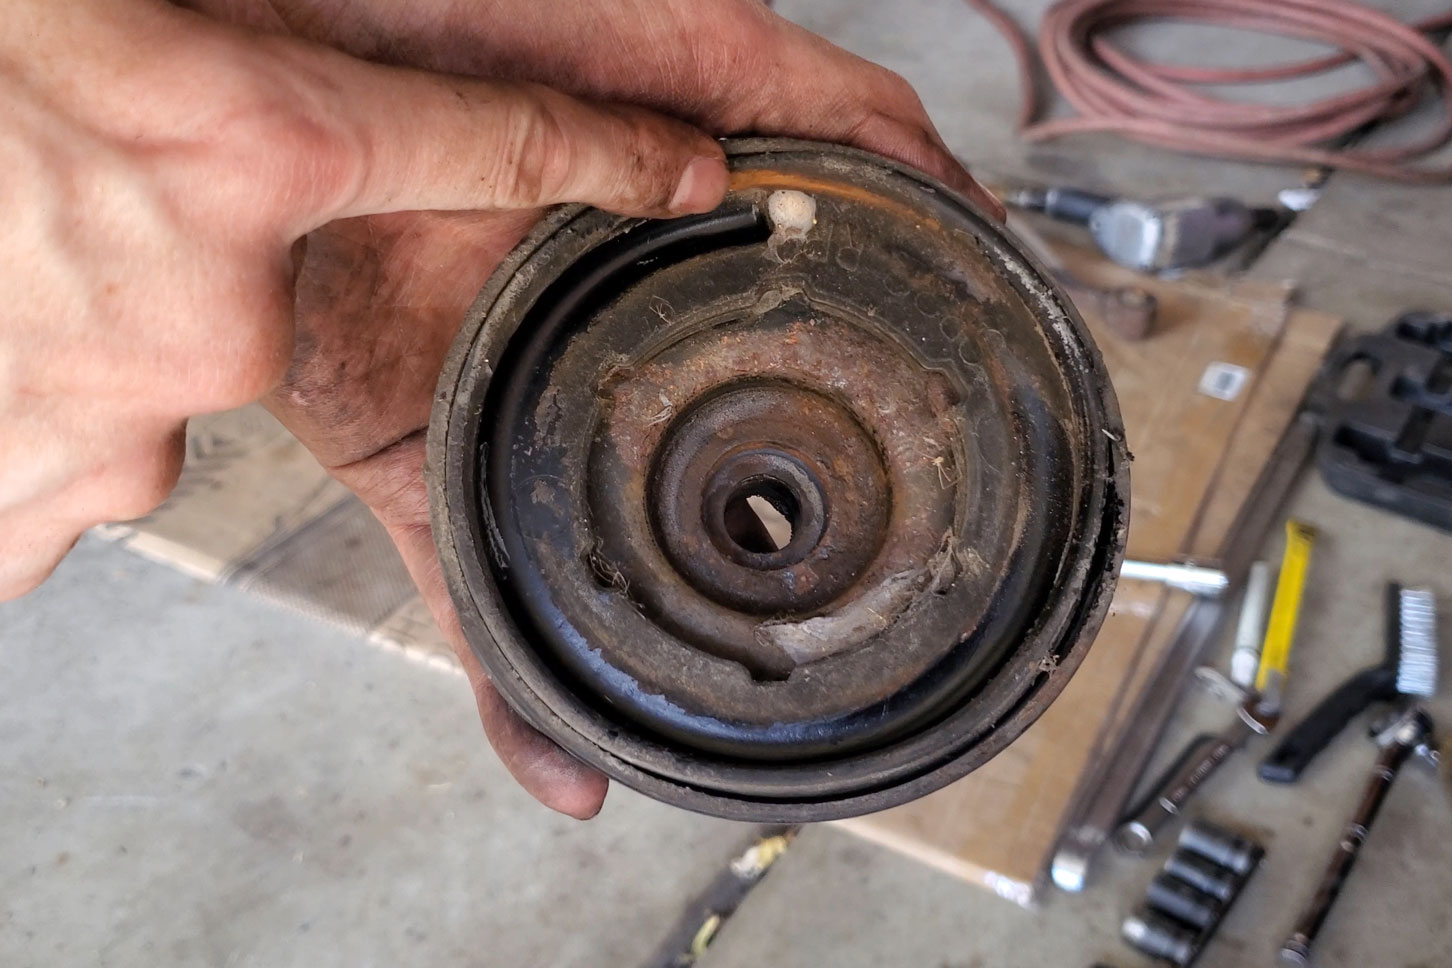
I think a spider lived here once.
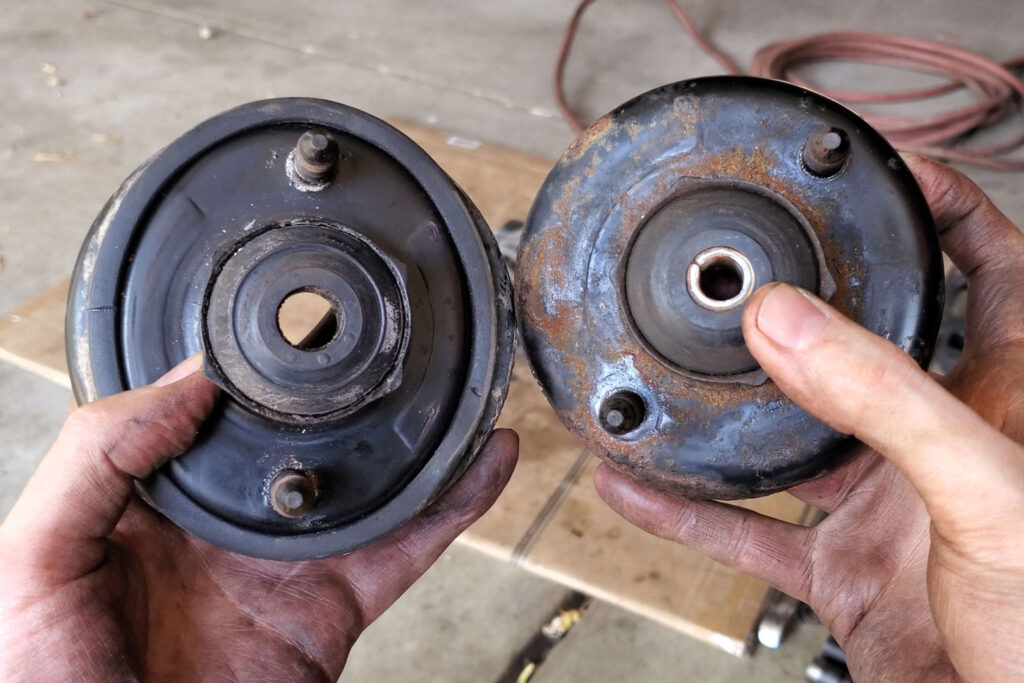
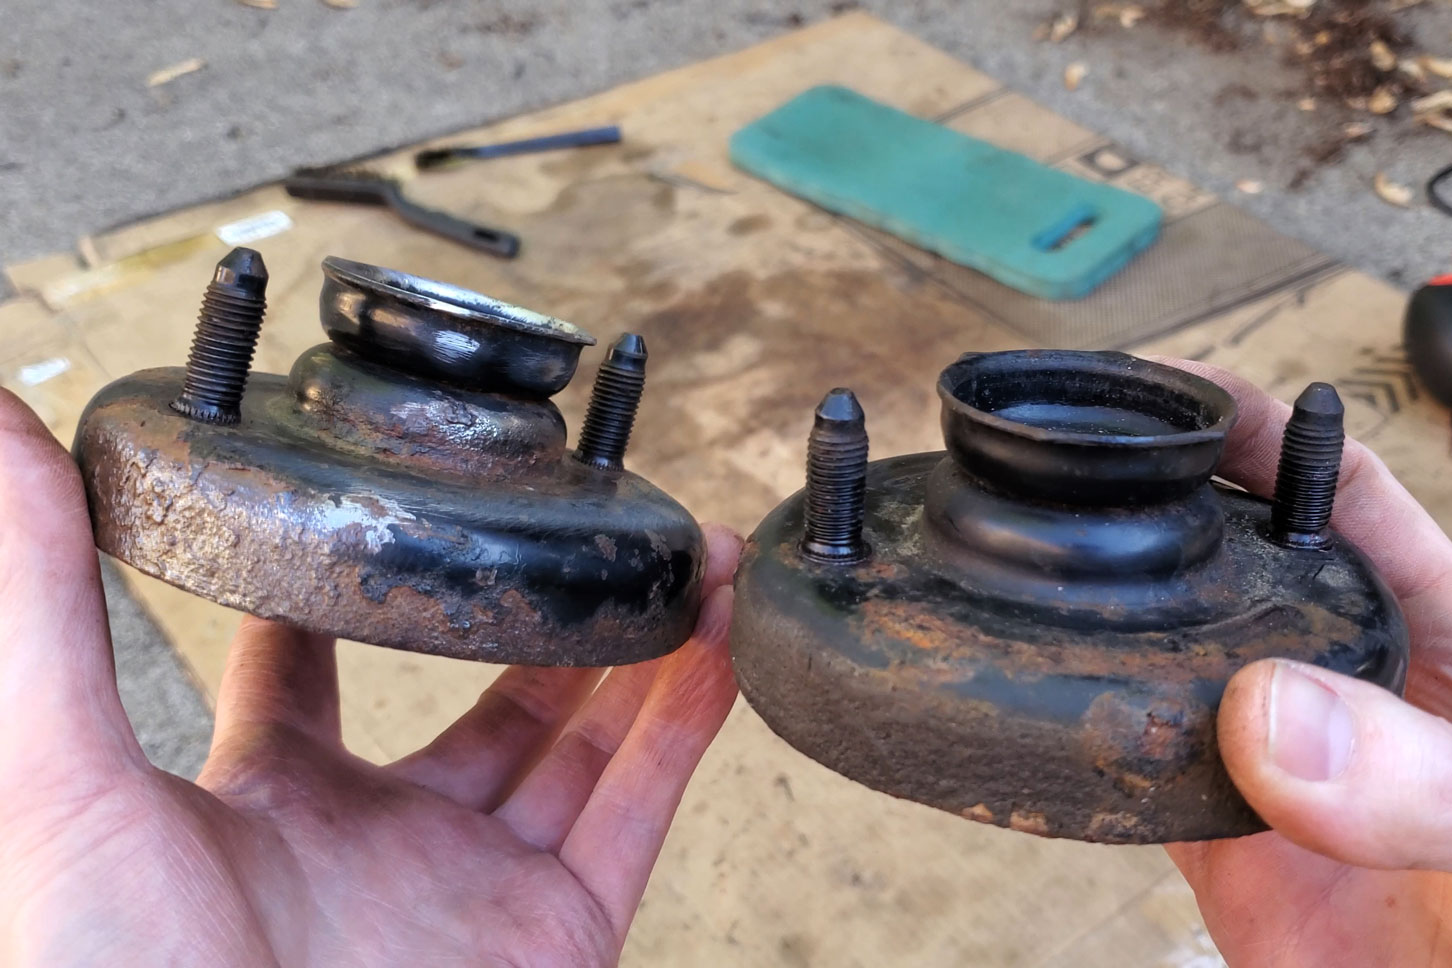
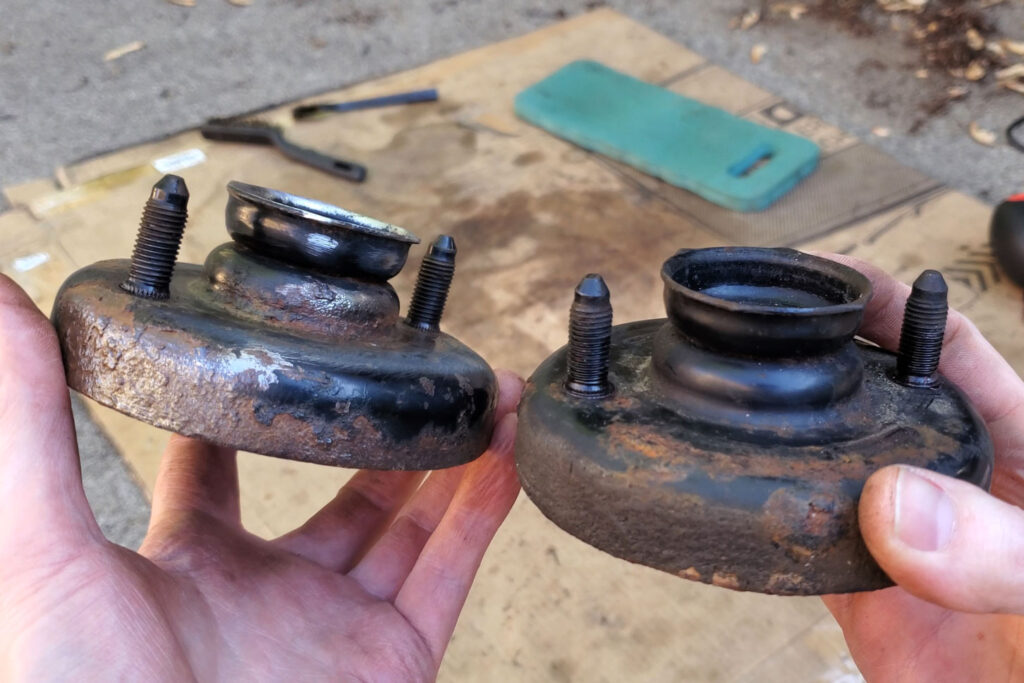
For some reason, there is a slight difference between the front and rear top hats. Rear is on the left.
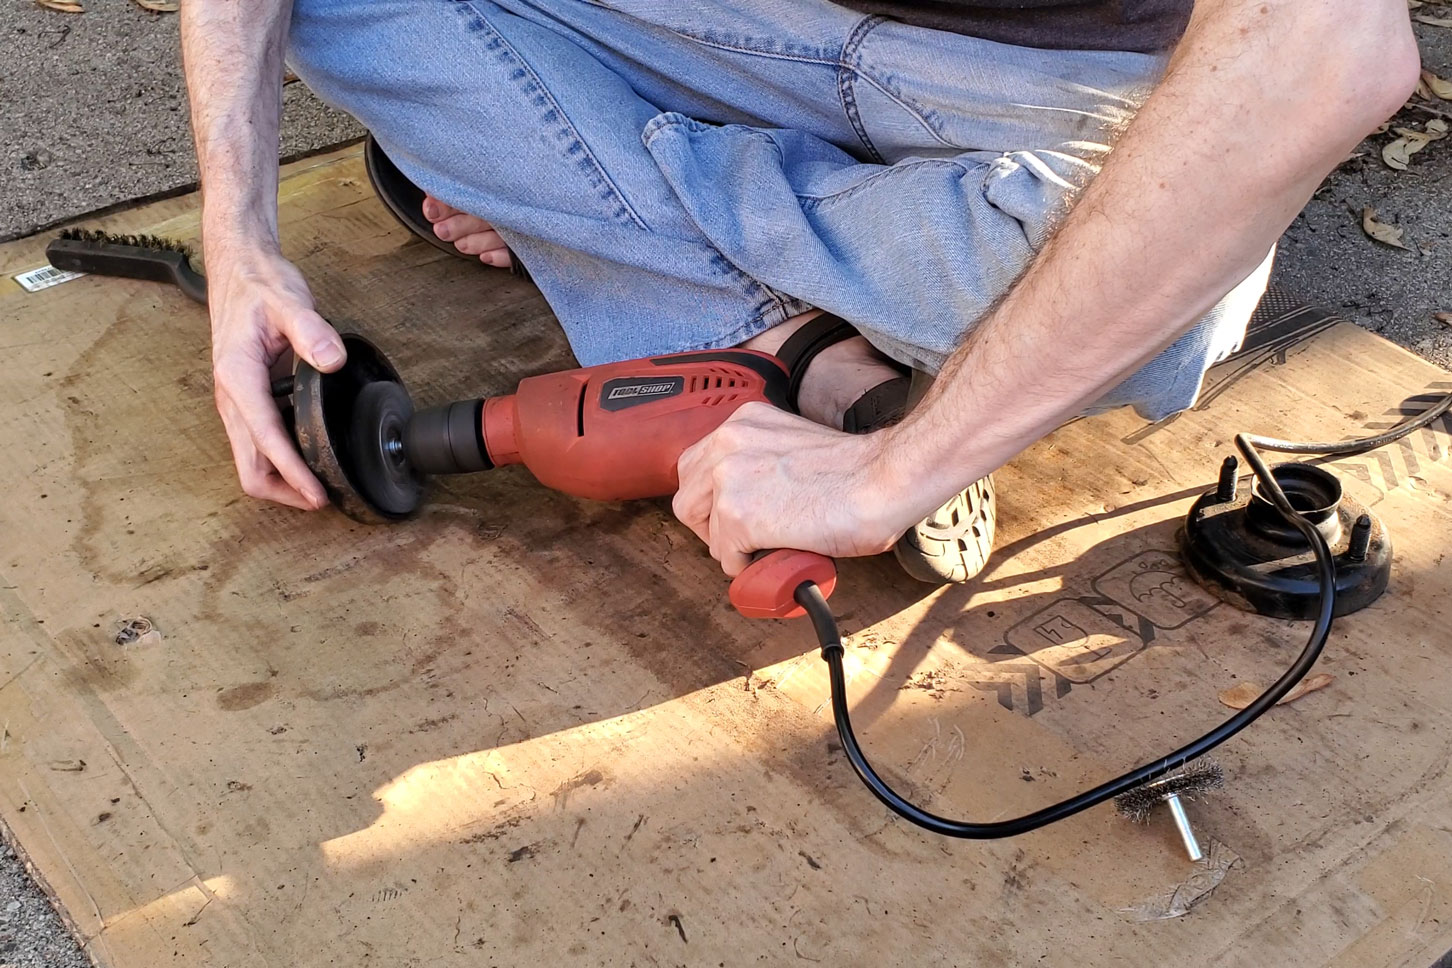
After getting the top hats out, it was clear they needed some restoration. They were solid, but the surface rust had become scaly. I attacked them first with a drill and wire wheel. Back then, I did not have a vise or a workbench, so I had to get creative with keeping them in place.

Yes, I did hurt my hand once. It took a long time for the scars from the wire wheel to go away.
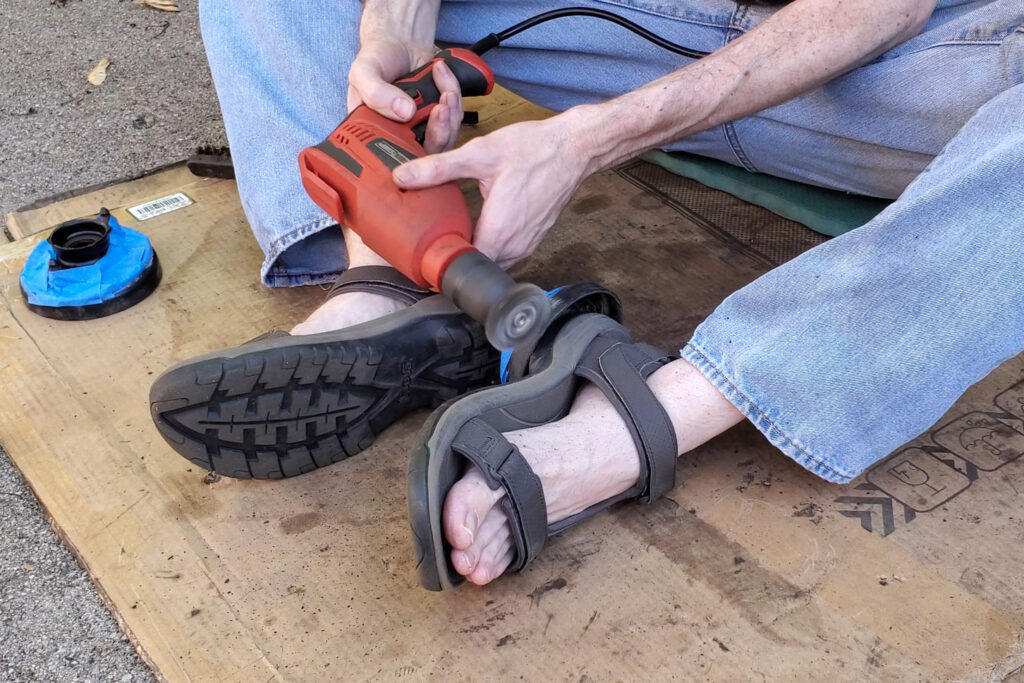
This was marginally safer. Please don’t judge my choice of footwear. I assure you, these are approved work sandals. Trust me.
Comparing the results. On the left is the one I used the wire wheel on, in case it wasn’t obvious.
The wire wheel wasn’t cutting it, so next I borrowed an angle grinder and bought a few flap discs. Those suckers ate through the scaly rust like nothing. I am terrified of angle grinders and try to avoid using them as much as possible, but boy are they effective.
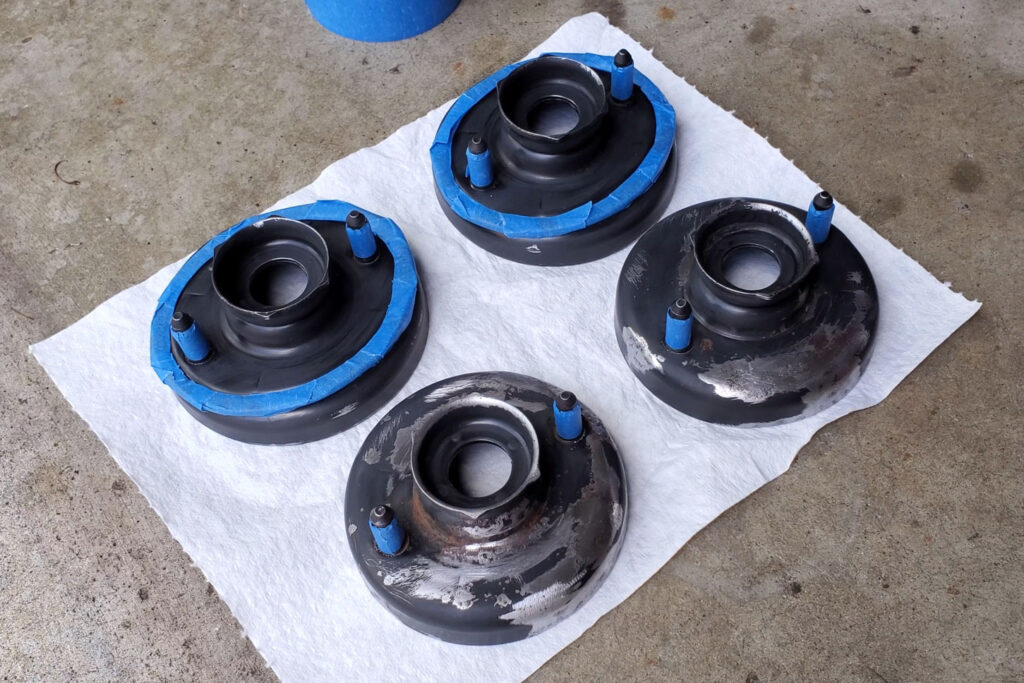
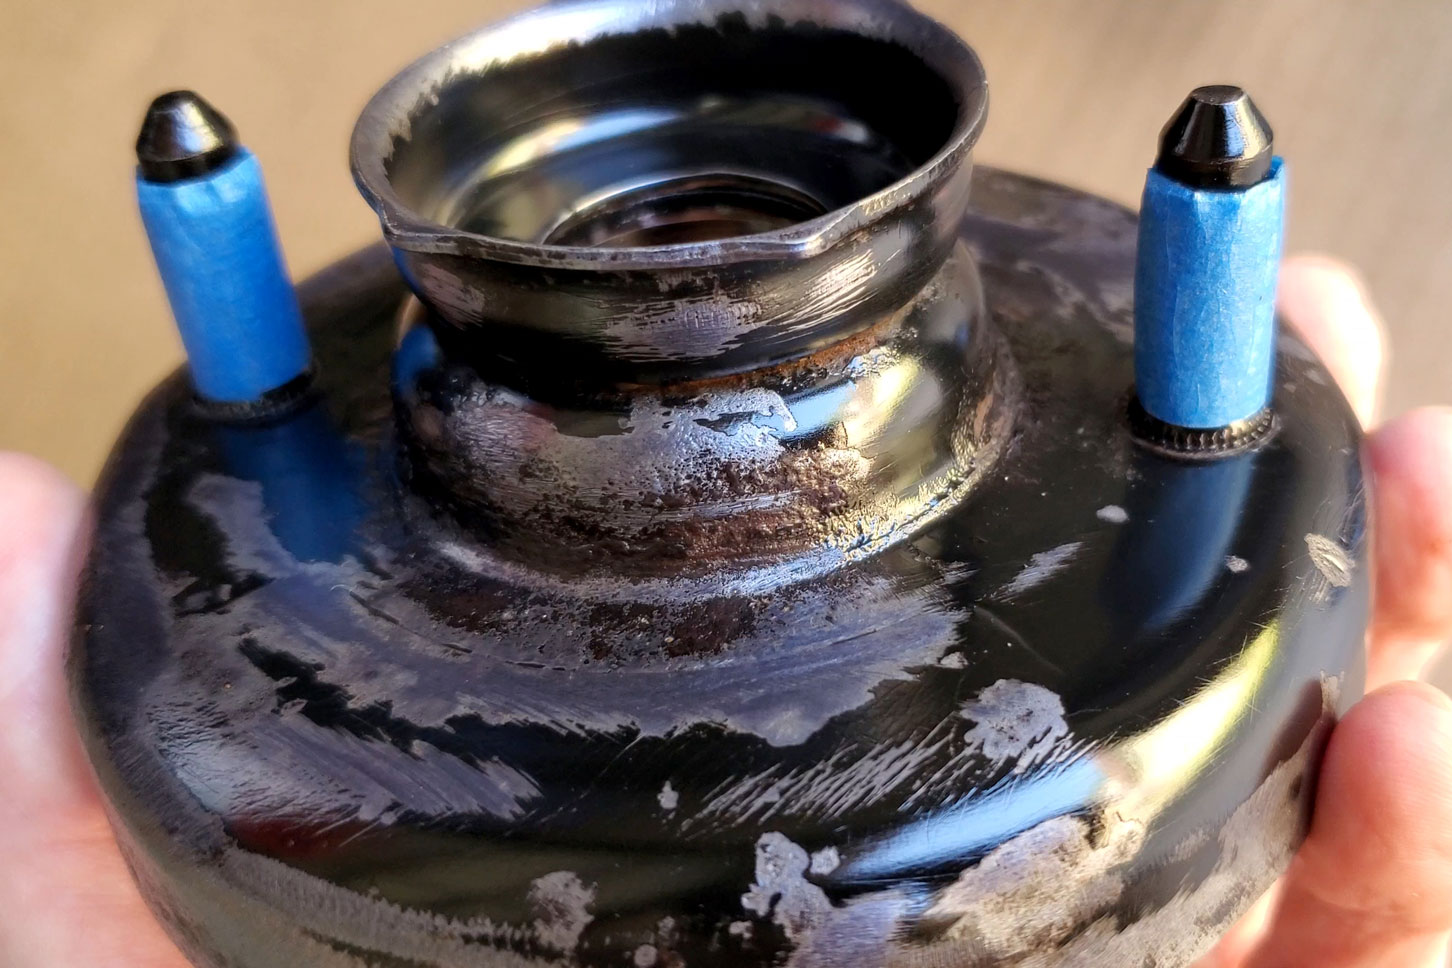
Much of the rust is gone now, and they are masked up for painting.
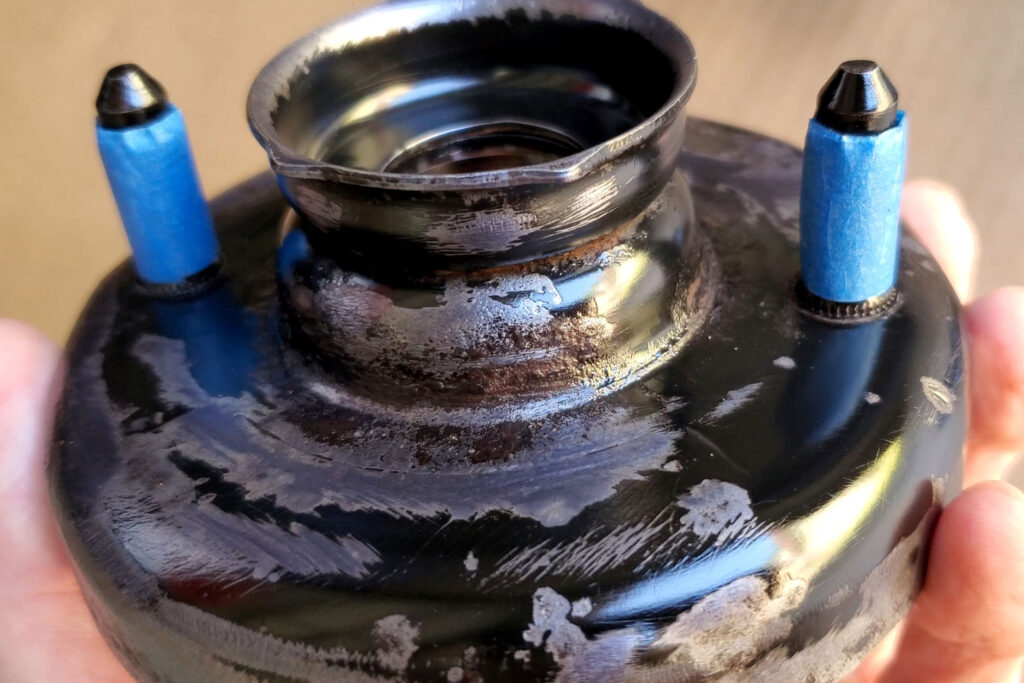
After applying some spray-on rust converter, the rust turns dark and the part gets a dull sheen.
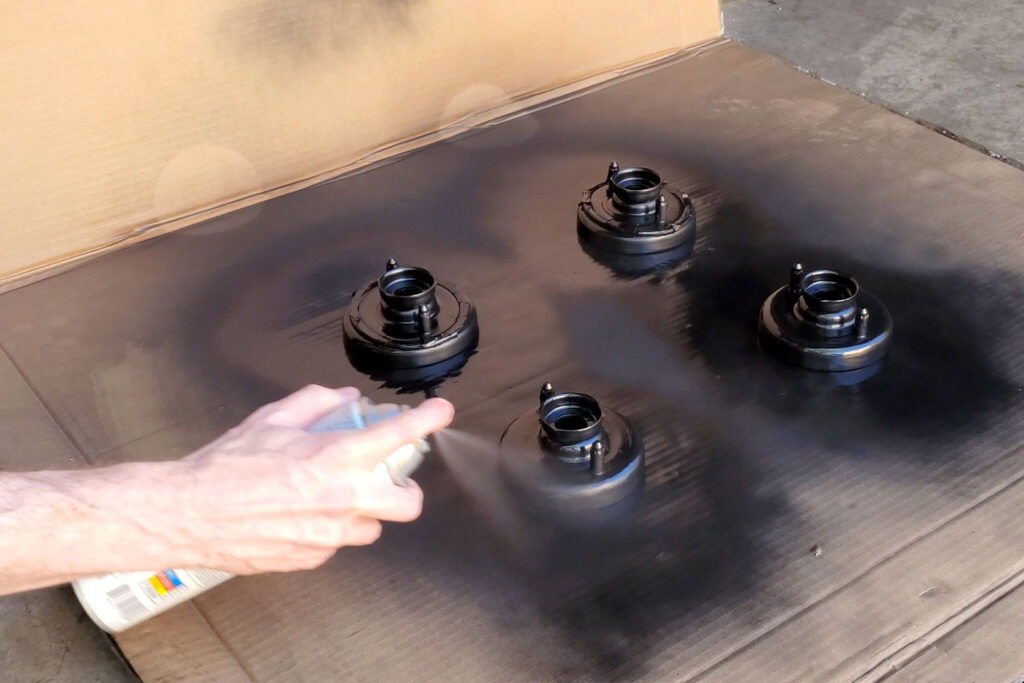
Finally spray painting. Simple black, like the original.
Finally Assembling the Coilovers
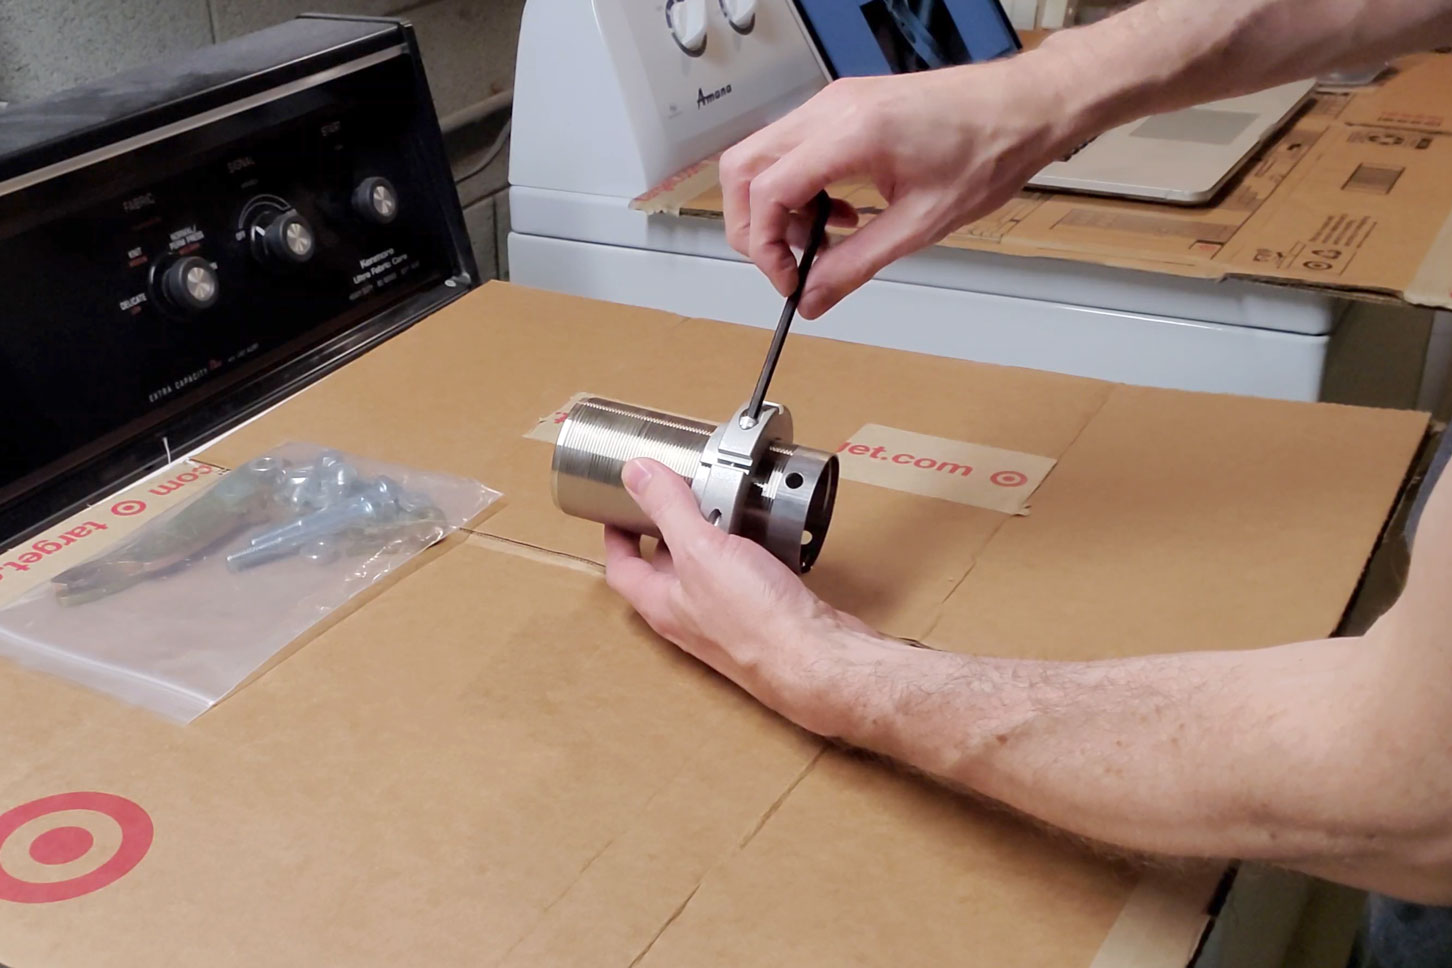
I headed into the basement with my new coilovers and freshly-painted top hats and got to work deciphering the assembly instructions. According to those instructions, this is supposed to be done by a professional mechanic, but I didn’t have one of those around. I also still did not have a workbench, so the laundry machines would have to do. Hey, at least I put some cardboard on top to avoid scratching them.
The kit literally comes as a box full of parts and you have to put them together yourself. The only thing you don’t have to build is the shock body, which is great, because I don’t have any hydraulic fluid handy. The images below walk through the process, which may have changed since I bought mine, so read the instructions carefully if you happen to do this.

Thread the spring perch onto the sleeve and lightly tighten the screw with a hex key to keep it in place.
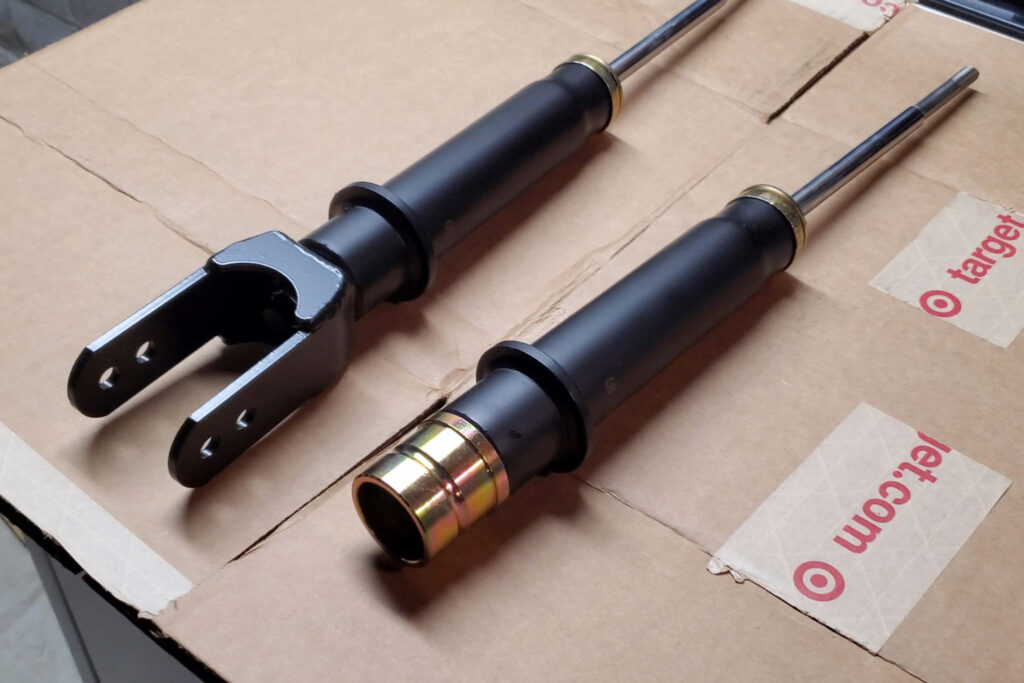
The rear shocks have a fork with two positions for the lower control arm bolt.
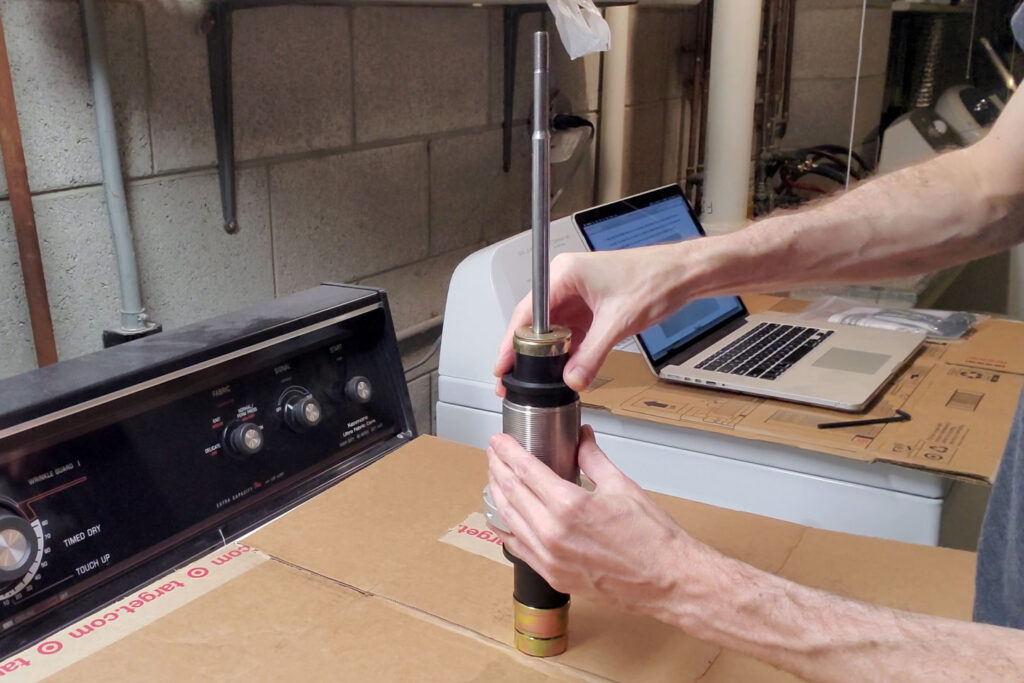
Slip the sleeve onto the shock body with the unthreaded part to the bottom. Press in the poly bushing until it is fully seated all the way around. It’s a tight fit; a plastic mallet may help.

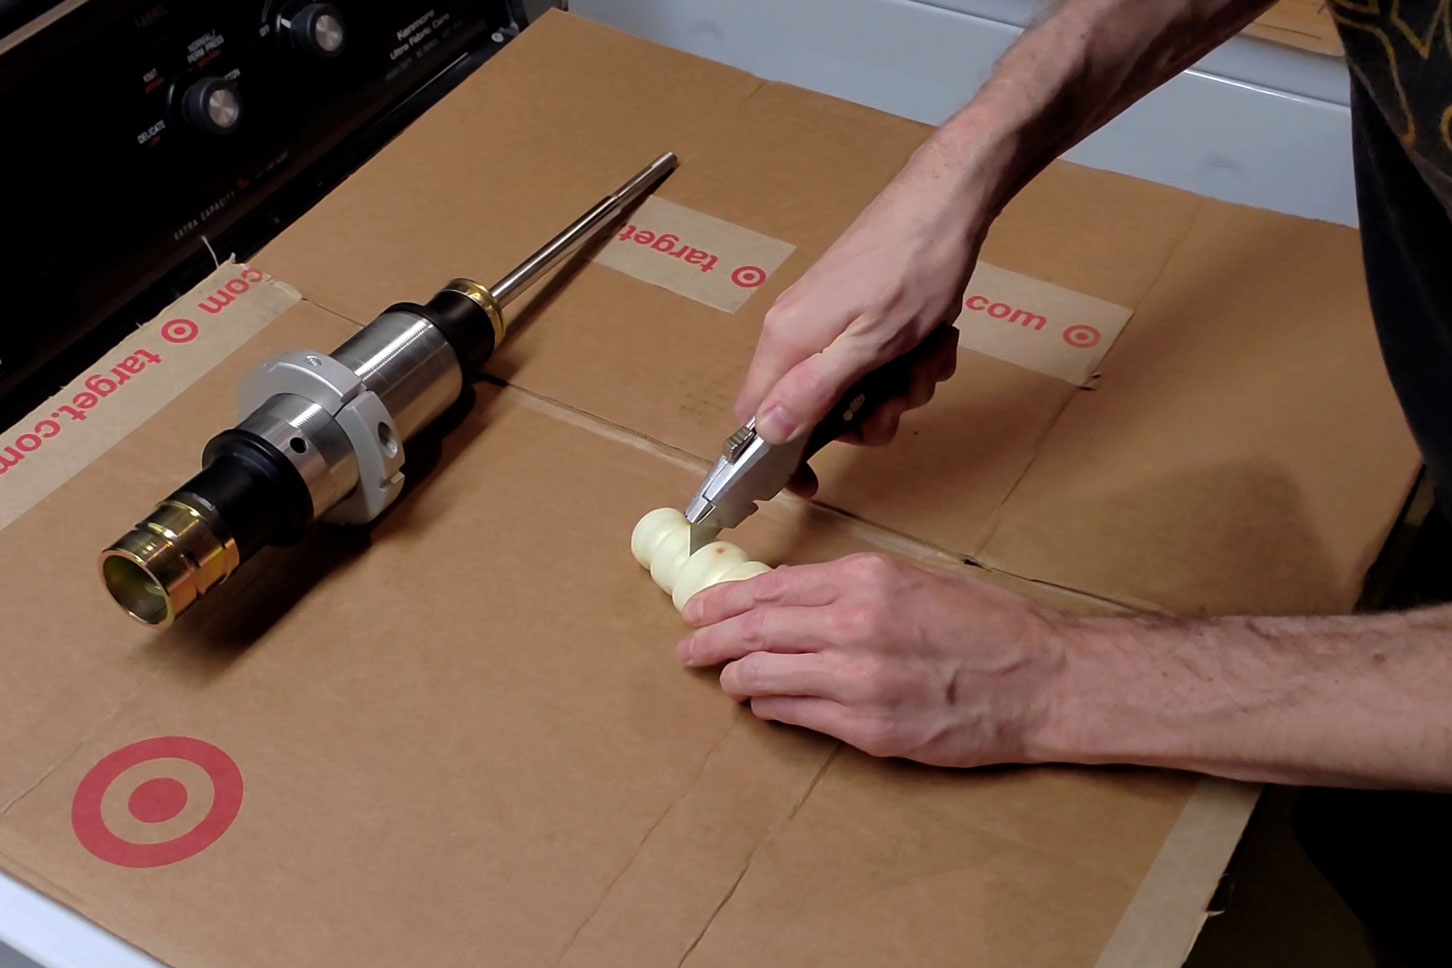
The bump stops need to be trimmed to length, depending on how low you intend to drop the car. The instructions indicate where to cut.

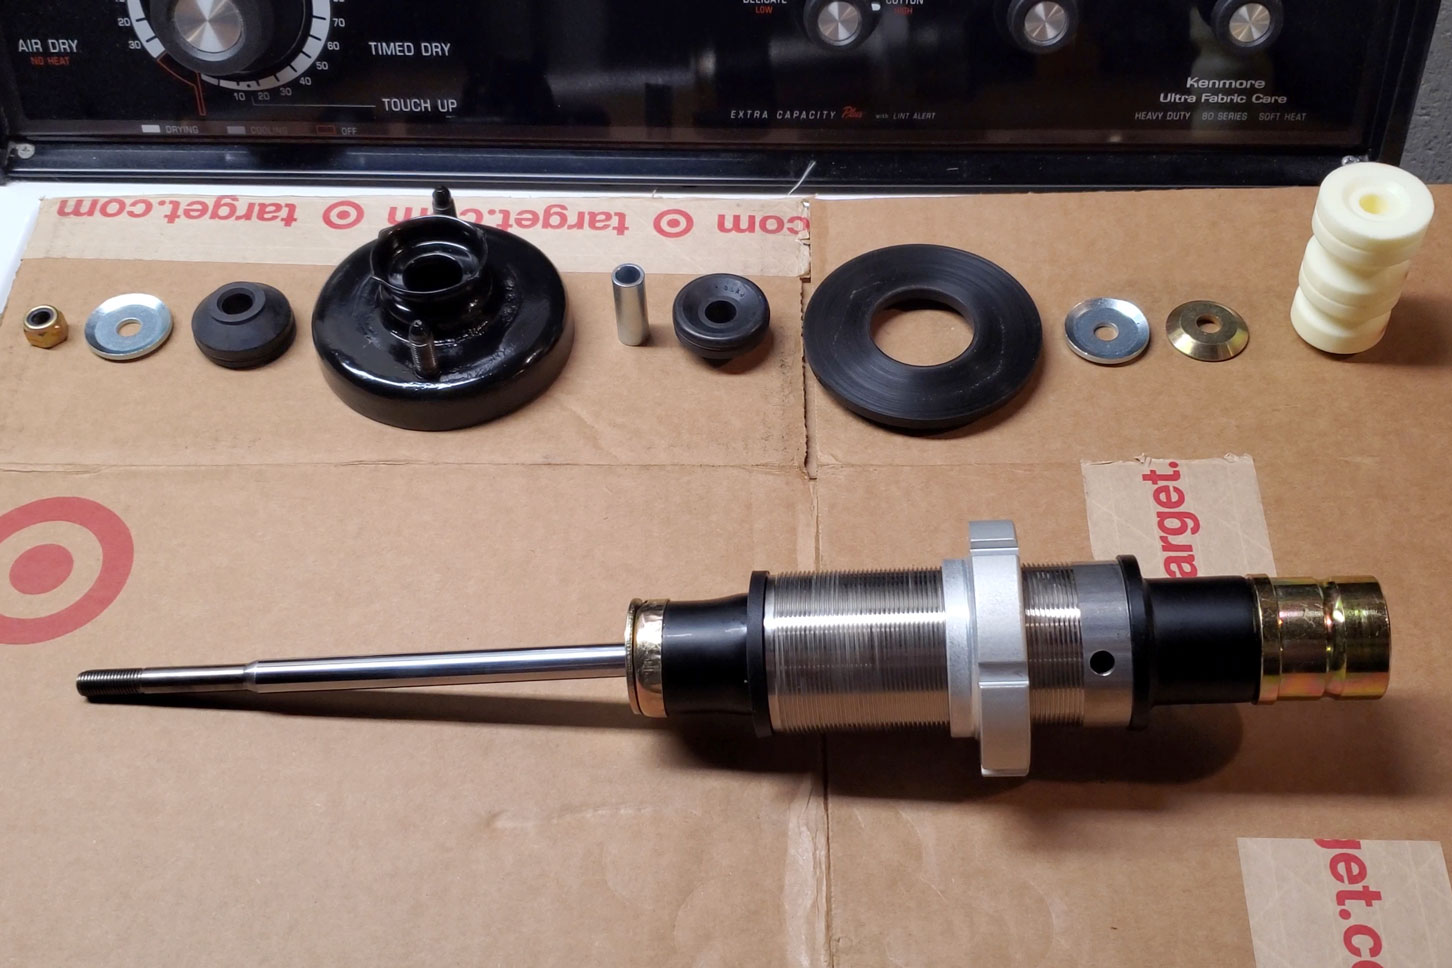
The top end parts laid out roughly in sequence.
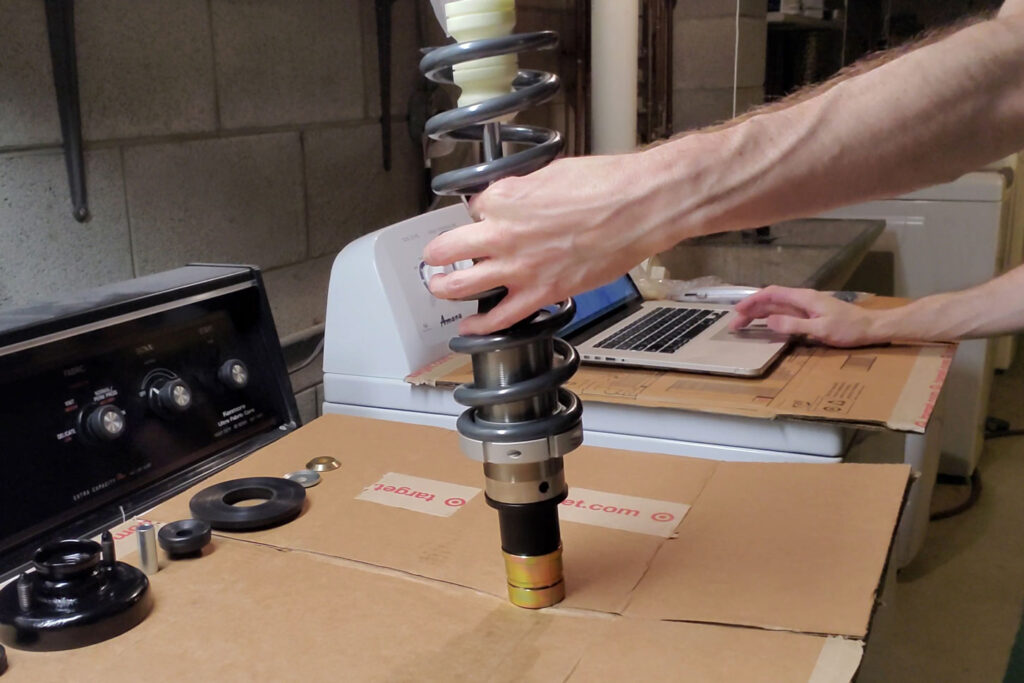
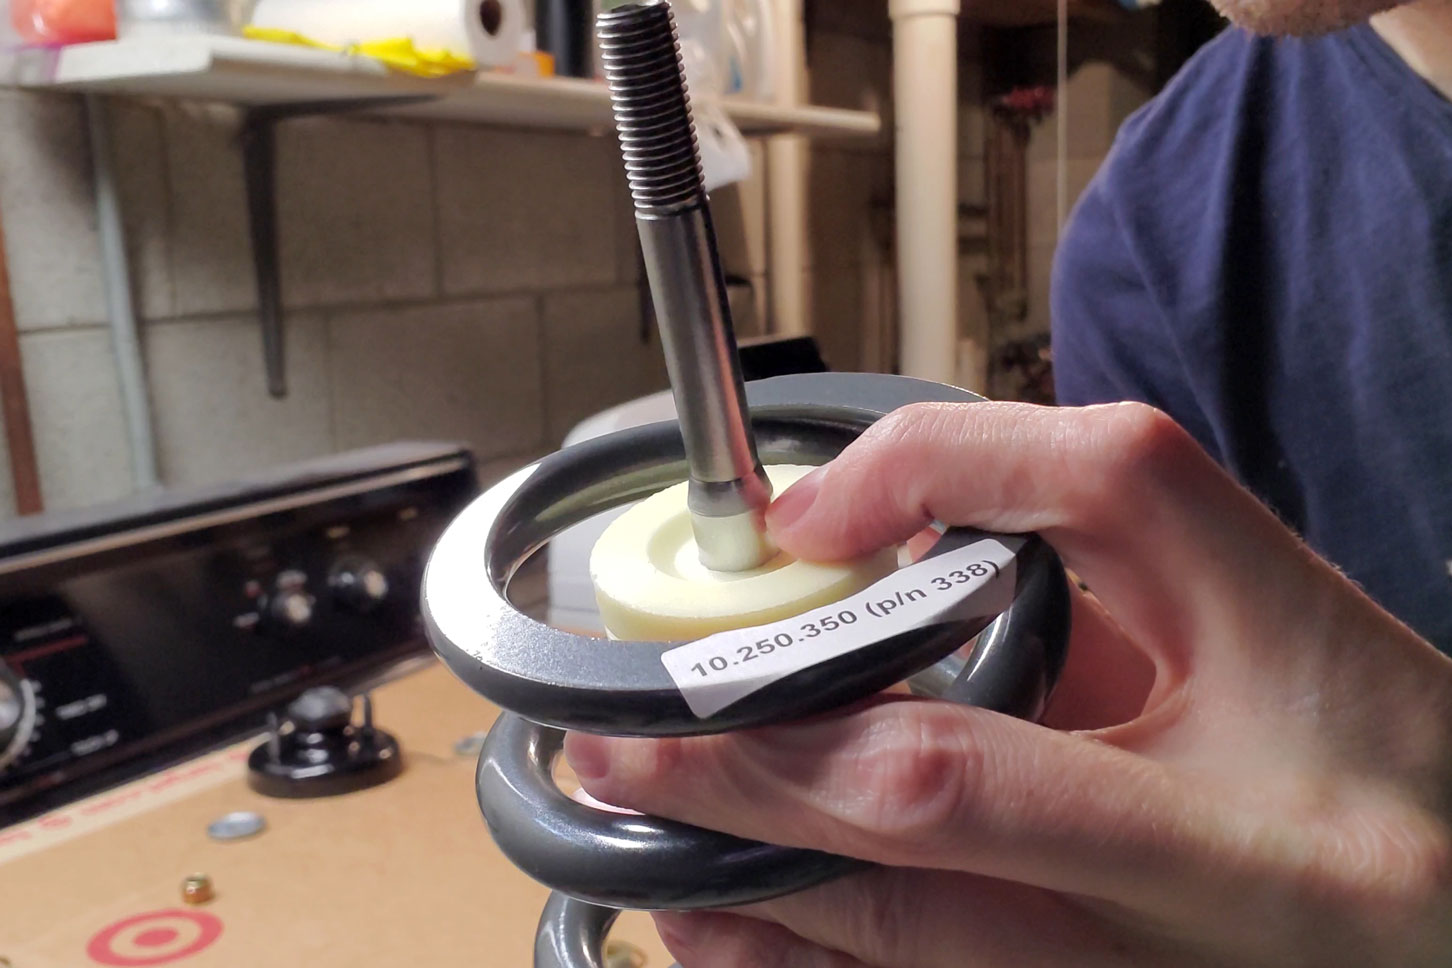
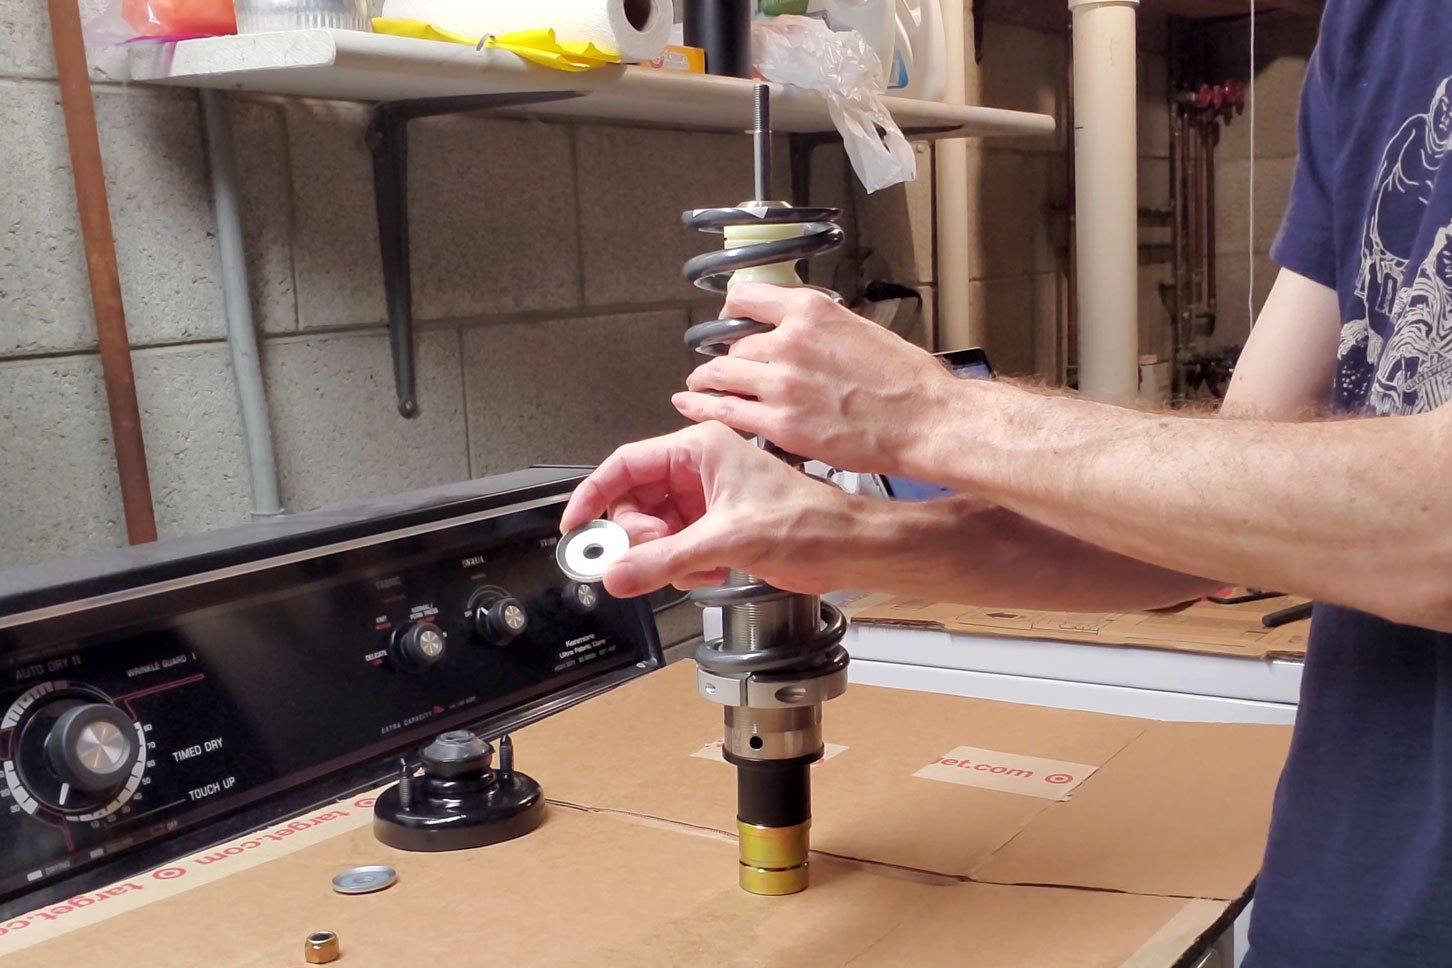
Place the spring onto the perch. Make sure to use the correct spring for the front or rear, since spring rates may be different. Slide the bump stop onto the polished shaft. Don’t ever scratch this shaft!
Press the rubber bushings into the top hat, then push the metal sleeve through them both. The sleeve will not be as long as the hole through the bushings because they will be compressed later.
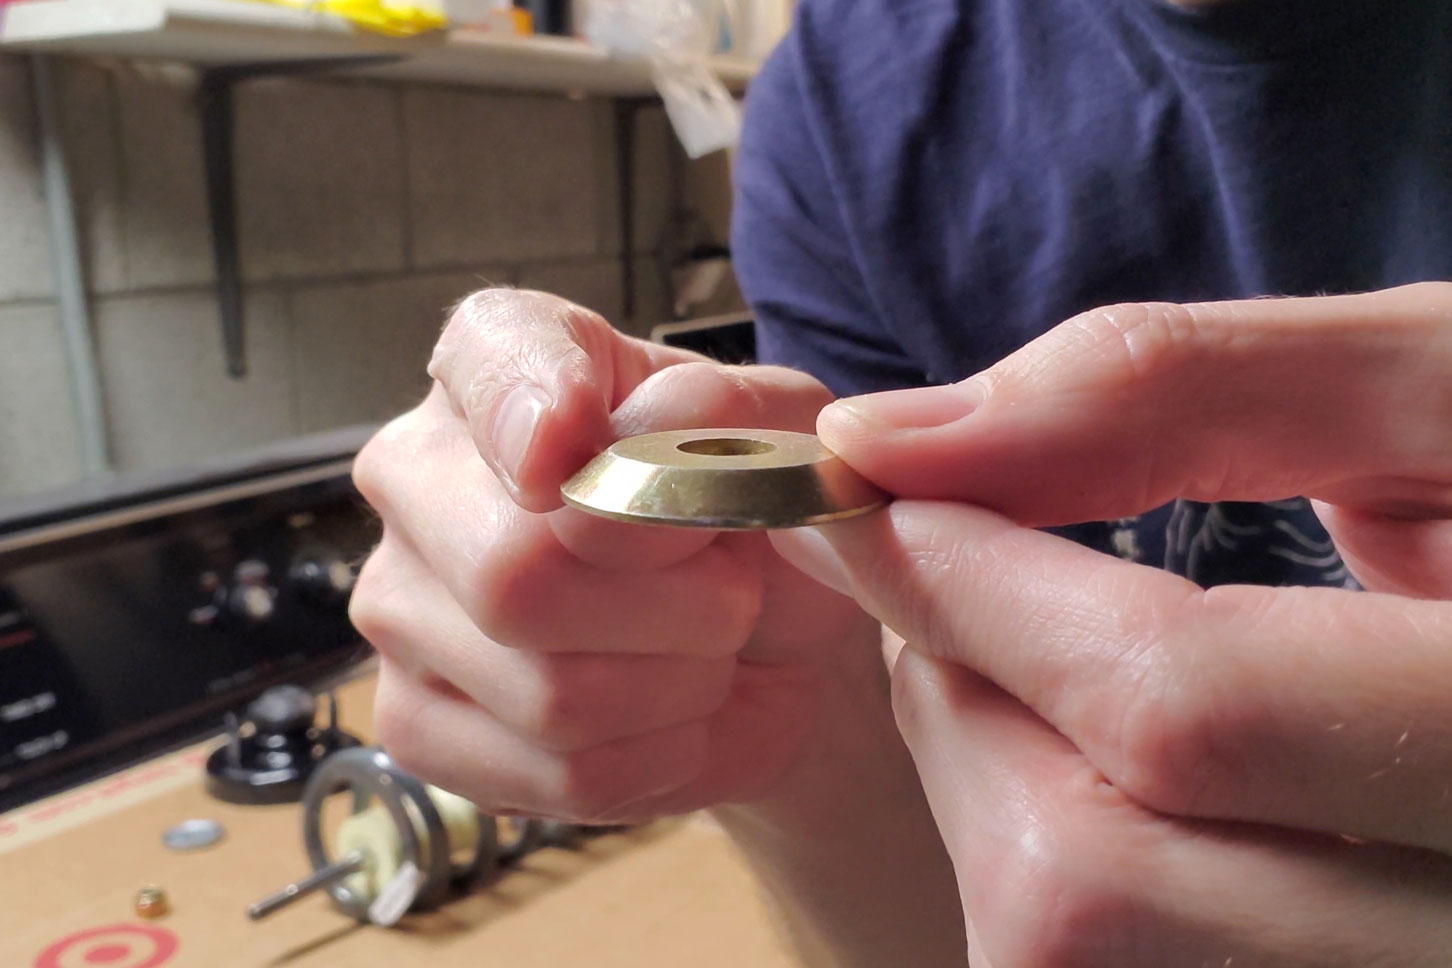
Here’s where things get confusing. Looking at the diagram that comes with the instructions, it appears that the tapered washer should have its narrow end pointing downward. But this results in the washer having a poor fit on the shaft and the whole assembly ends up being too tall to put on the top nut. I noticed that the hole in the center of the tapered washer is also tapered, at the same angle as the outer taper. The shaft of the shock absorber has a tapered step in it that matches this angle. So the washer must instead have the taper pointing upward.

This is the wrong way, but the instructions made it look like this was correct. I’m not sure if Progress has fixed this error yet.

This is the correct orientation for the tapered washer.
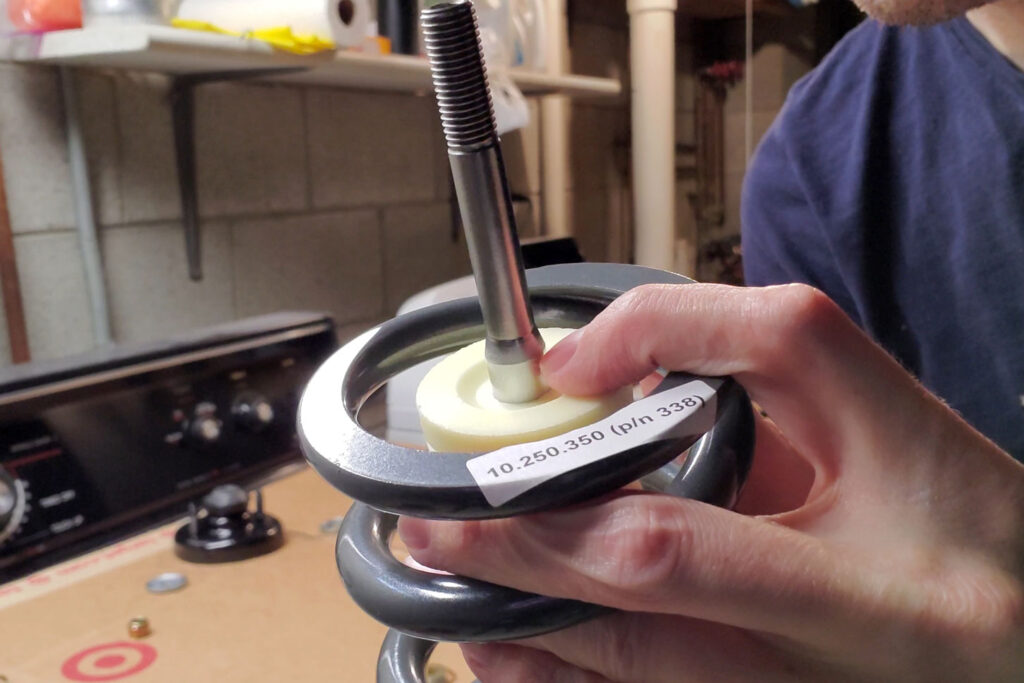
In the correct orientation, the hole in the washer will seat nicely on the tapered step in the shaft.
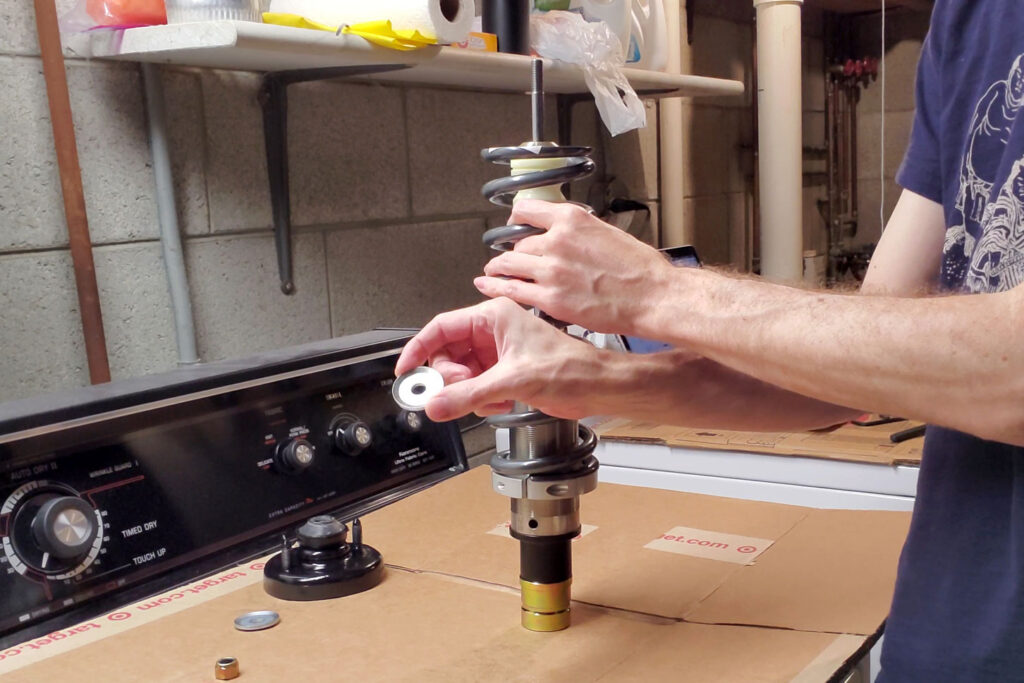
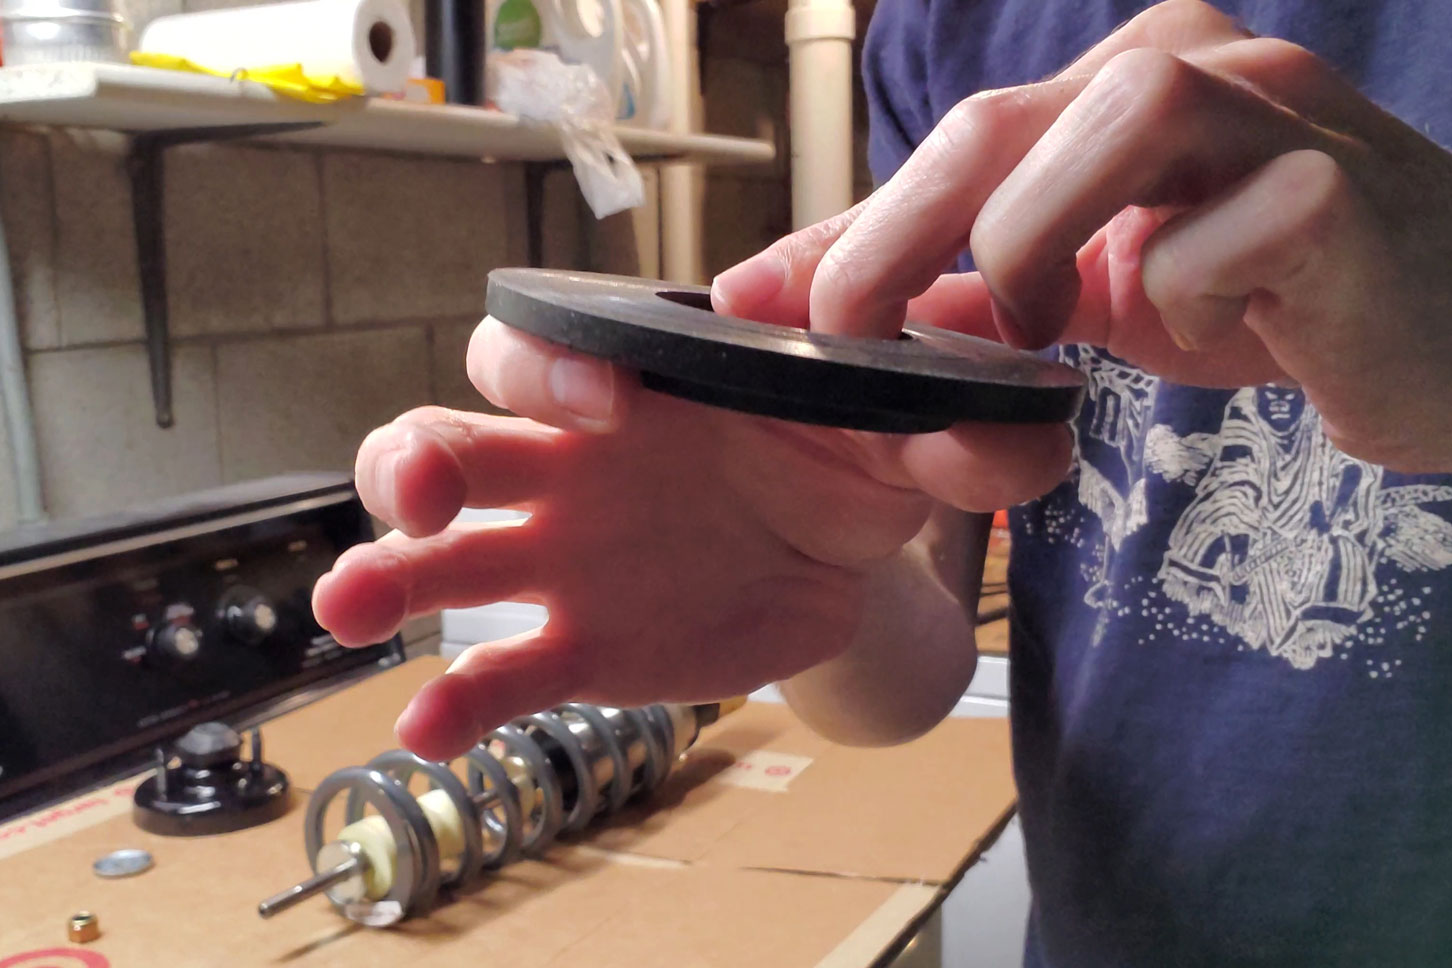
There are two cup washers that both face upward. The first one goes on top of the tapered washer.

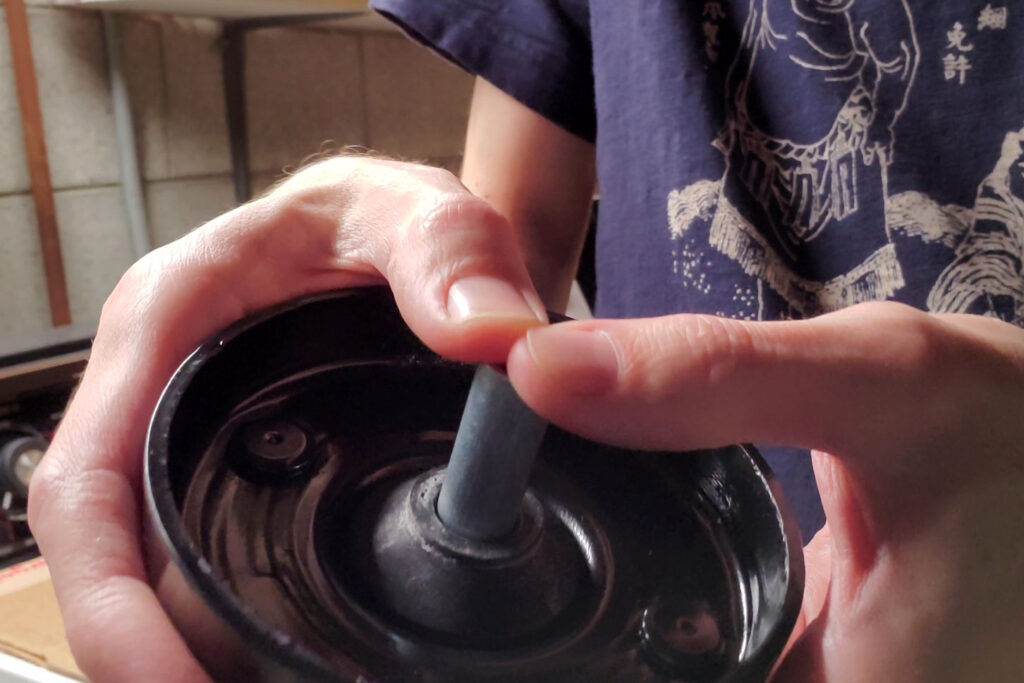
The poly isolator goes on next. It has a lip that should point downward into the spring. In this image, my fingers are showing where the spring would be.

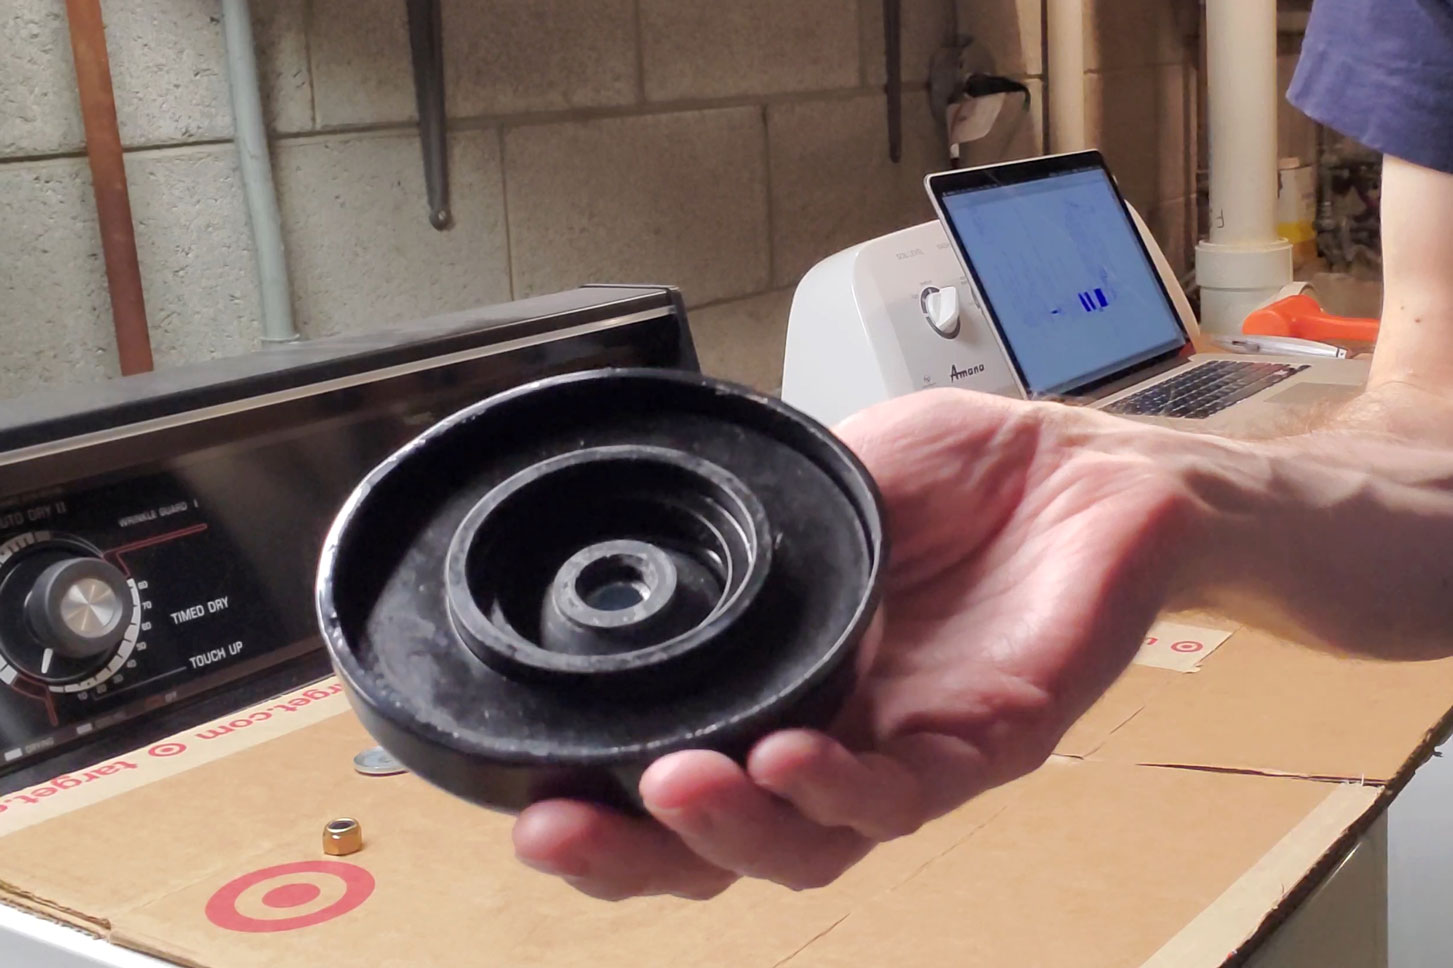
With the top hat upside-down, the poly isolator looks like this.

Slip the poly isolator and top hat on, then slip on the second cup washer, in the same orientation as the first.

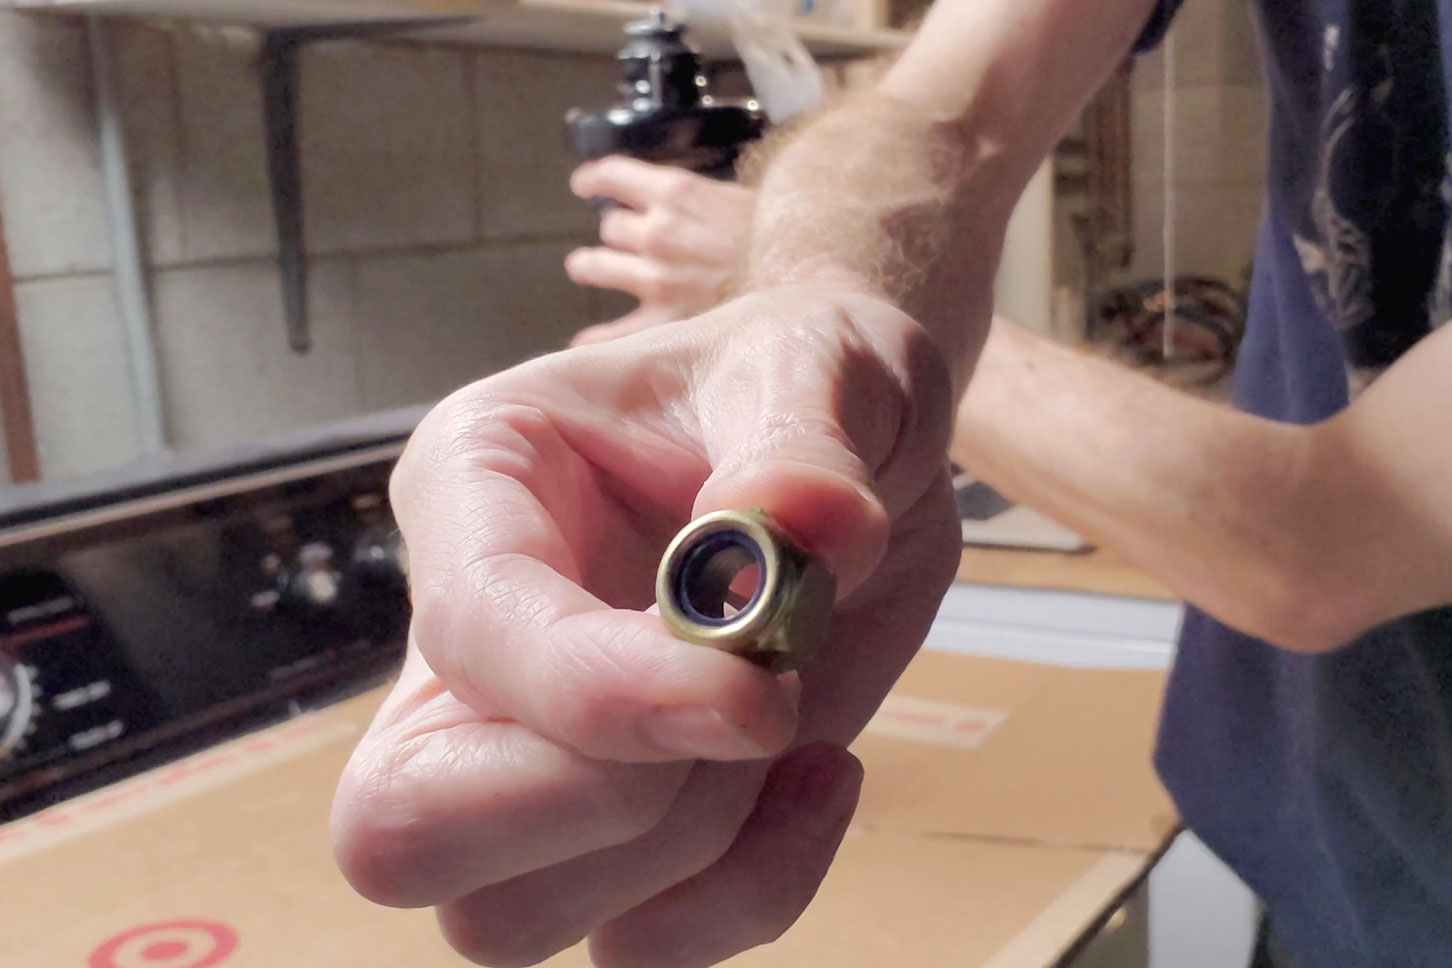
Finally, thread the lock nut on the top.

Tighten the lock nut using a wrench and a hex key to hold the shock in place. According to the instructions, power tools may damage the shock, so just use hand tools. Keep tightening until it stops.
After completing assembly, you have to set the spring preload. The instructions explain this. Starting with a gap of about one-eighth of an inch between the spring and the perch, tighten the perch upwards eight to ten full turns.
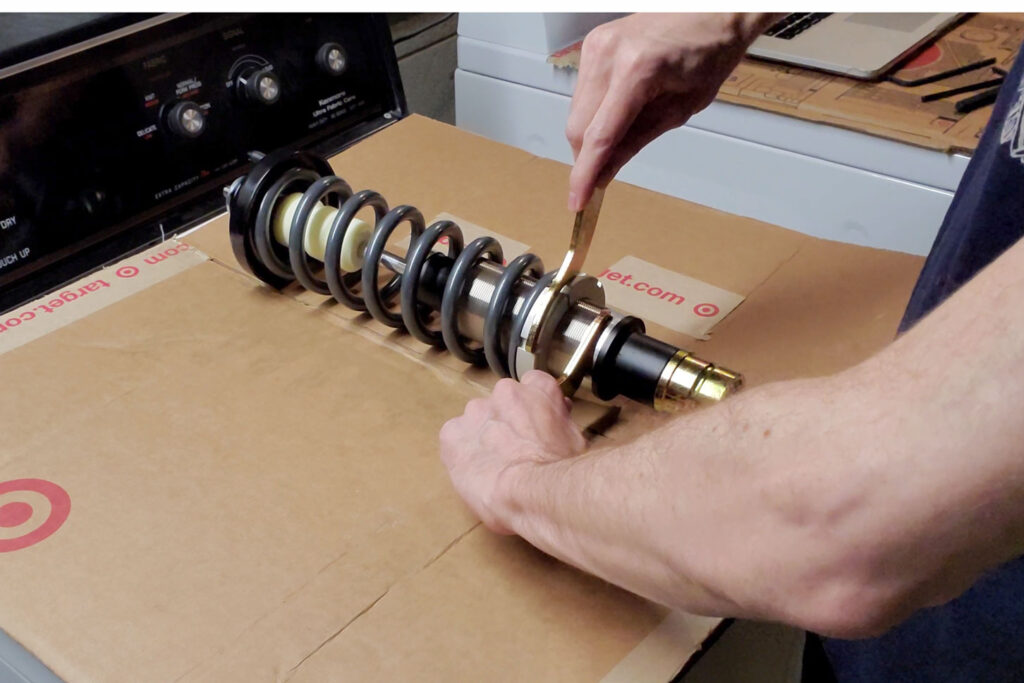
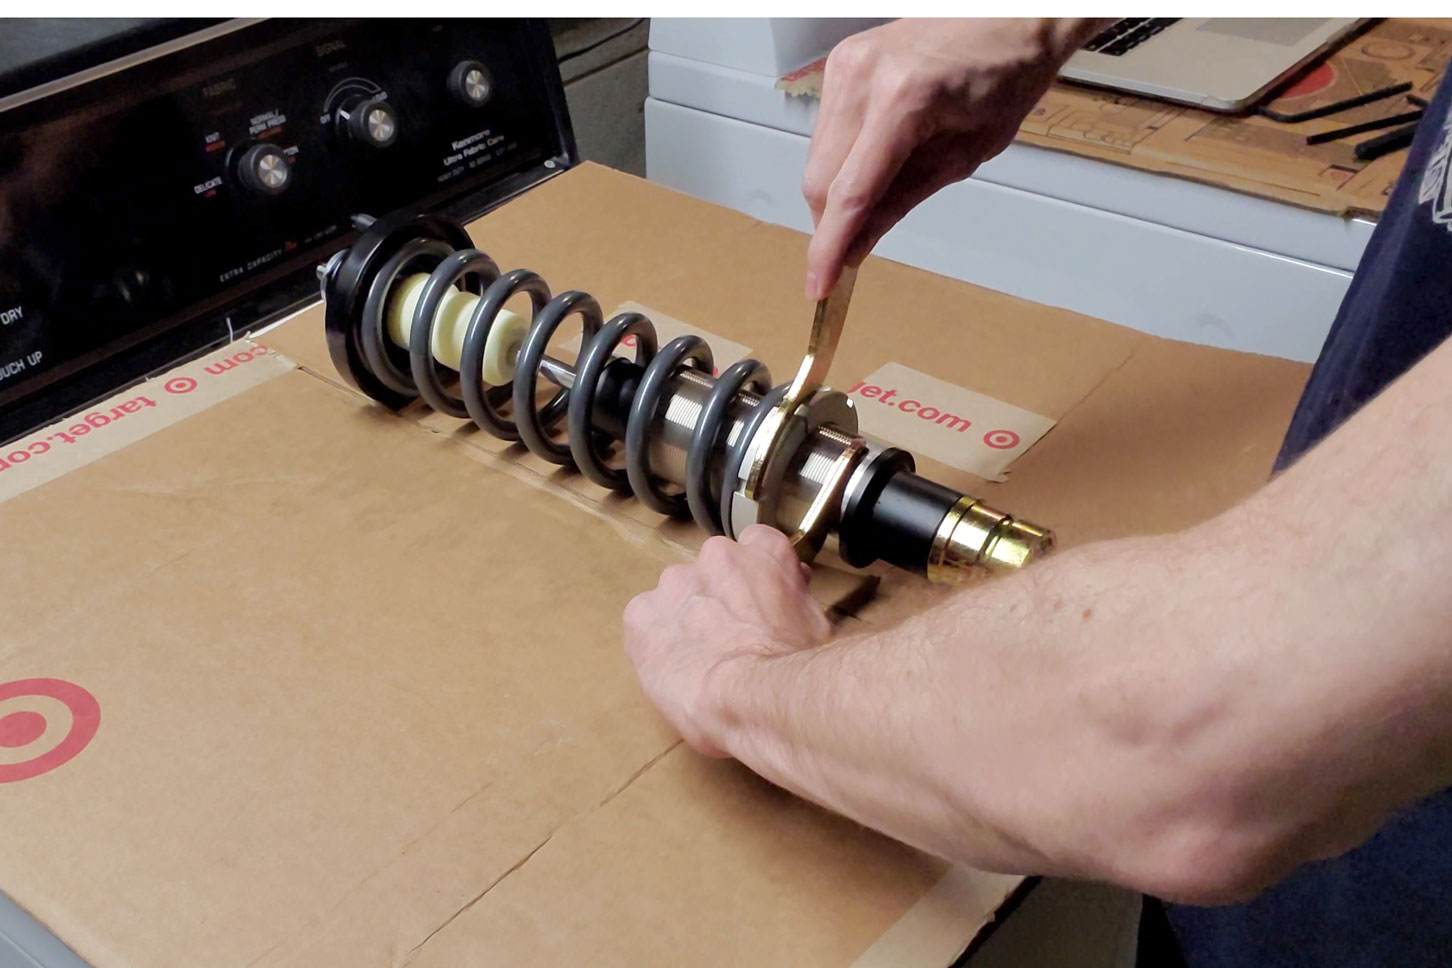
Using the supplied wrenches to set the preload. The lower wrench locks into the hole in the threaded sleeve.
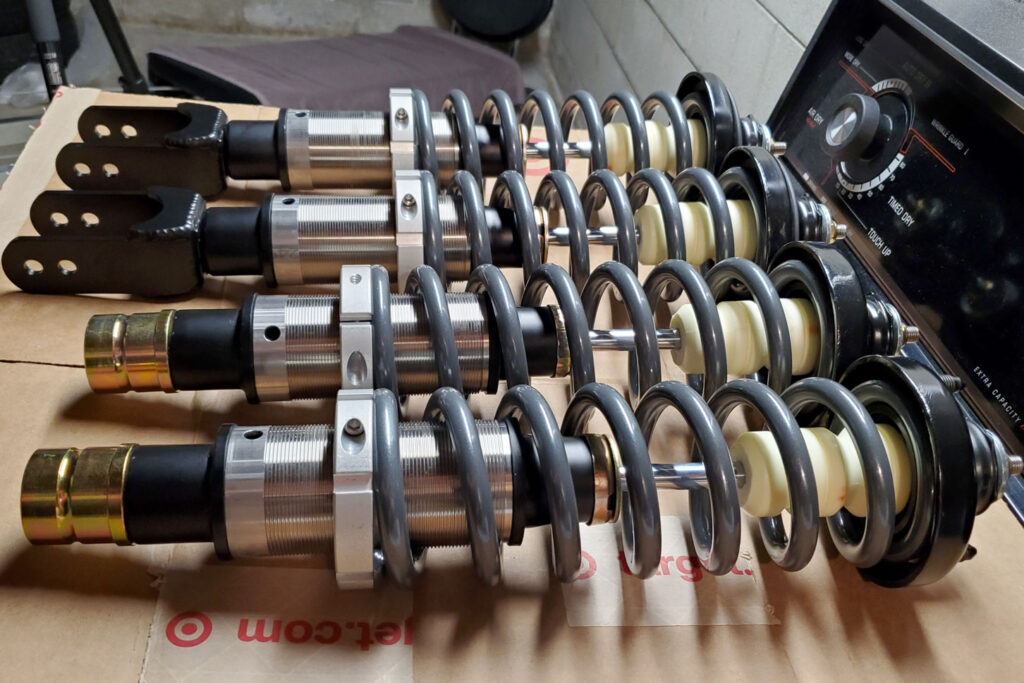
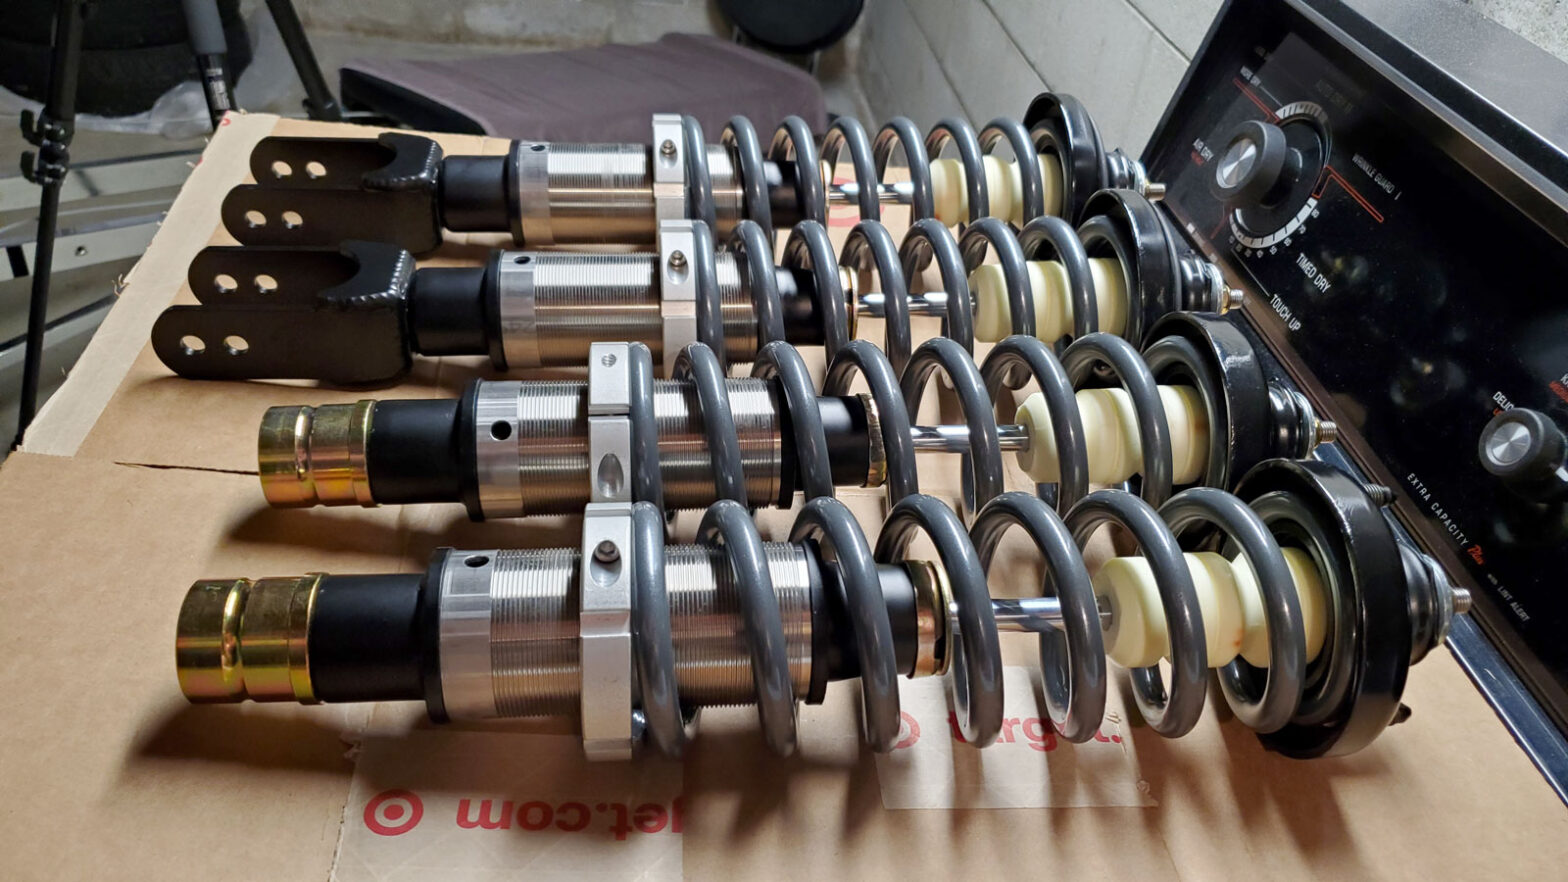
All coilovers fully assembled and ready to finally go in the car.
Do it (Mostly) Yourself and Save
I’ve had these coilovers on the car for about three years now. I haven’t put thousands of miles on them, but I have been happy enough with them. The ride quality is clearly more harsh than the factory suspension, but they perform well, especially on smoother roads. I’ve done one track day on these, and I was impressed. I do intend to replace them eventually with something more refined, but for the price point, I think the Progress coilovers are the best budget option for lowering your classic Honda.
Image Gallery