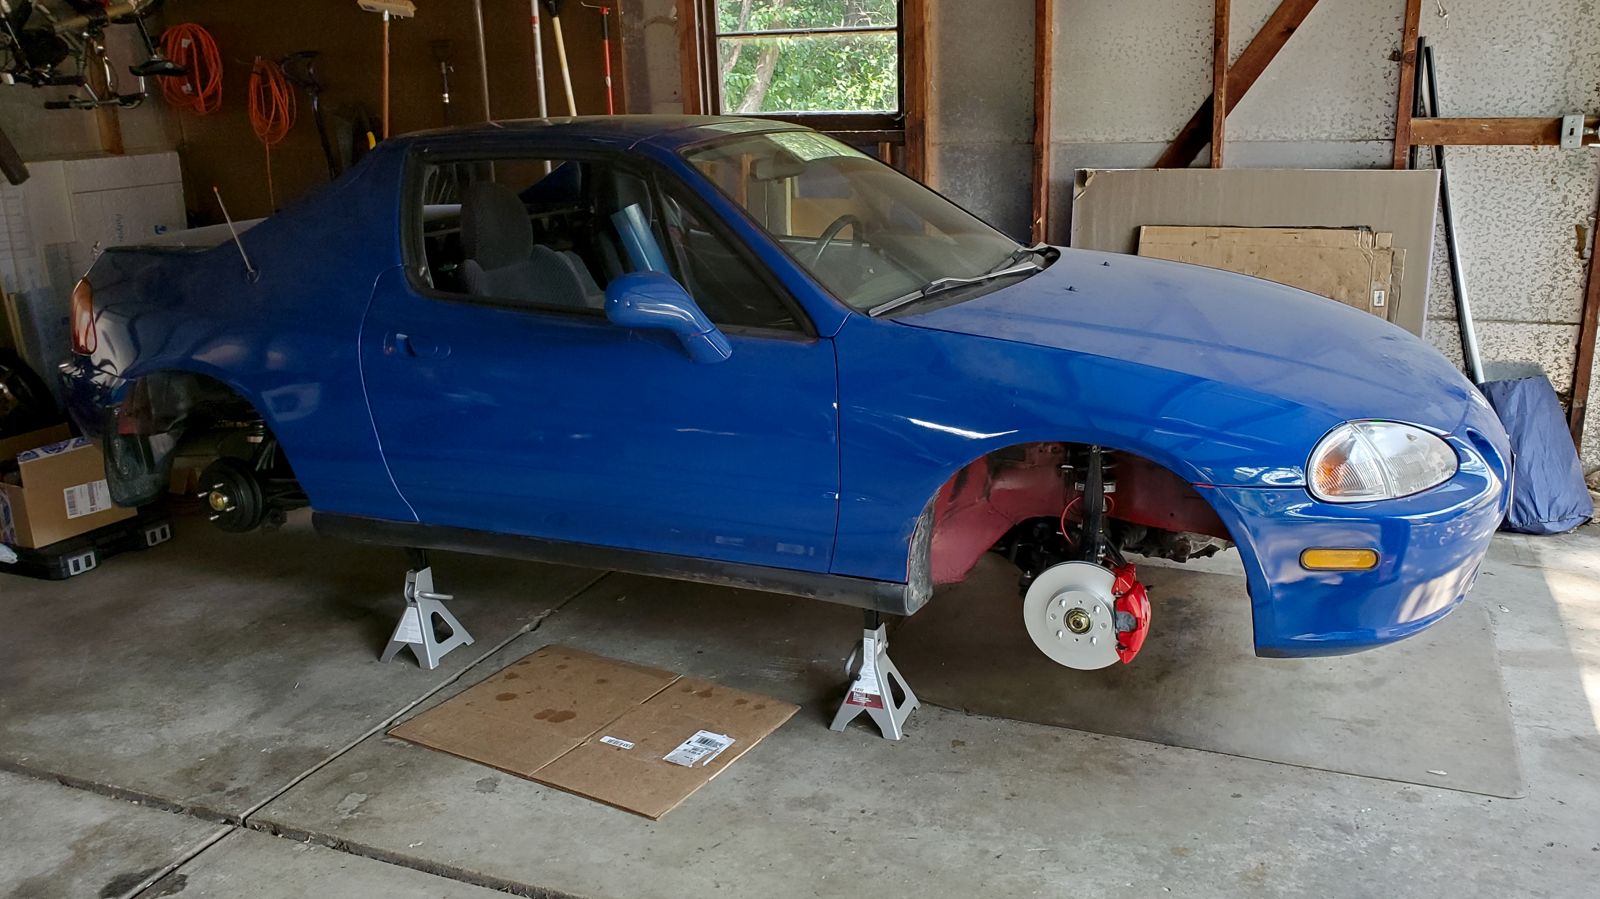
It’s not all smooth sailing.
On average, installing new parts is much easier than removing old, rusty ones. Brakes are one of those more challenging systems to work on though, and refreshing the brakes on the del Sol was filled with challenges and failures. At least some of the failures weren’t my fault.
Rebuilding Drum Brakes
Drum brakes have a couple advantages: the parts are less expensive, and they are generally lighter than a disc and caliper system. They have a few key disadvantages, though: they don’t provide as much braking force, don’t dissipate heat as well, and, most frustratingly, they are a tremendous pain to work on.
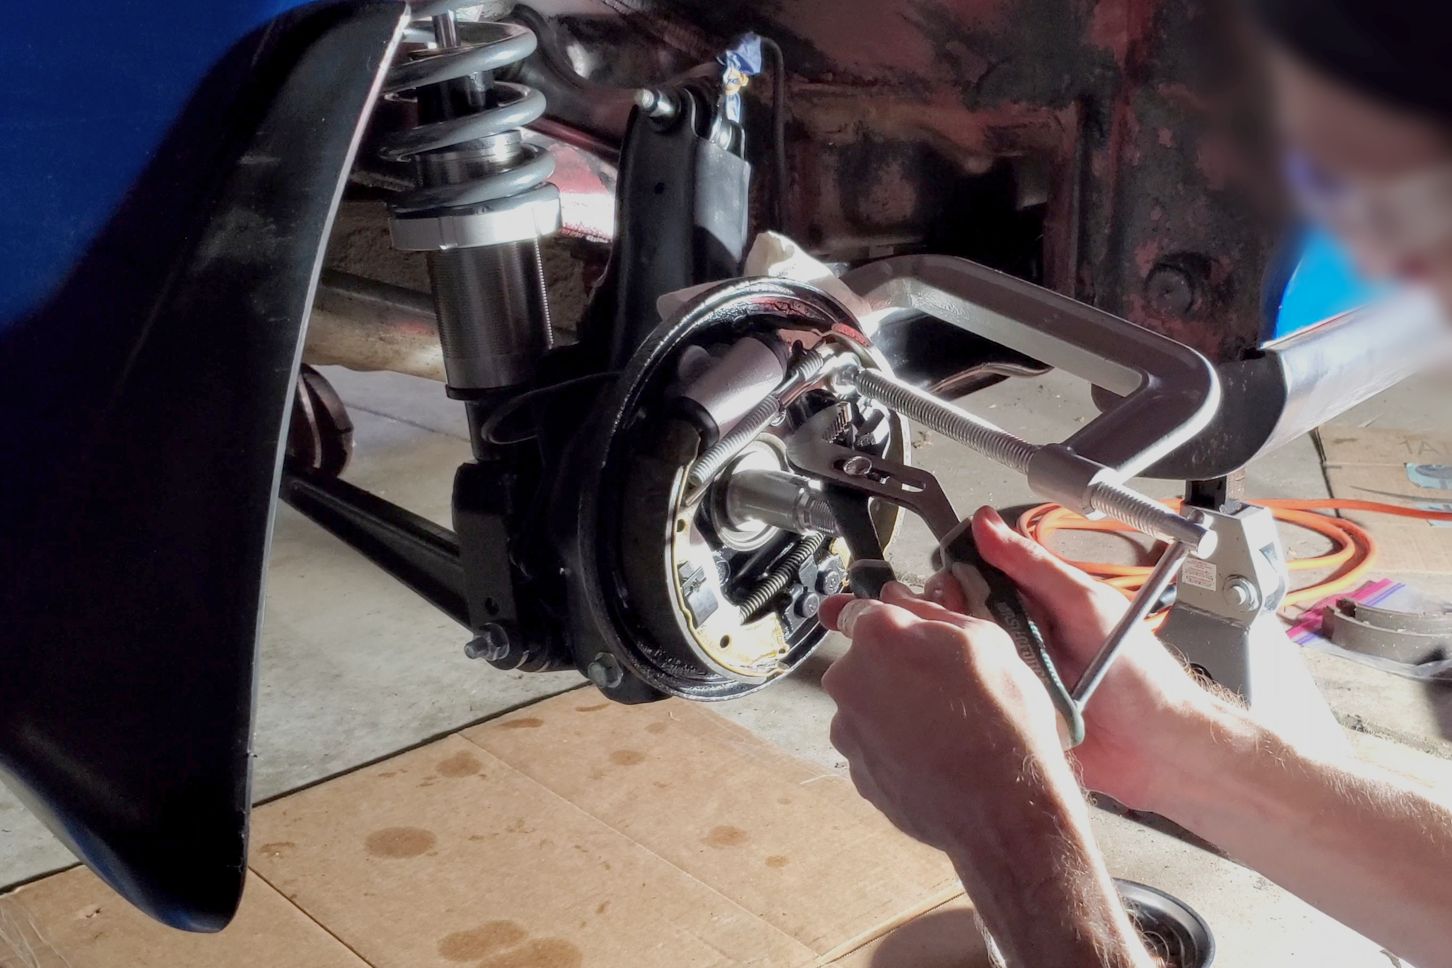
The springs. Oh my goodness, the springs.
Thankfully, I already had the wheel hub out of the way, which provided more space for me to fail at installing the various clips and springs and pegs. I came up with a few tricks along the way to eventual success, which involved a large clamp, some pliers, and a few pointy tools with hooked ends for pulling the springs into place. I love my pointy tools, but it was still difficult, and there was much swearing. At one point, a small orange spring flew across the garage. Eventually I had it all put back together properly, and I could install the new wheel hub.
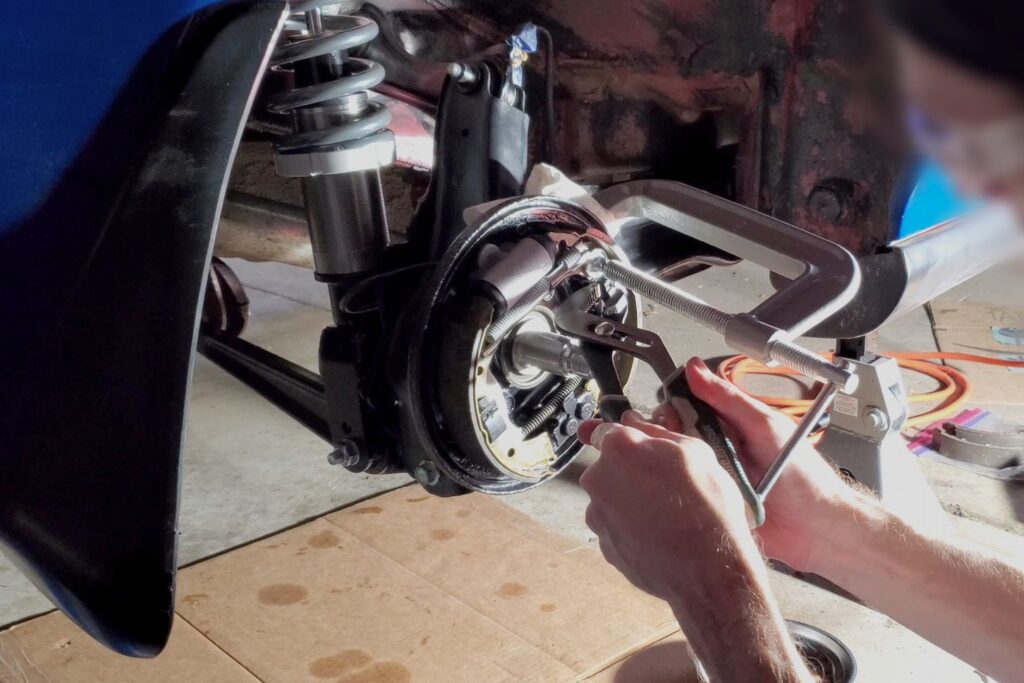
Securing the brake shoe in place with a large C clamp gave me the freedom to use a pliers to compress the spring clip while rotating the pin that holds the clip down.
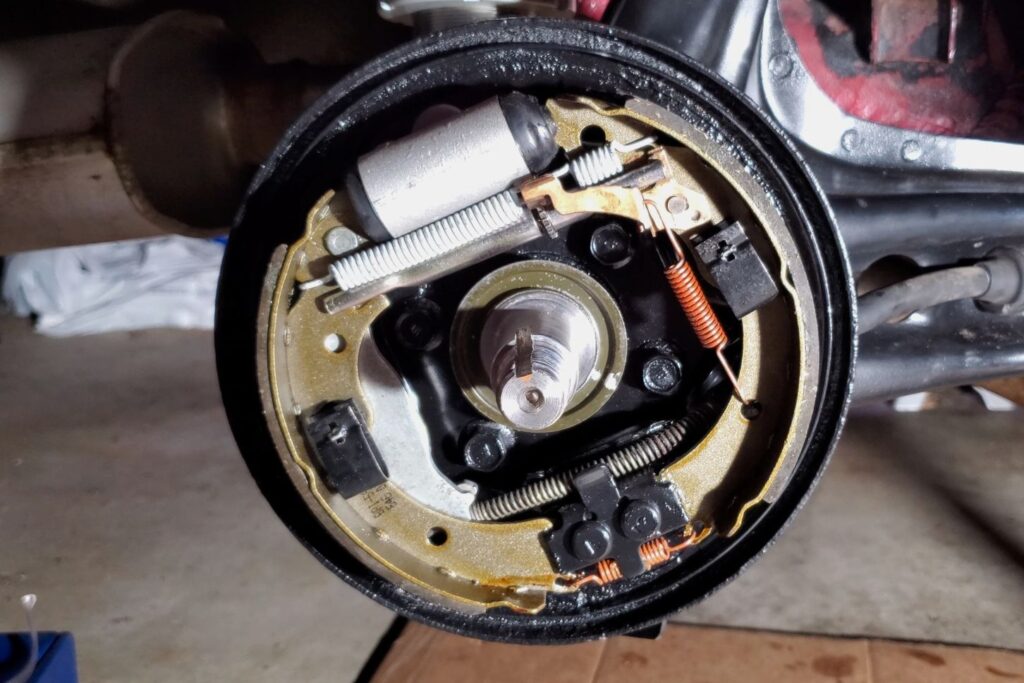
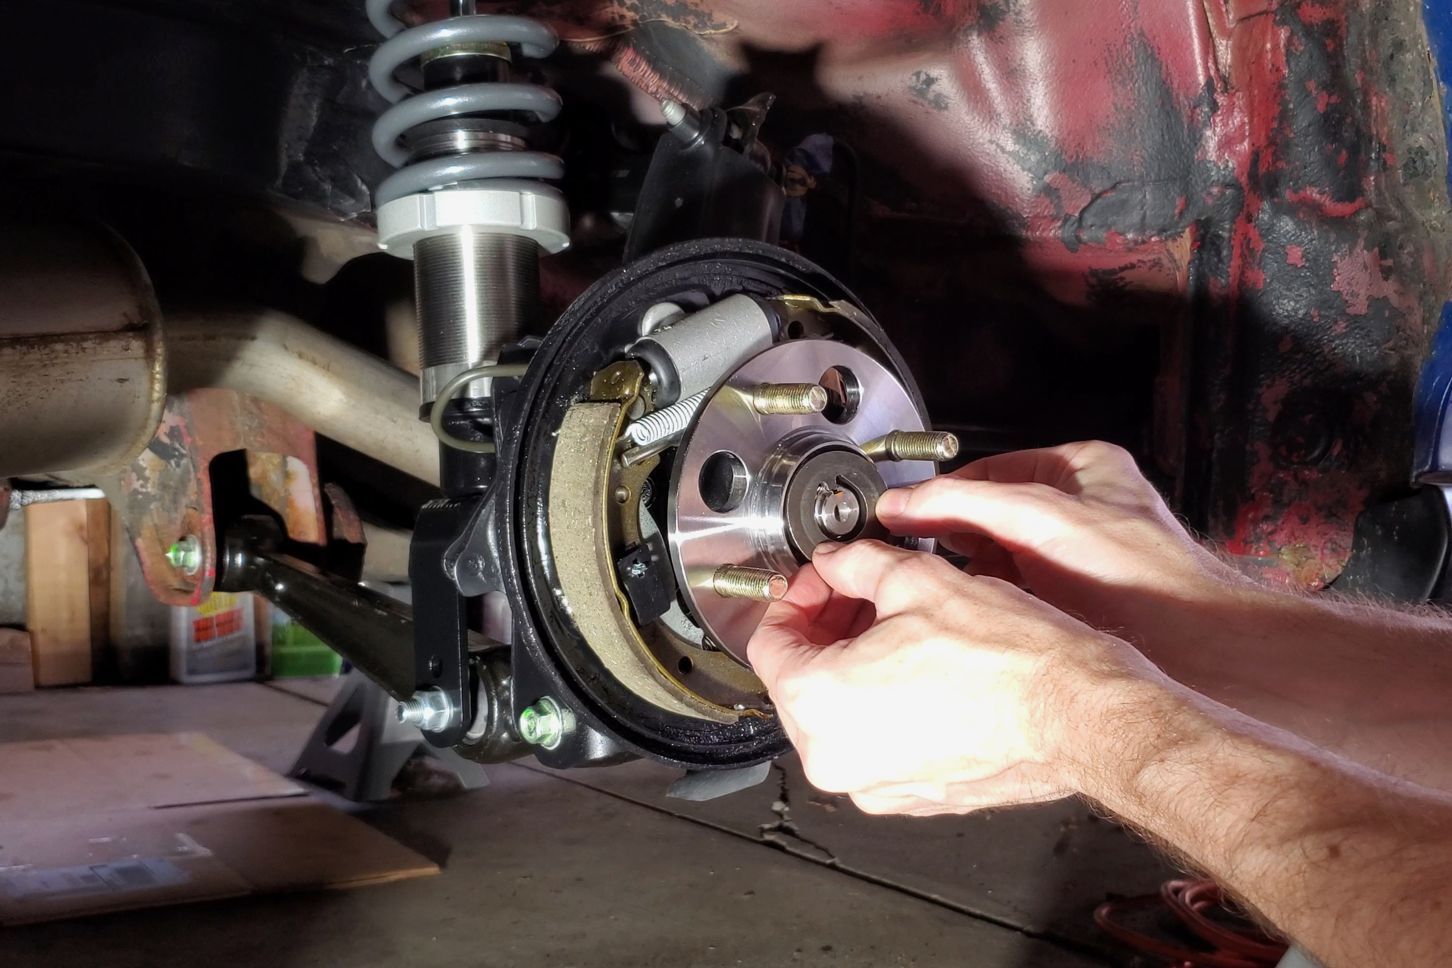
So many little components, and they all have to go in exactly right.

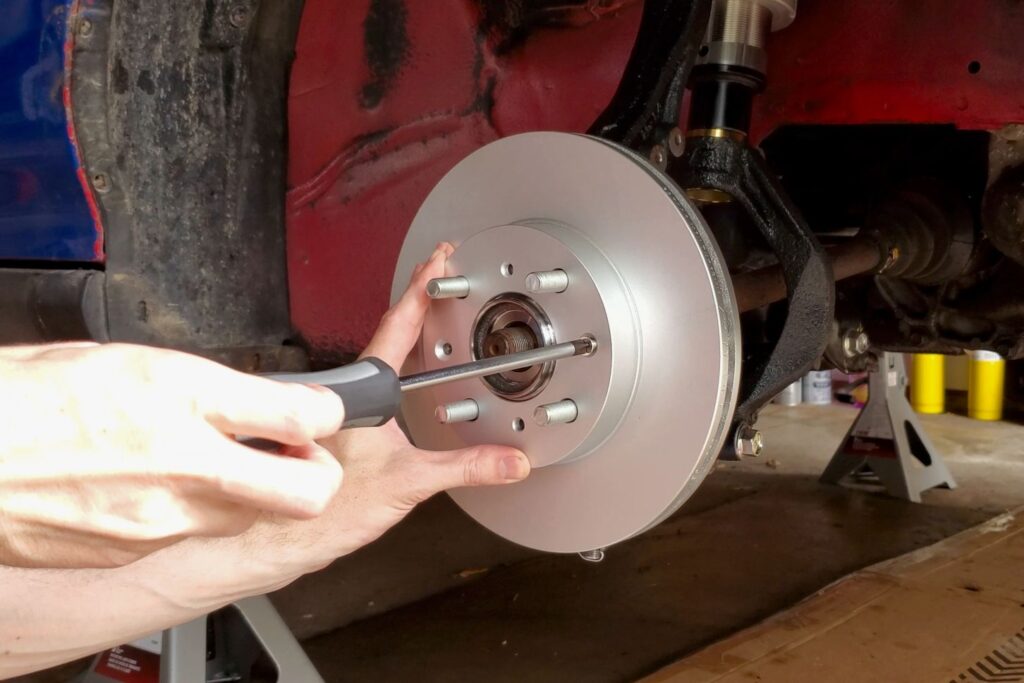
I ensured that the washer went back on in the same orientation, with the flatter side facing out. I’m not sure if this matters.
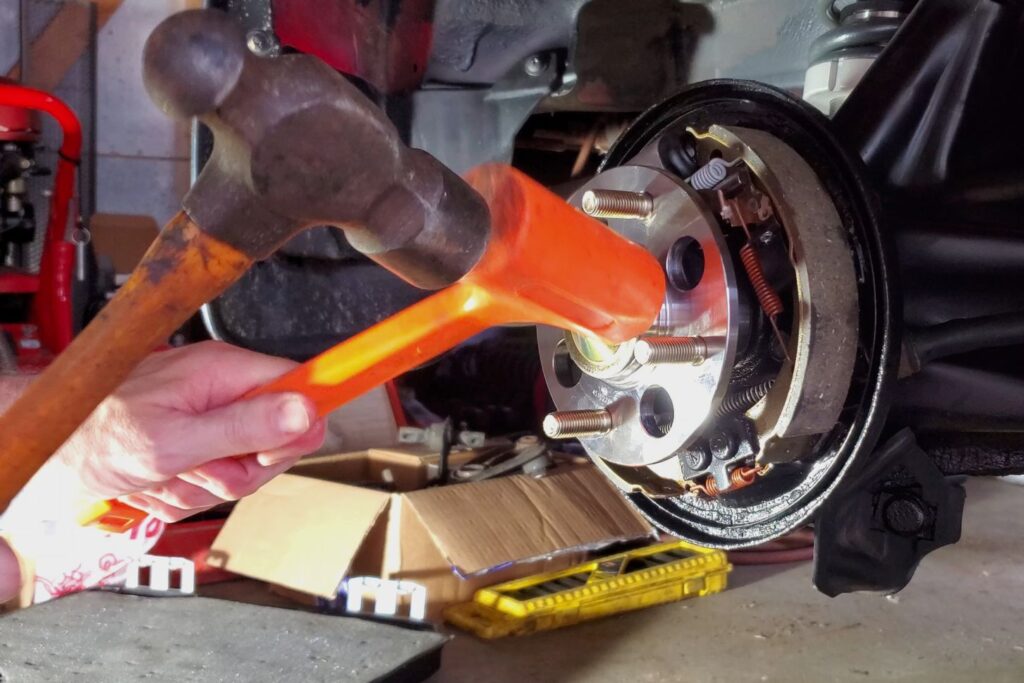
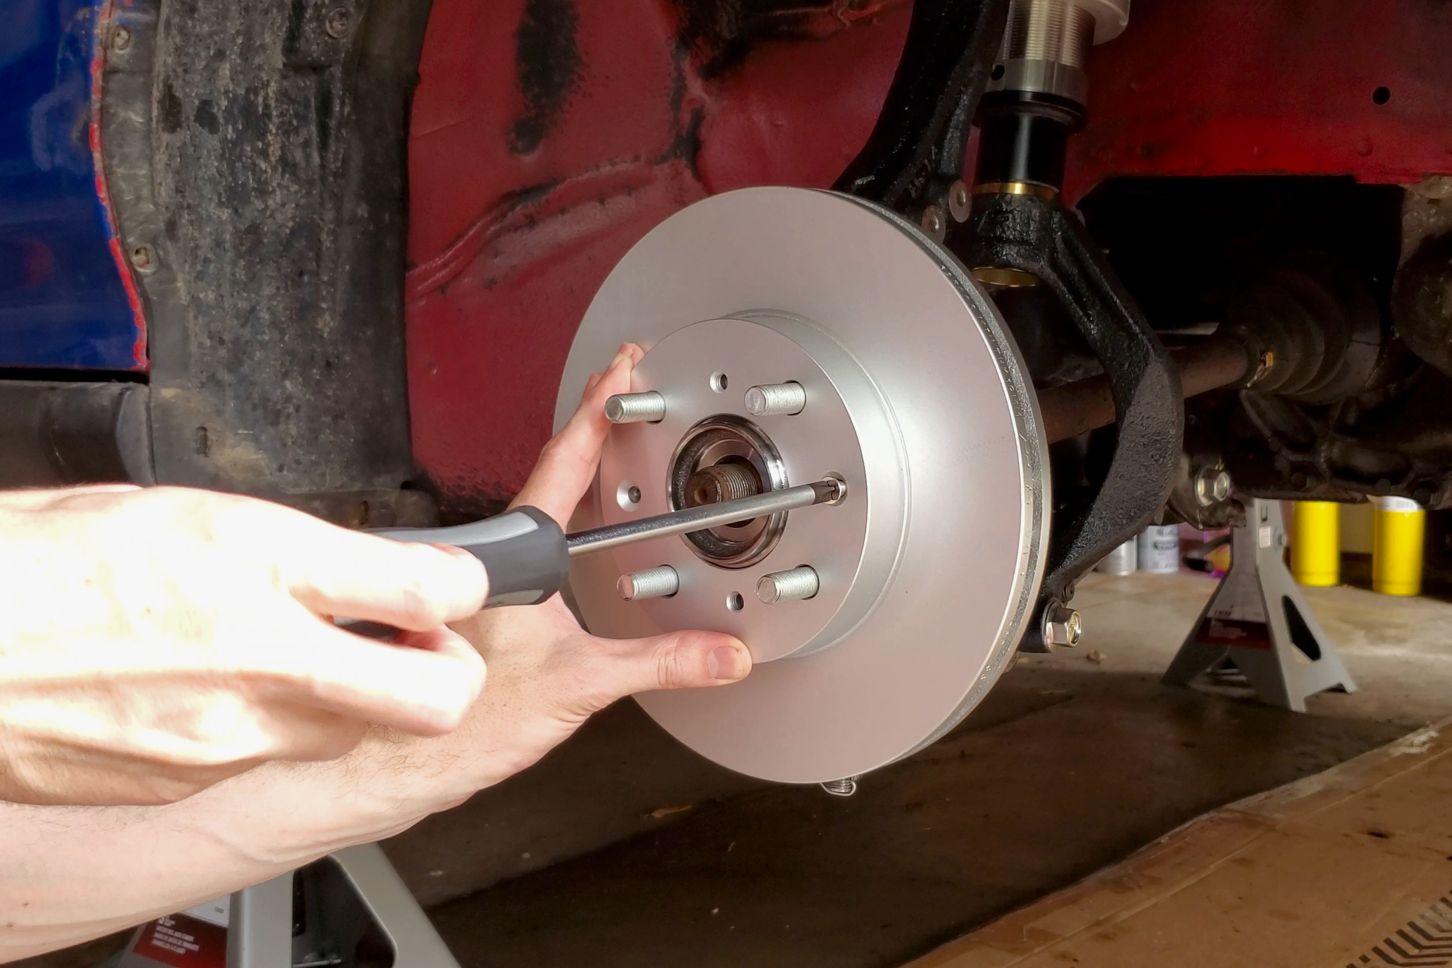
A nice trick to avoid damaging the dust cap is to place a plastic hammer against it and then hit the back of the plastic one with a metal one for greater force.
Rebuilding Disc Brakes
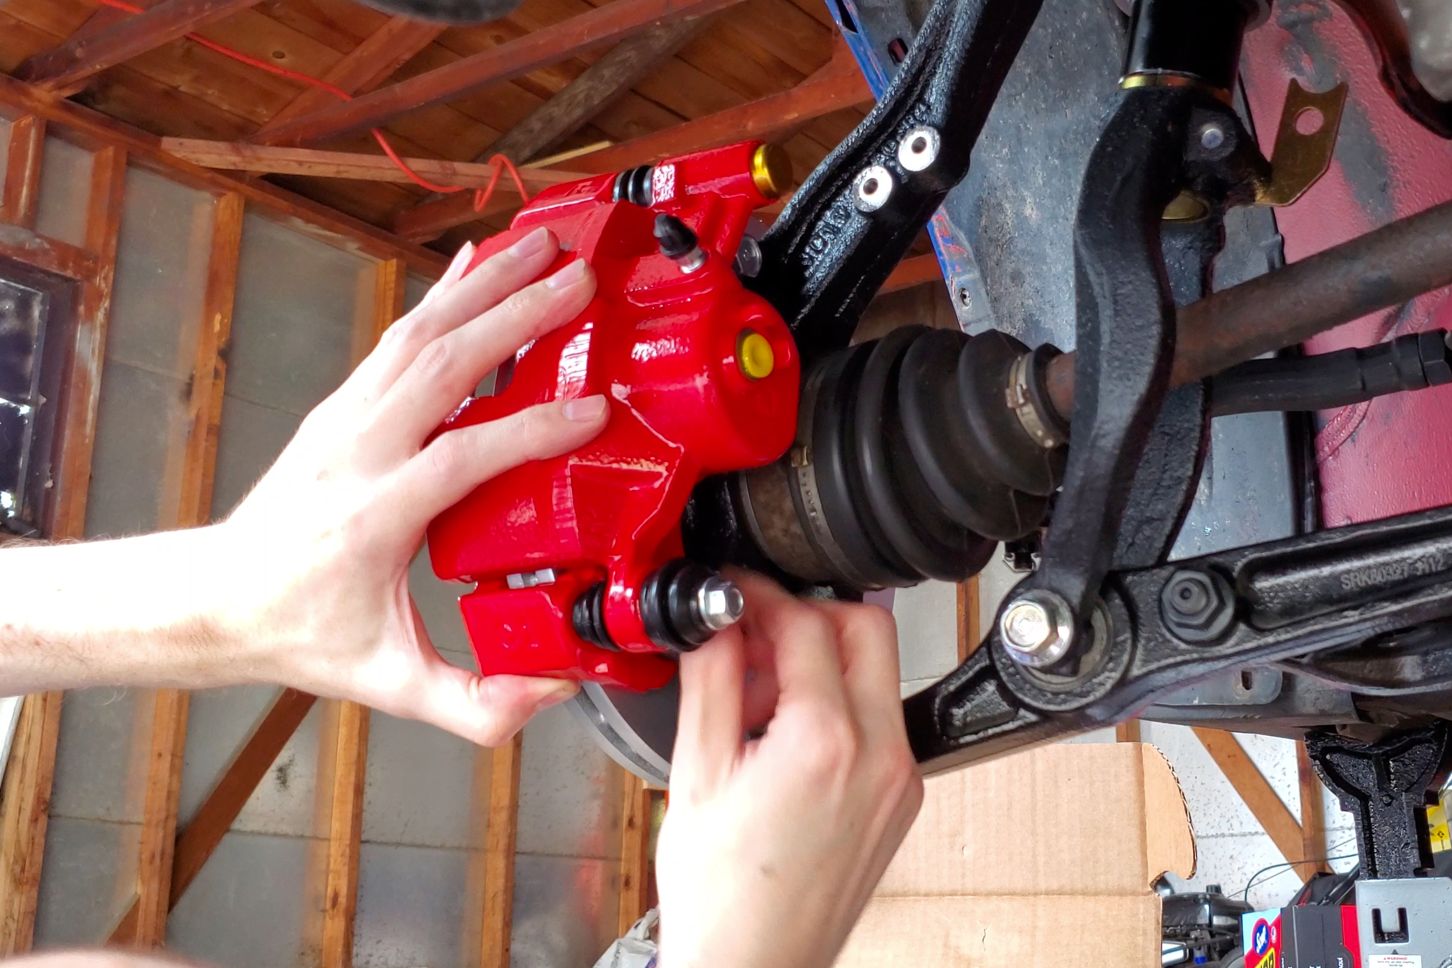
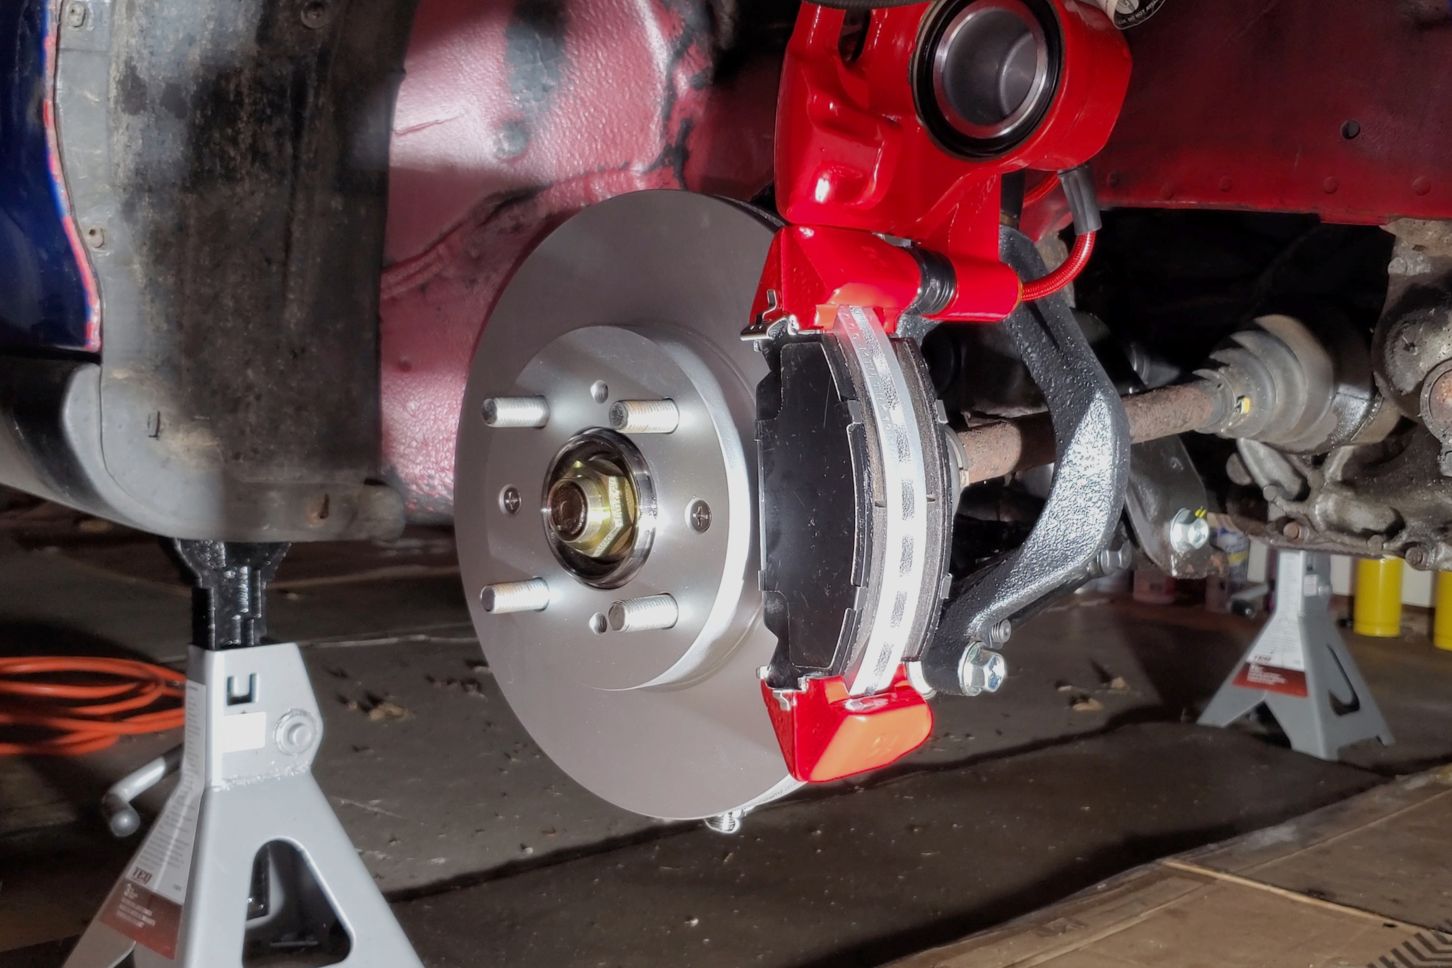
When installing the new front rotors, I used a little copper anti-seize on the retaining screws; hopefully I would never again have to break out the drill to remove these. The calipers, pads, and steel-braided hoses were all part of a Powerstop brand kit that I purchased from RockAuto. The rest of the job proceeded without any drama, until I began pressurizing the system.
These are stainless screws now, with anti-seize to ensure they don’t get rusted in place ever again.

Yes, I bought red powdercoated OEM calipers. Yes, it does feel a bit silly now.

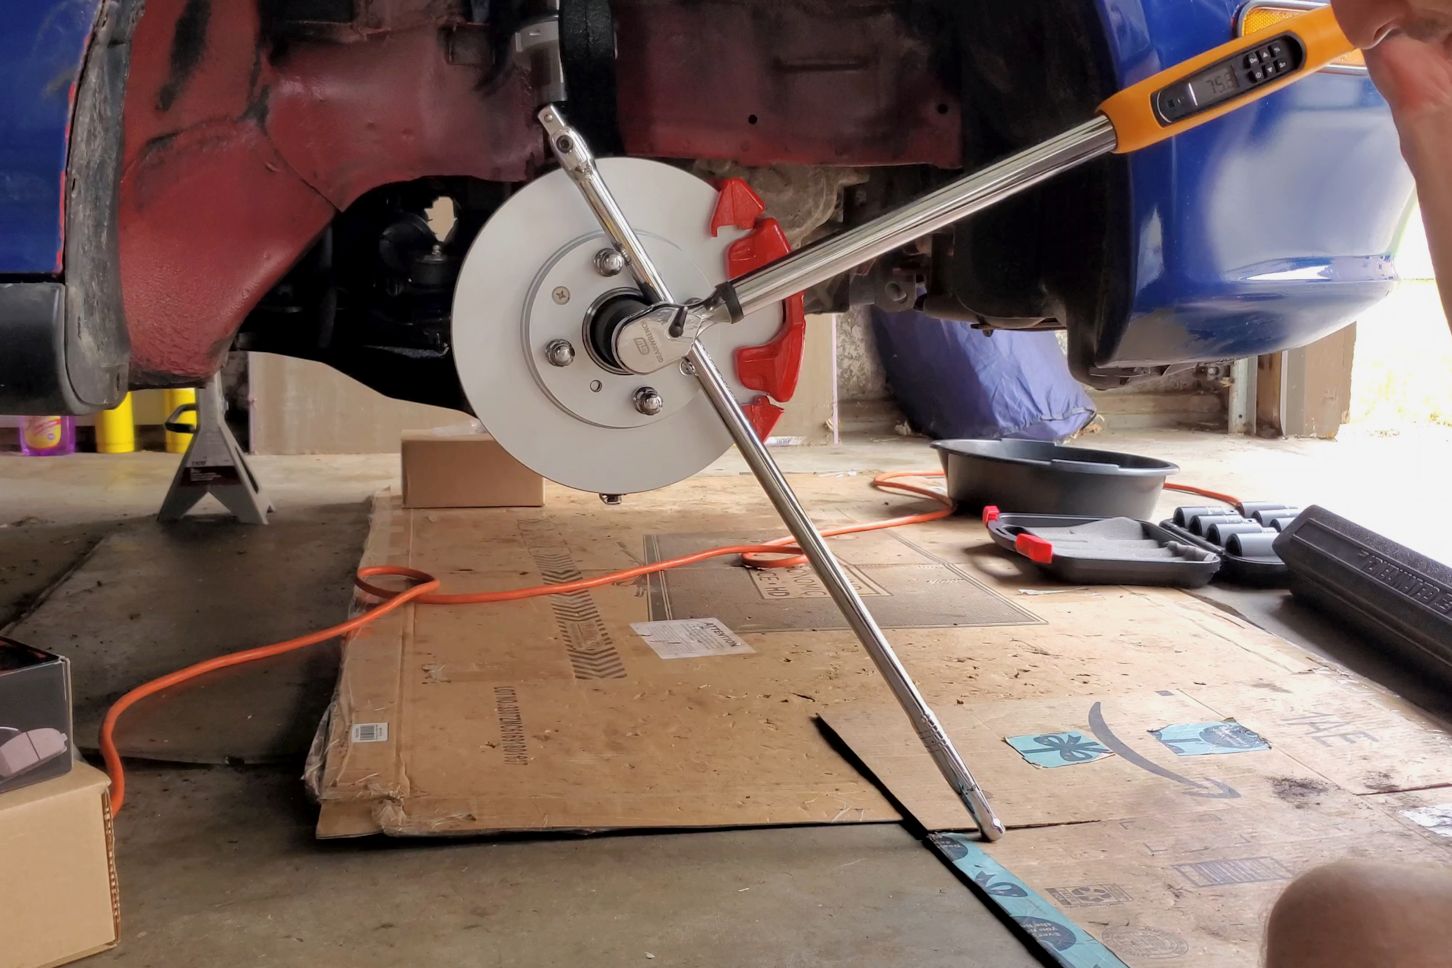
To reach the necessary torque on the axle nut, I braced the wheel with a long breaker bar wedged between the wheel studs and against the ground. I installed the lug nuts to protect the stud threads.

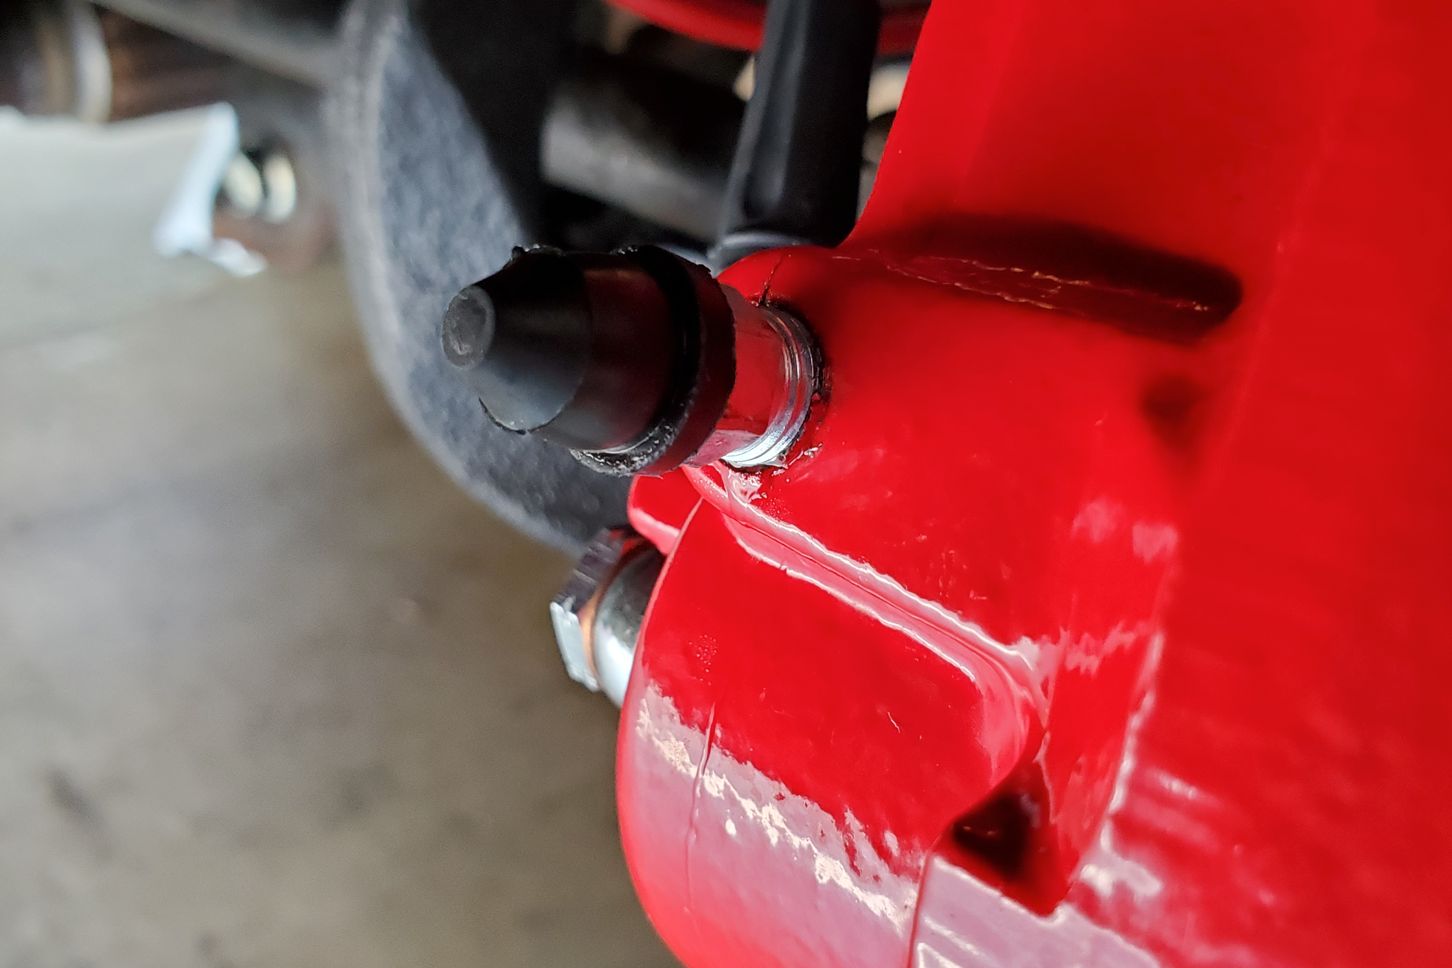
Always use fresh copper sealing washers on the fittings.

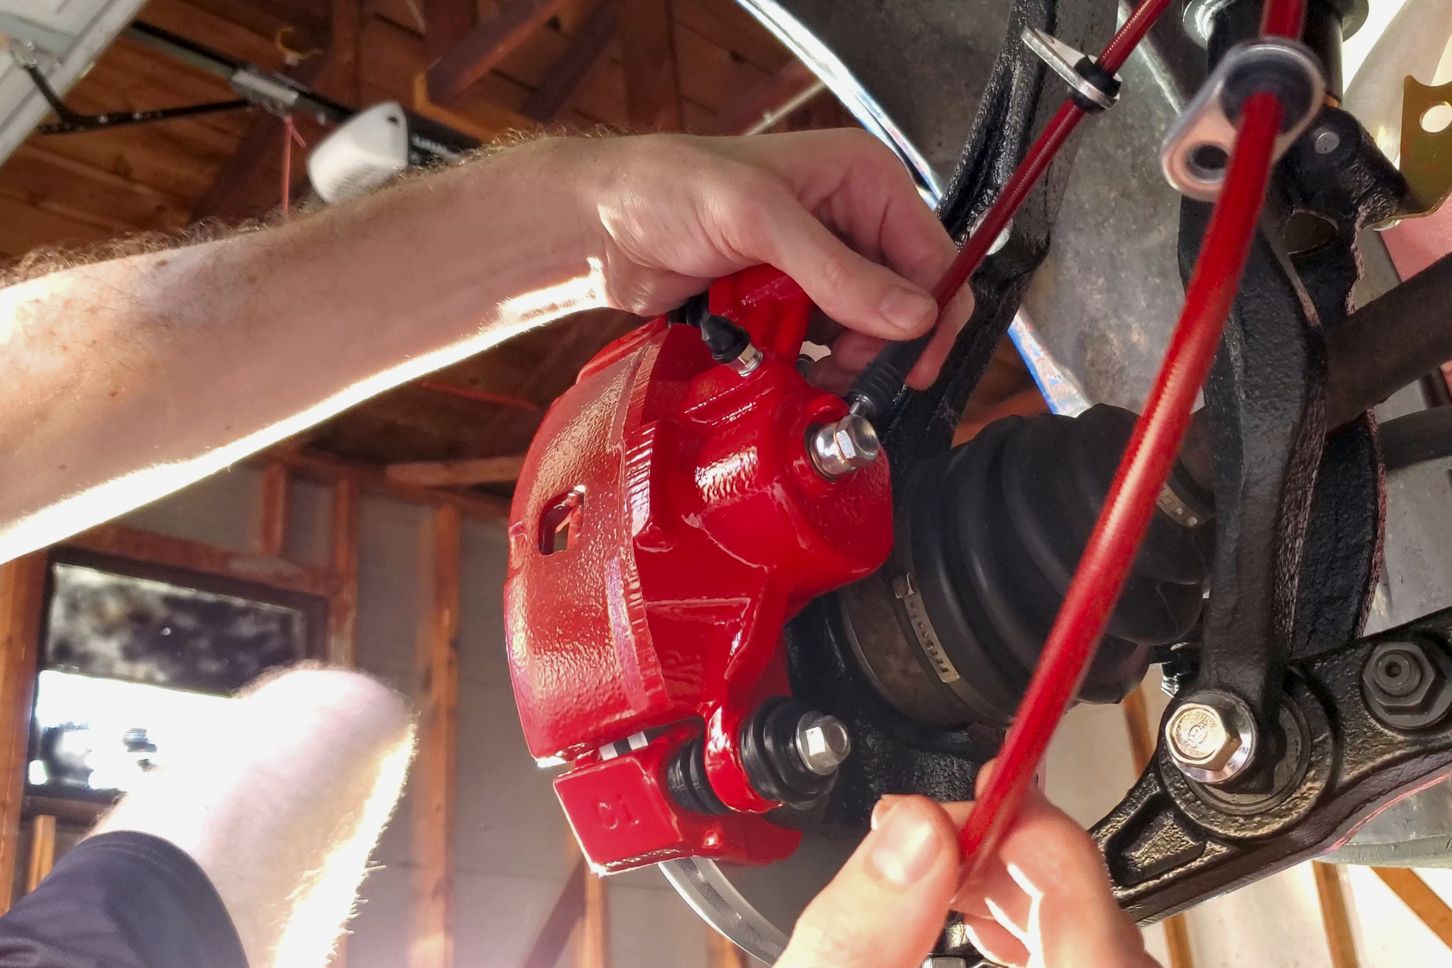
The brake hose is routed and installed.

The pad retainer clips were a bit of a struggle. These pads came with the kit, but I would swap them out later for upgraded pads.
Things Start Going Wrong
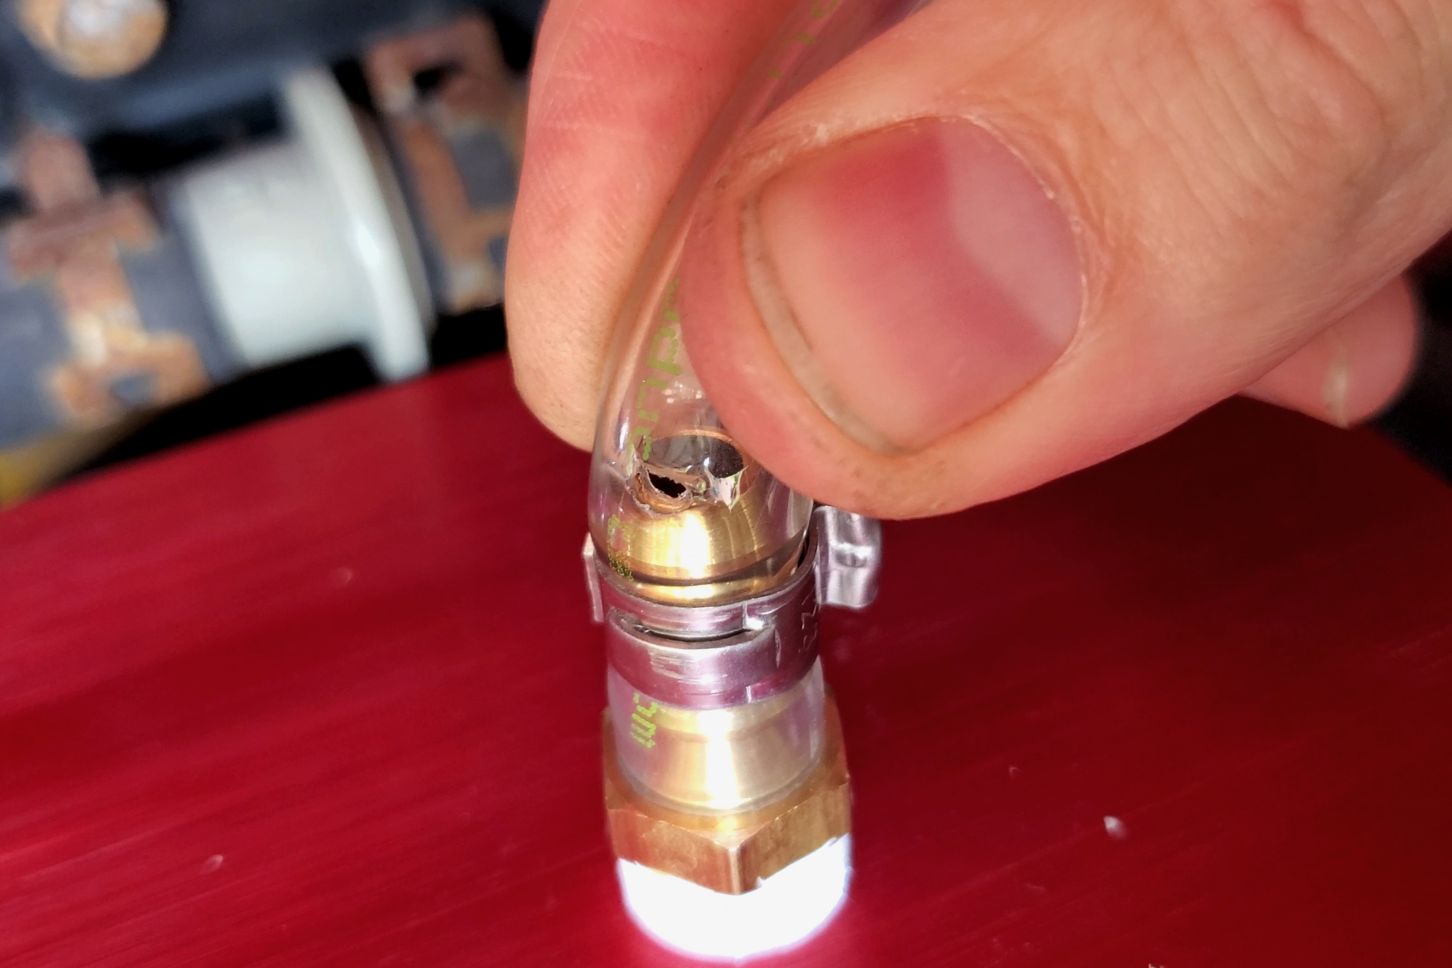
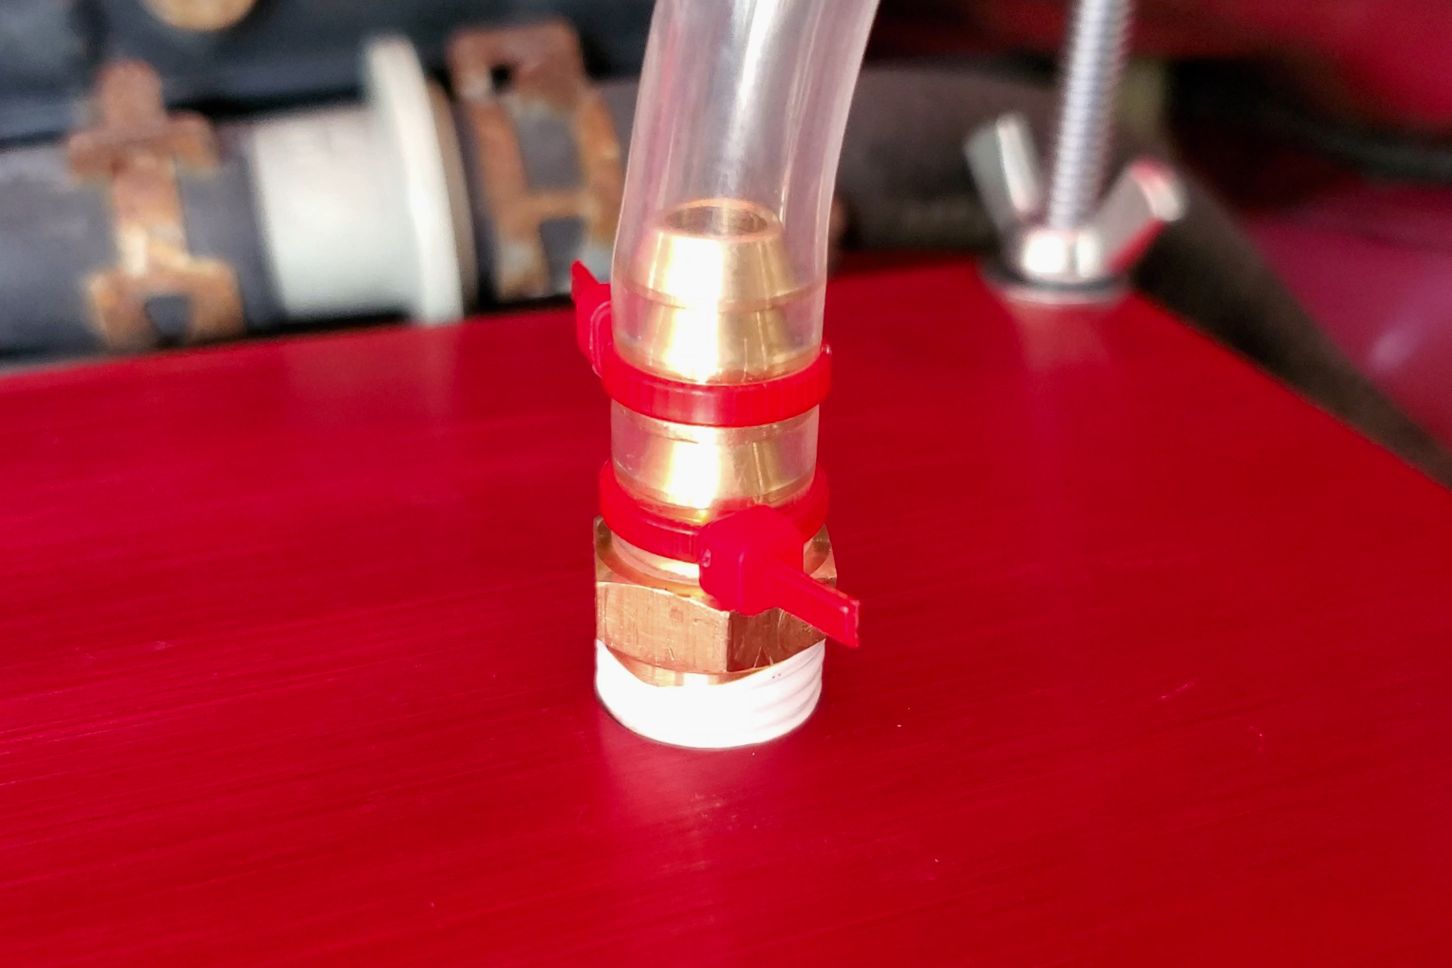
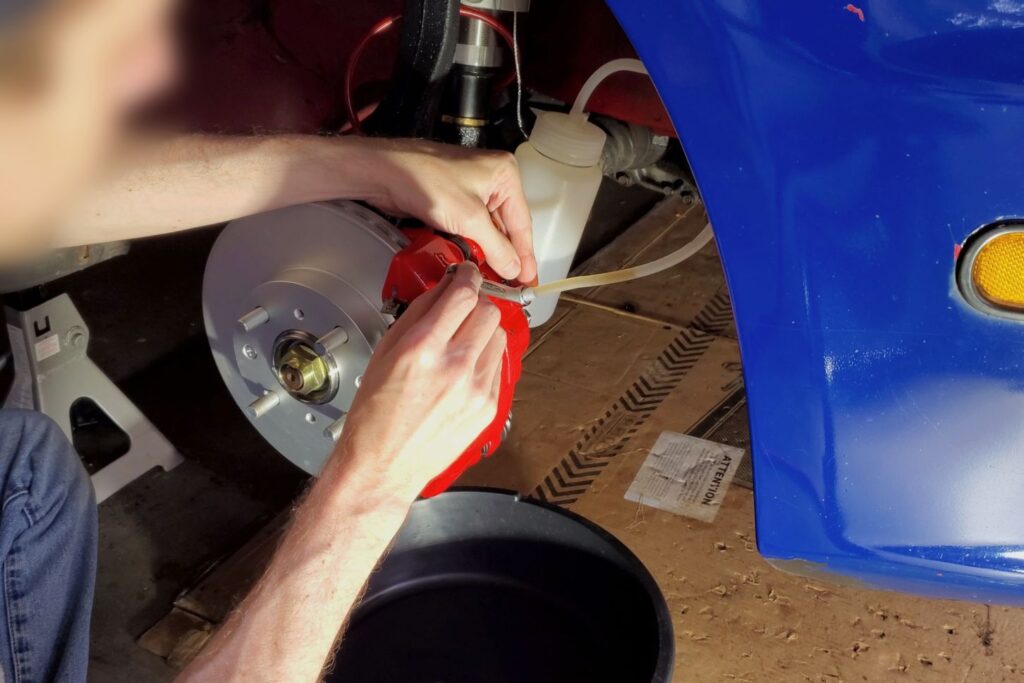
Using one of the fluid catch bottles that came with my Motive power bleeder kit, I siphoned out the old brake fluid from the master cylinder reservoir. I then attached the power bleeder and tried to pressurize the system as a test, prior to injecting any new fluid. However, the tool was not holding pressure. I discovered that the clear hose on the master cylinder end of the tool had been damaged, probably during packing or shipping, and was leaking air. I repaired this easily by cutting the damaged end off and using a couple small zip ties to secure it onto the brass fitting.


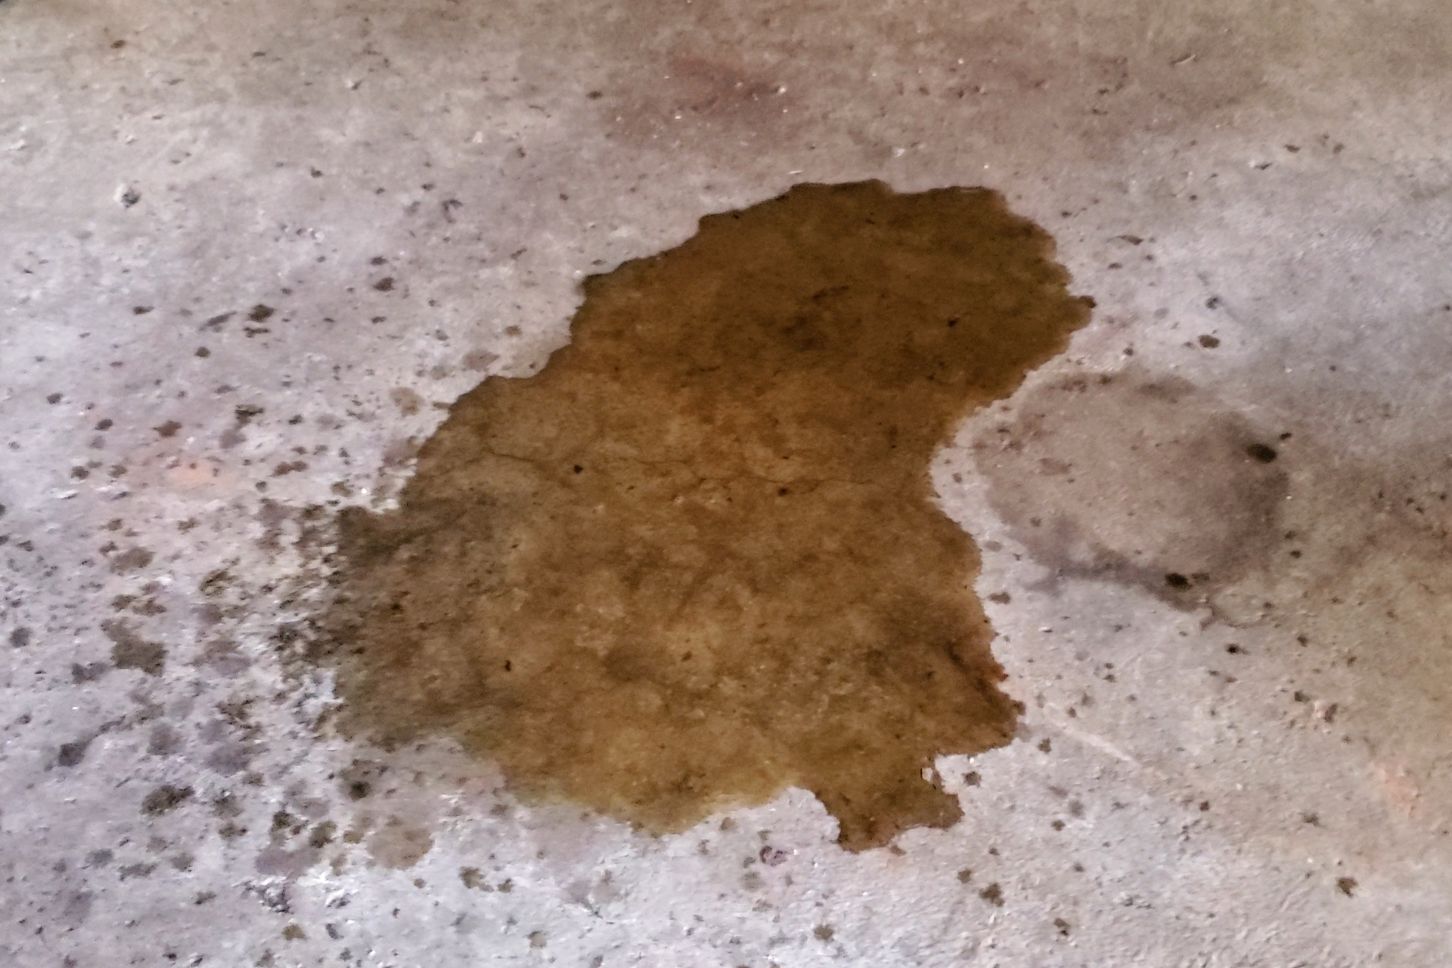
With the hose fixed, I again tried to build pressure in the system. This time it wasn’t just hissing out, but I was not able to get the pressure above 5 psi on the gauge. I checked for air leaks at the hose again, then at the seal on the master cylinder reservoir, but no luck; the leak was somewhere else. Then I found the puddle of brake fluid at the back of the car.


A puddle under your freshly assembled brakes isn’t something you want to see.
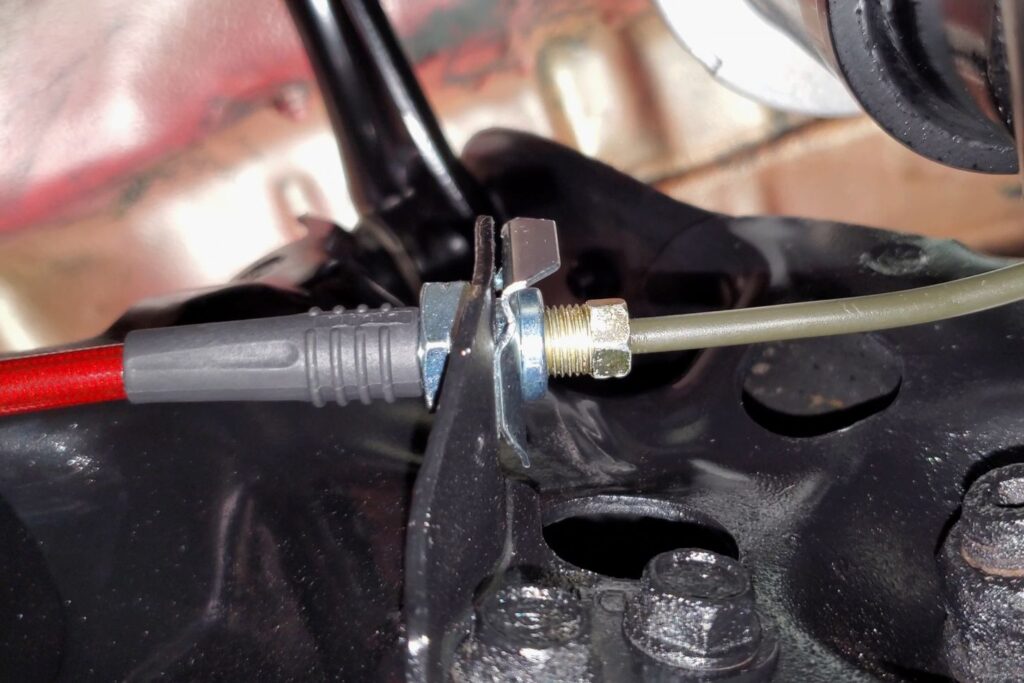
I eventually determined that the fluid was leaking from the fitting that joined the very short, tightly curving solid pipe to the new braided flexible hose. Here I learned another valuable lesson: always install the fitting before installing the hose retaining clip. I had installed the clip first and then threaded in the fitting, which resulted in galling the threads on the fitting. It’s better to leave the hose loose so you have enough free play to easily thread the fitting into the hose end.
I took the small, curvy pipe back to the shop and fortunately they were able to cut off the end and apply a new fitting and flare without having to remake the entire pipe. After installing it correctly, my brake fluid leak was fixed and the system was holding pressure. But that wasn’t the end of my troubles.
I proceeded to bleed the system in order, which was made much easier by the power bleeder. I have heard it’s possible to get a better final result using the “press and hold” method that requires a second person in the car, but after doing this, the brake pedal feels about the same as it did originally. I’m not sure if that’s the way it’s supposed to feel, and I would like a little more firmness, but that’s a job for the future.
After tightening the bleeder screws, I noticed they were weeping brake fluid. So I tightened them more. And they were still weeping fluid. I began to regret purchasing these very red calipers. I was enticed by their sporty appearance and now I felt betrayed. I decided to let it be. After all, nothing is ever perfect – certainly not this del Sol. Eventually, perhaps miraculously, the brake bleeder screws stopped weeping. Will I be able to loosen them again? I don’t know. That’s a problem for future me. The brakes were done, and they worked just fine.

Major Work Complete
The completion of the braking system marked the end of the major work that I did in 2021. All that remained was to put on the new wheels and tires, then do the final torque of all the suspension fasteners. I’ll cover that in the next article.
Image Gallery