
Transforming the look of the del Sol.
Wheel choice can make or break the look of a car. It’s one of the simplest ways to add some personal style to your vehicle, but it’s highly subjective. What looks cool to one person might look like the worst possible decision to someone else.
My taste in wheel style tends to be pretty simple. I like to stick to a classic look; something timeless. So the wheels that were on the car when I bought it were about as wrong as they could be, from my perspective.
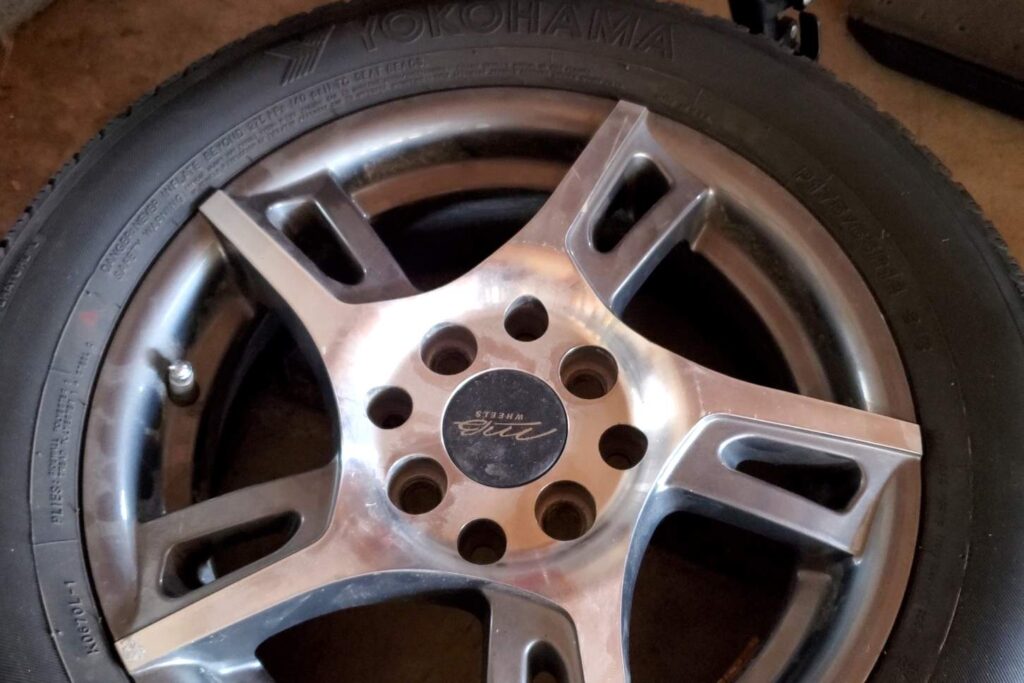
I assume the options in a 14-inch size were quite limited, especially if whoever bought these was on a tight budget and just wanted something other than the stock steelies (this is an “S” model after all). The tires on these were a bit worn and narrow as well. It’s a testament to Honda’s suspension design that the car handled as well as it did on skinny all-season tires.
Choosing New Wheels
But how to decide what to replace them with? Well, actually this part was easy: just look up an old episode of Hot Version featuring some Spoon cars and see what wheels and tires they fit on them. I assumed, mostly correctly, that any wheel and tire package that would fit an EG6 would also fit on a del Sol. Spoon wheels were prohibitively expensive for my budget, so I went hunting on the internet for wheels with a similar look at a more affordable price. I eventually landed on some MST wheels being sold on eBay at about $400 for the full set.
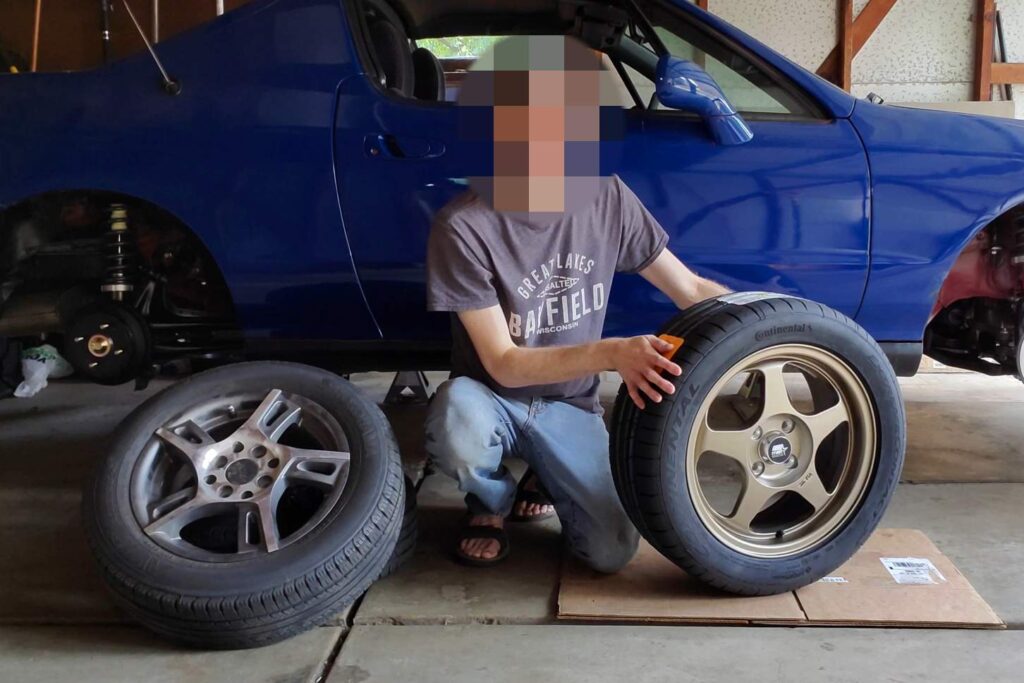
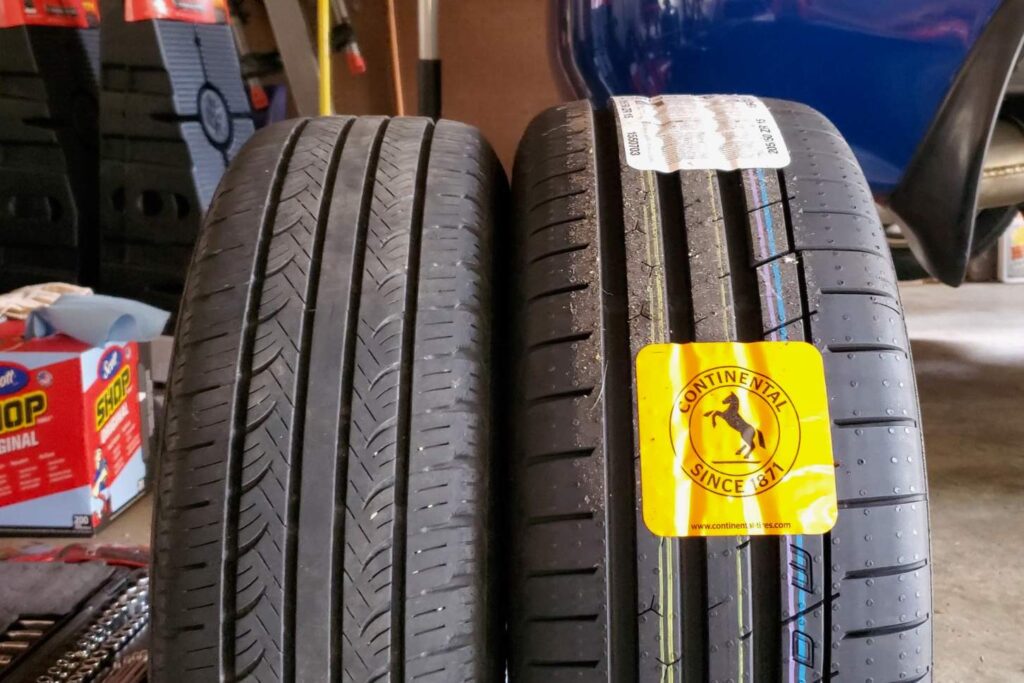
Spoon used 205/50 15 tires on their Civics back then, so I bought the same size in what has to be the best bang-for-your-buck tire on the market: the Continental ExtremeContact Sport. These have much more grip thanks to the wider width and a tread pattern designed for superior handling.
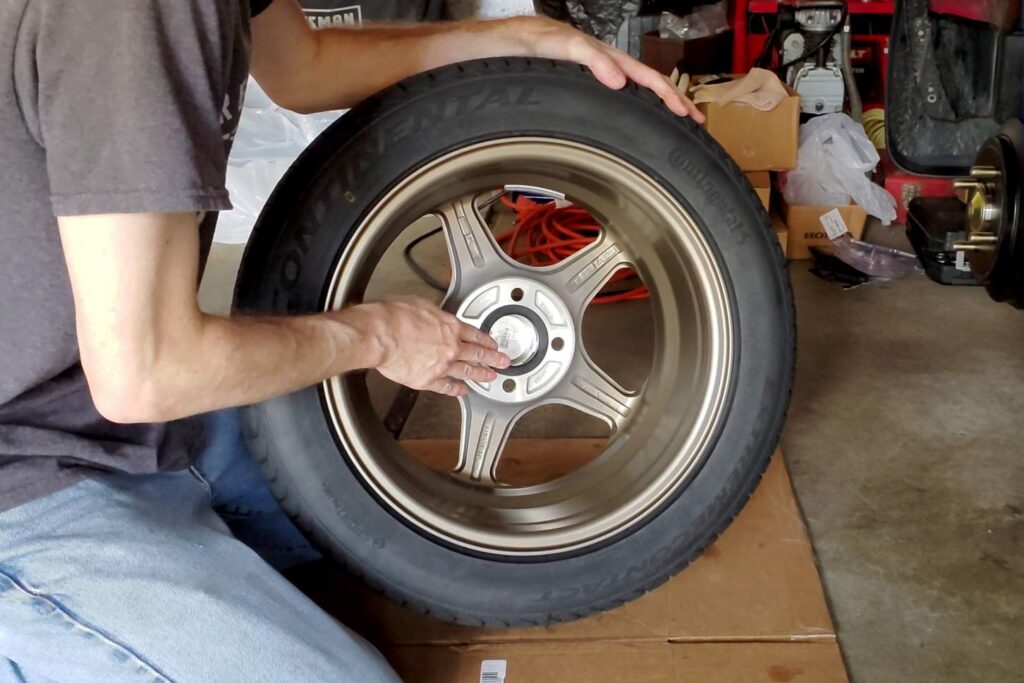
Since these wheels are designed to fit a variety of cars which use the 4×100 bolt pattern, the hub centers are larger than the hubs. I ordered a set of plastic hub centering rings to make up the difference. This makes installation easier and also helps to ensure there won’t be any vibration caused by the wheel being a little bit off center.
Adjusting Ride Height
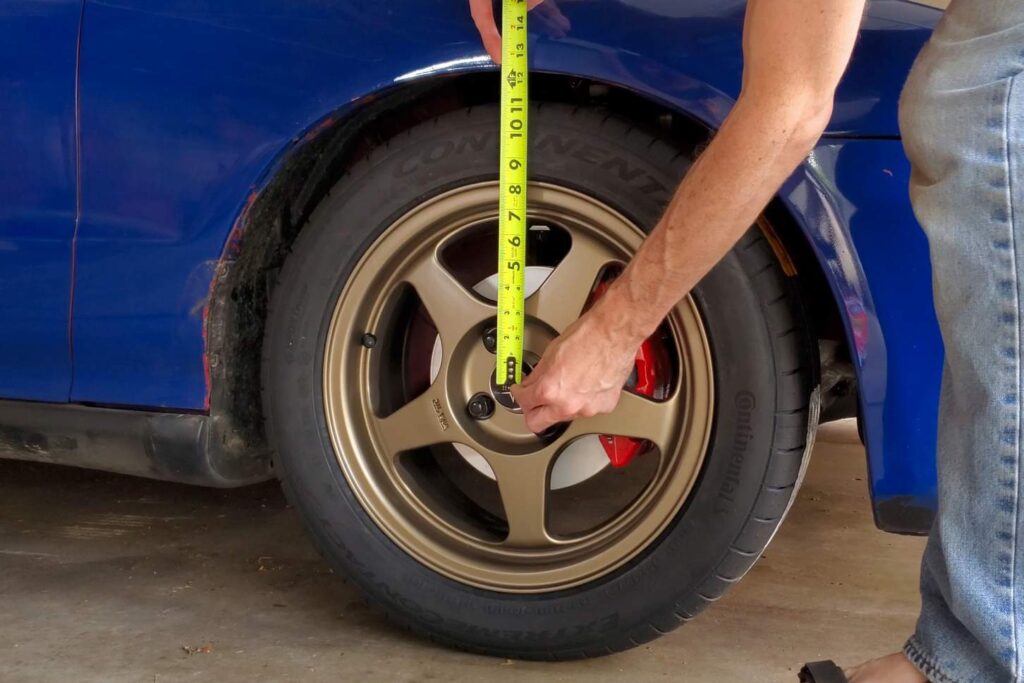
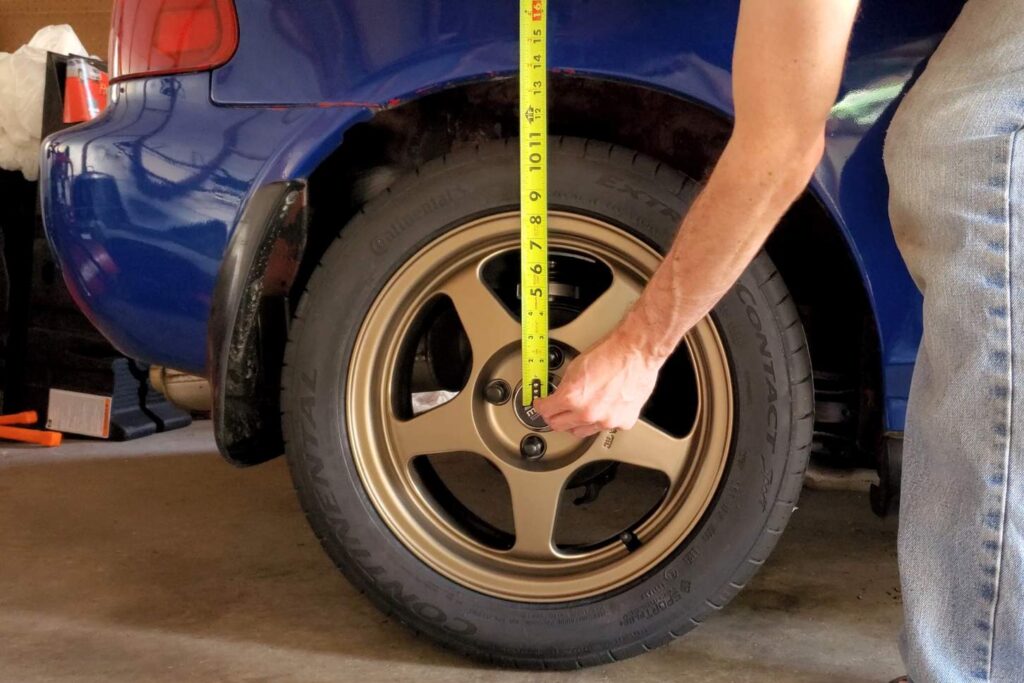
For the first time in over two months, the car was finally on the ground again. This was a huge milestone for me and it felt great. The ride height wasn’t quite where I wanted it though, so I got out the tape measure and started checking. Ride height is often a critical component of the way the wheels look on a car. Too much gap and even the nicest wheels end up looking out of place.
One minor note: it’s a little tougher to judge the ride height on the left rear because the wheel arch there has some rust issues. Actually, I don’t think a single arch on this car has maintained its original curvature or position. Oh well, it will be close enough to look good; we’re not doing corner balancing here.
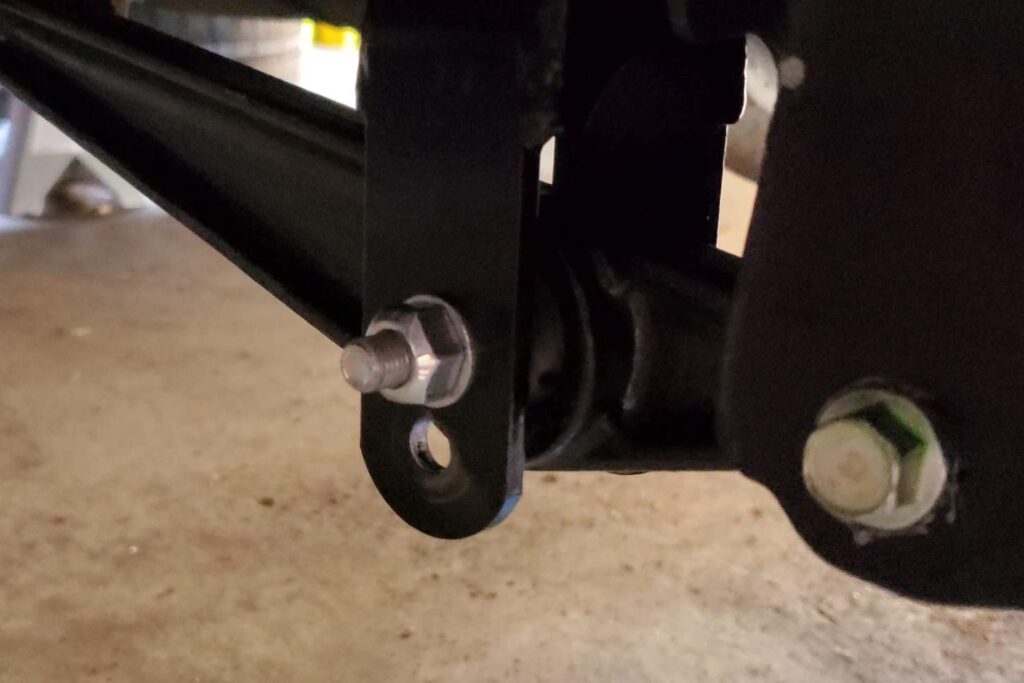
Since the rears were so much higher, I tried to adjust those first, but when I got the spring perch low enough, the spring had actually become loose. I took advantage of the second bolt position on the damper fork to get the car lower. I was then able to adjust the perch height to keep tension on the spring, but this came with the compromise of not having a lot of droop travel in the rear suspension.
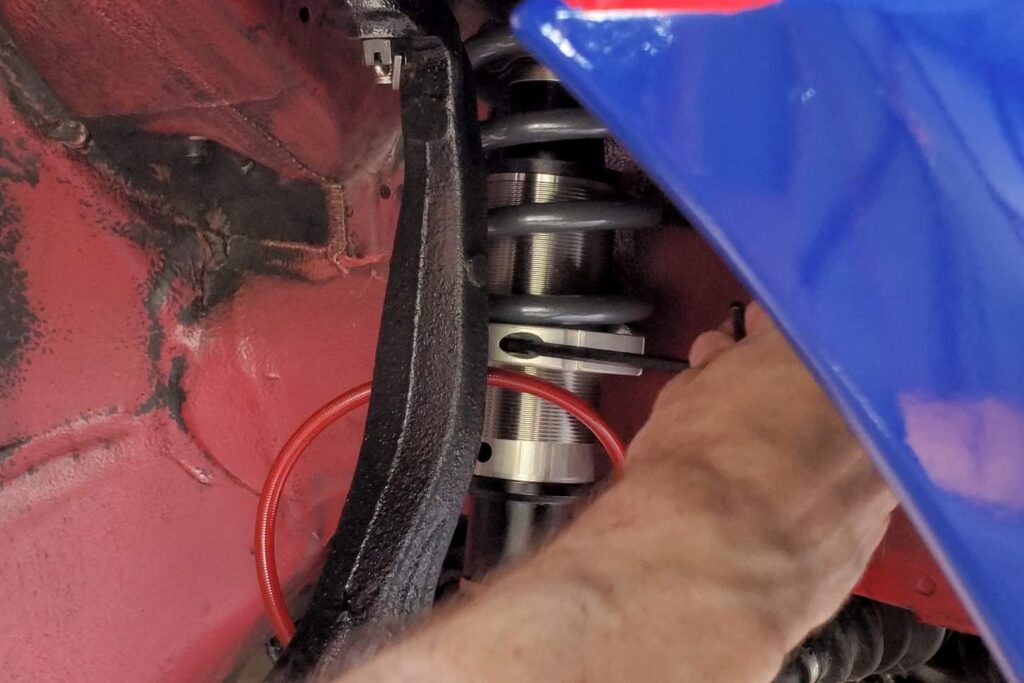
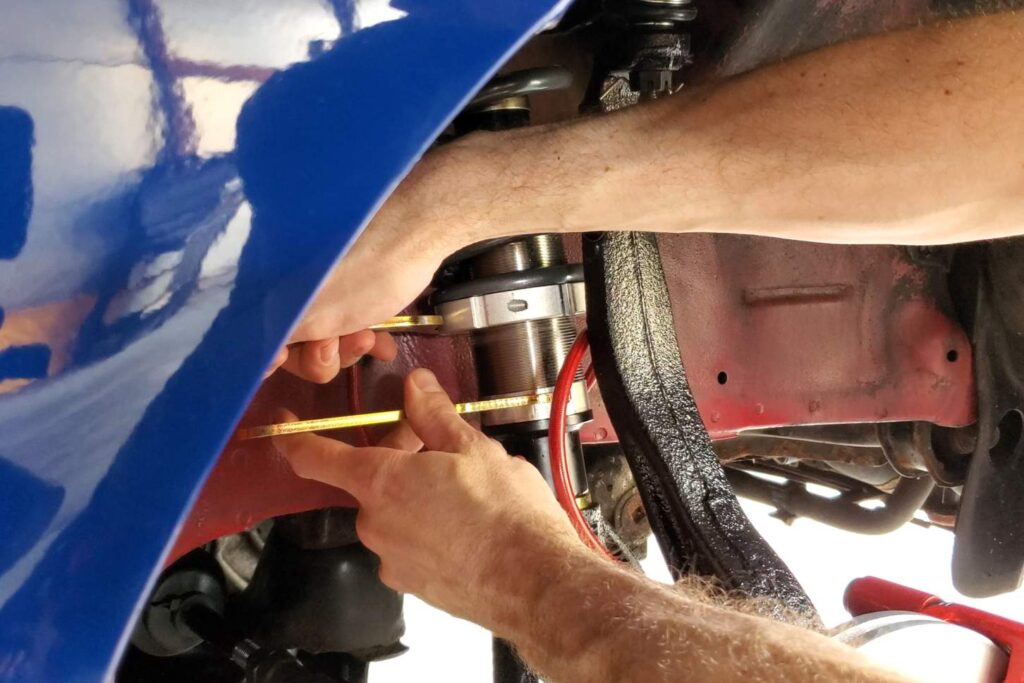
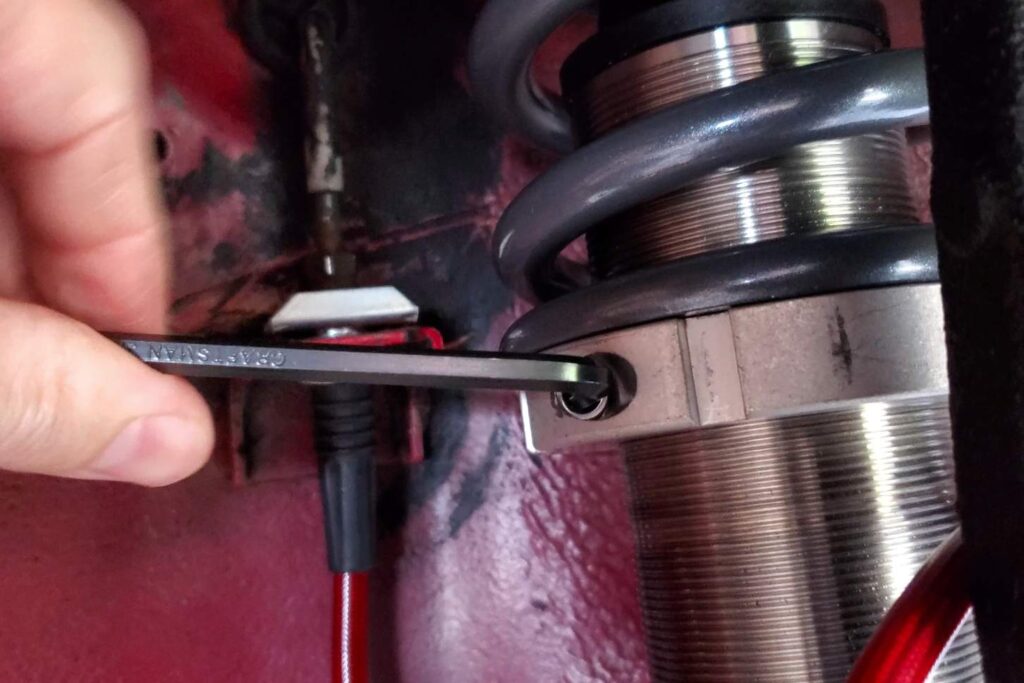
The process for raising or lowering the ride height on these Progress coilovers is pretty simple. First, use a hex key to loosen the locking bolt, then use the two wrenches that came with the kit to turn the spring perch up or down. Finally, tighten the locking bolt again.
Final Suspension Torque
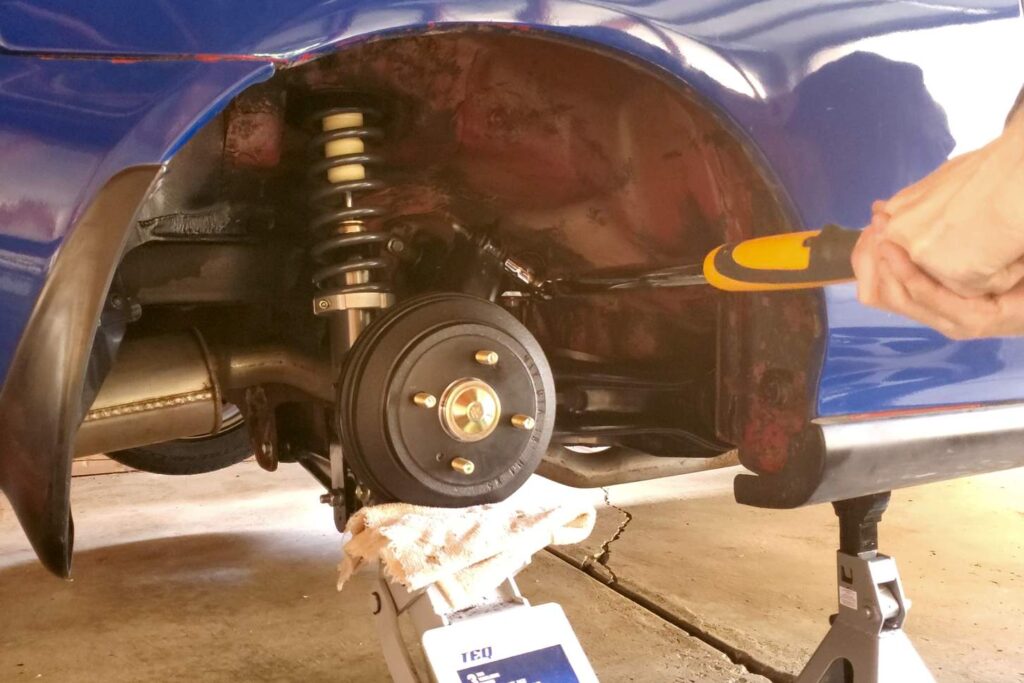
As I mentioned in a previous article, it’s best to torque all the suspension fasteners while the car is under load, meaning that it is sitting on its wheels and the weight of the car is fully on the suspension. The problem with most cars, and especially with a lowered one, is that it can be impossible to get underneath to access those bolts. One solution is to lift each corner at a time with a jack until the car lifts off the jack stand, then tighten things. I had to do this for a few bolts, but I was able to get at most of them by putting the car on some ramps to elevate it.
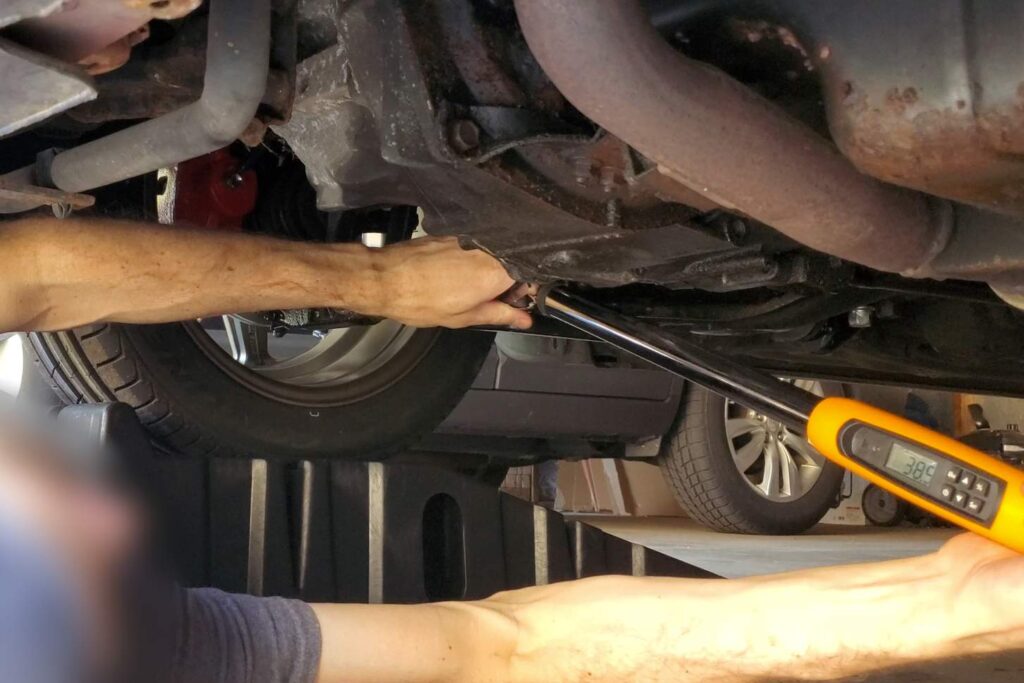
A couple of the bolts in the rear were totally inaccessible with the wheel on, so I removed the wheel and lifted it with a normal floor jack. I placed a towel on the jack to protect the brake drums and raised it until the car just barely came off the jack stand. By lifting from that point, you know the suspension is fully compressed.
Low and Slow
As a reminder, here is what the car used to look like on the stock suspension and a set of 175/65 14s:
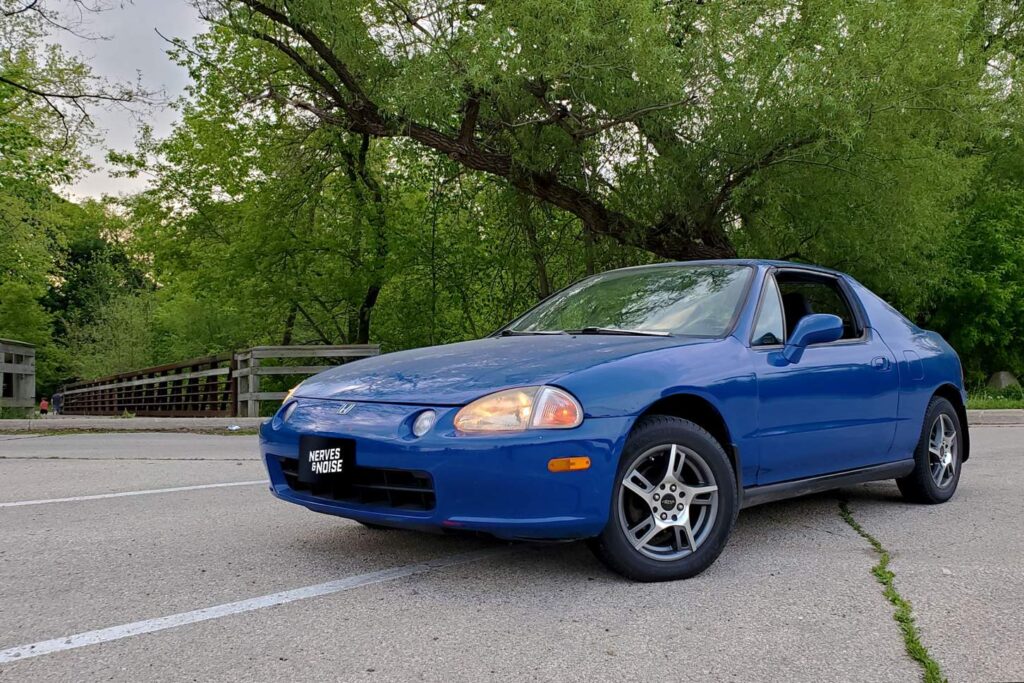
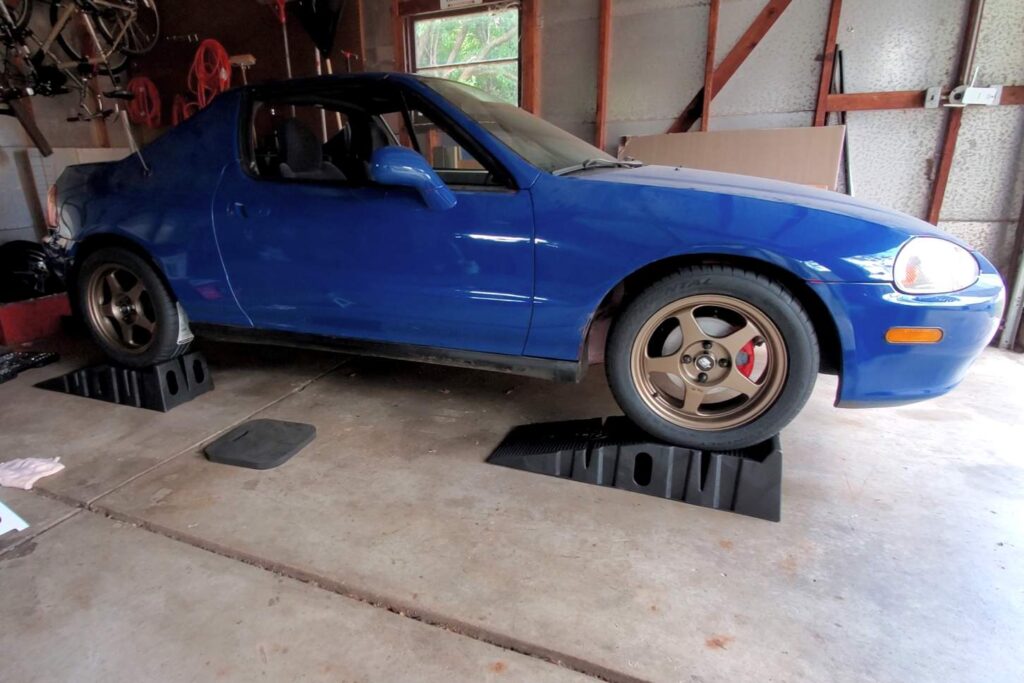
And after all that hard work, here is what she looked like on some new wheels and a couple inches lower:
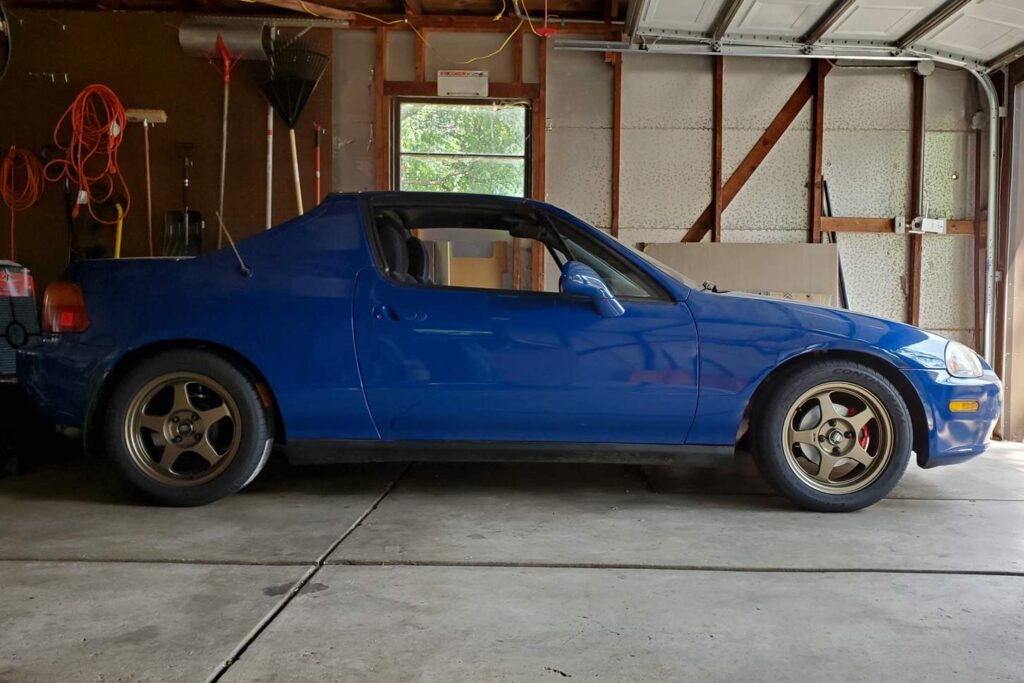
So much better. Five spoke, 15-inch wheels just look right on a 90’s Honda. So does a lower ride height. You almost never see a Honda that hasn’t been dropped a couple inches.
I really like the way the car looks now, even though the body and paint are still a bit rough. As of this writing, I still haven’t done any power mods – it’s got a D15 under the hood, after all. I’ve read that it takes quite a lot to get a little more horsepower out of them, and that money would be better spent on an engine swap. I’m not at that point yet, but I don’t mind. It’s fine if a del Sol is slow; it’s not about speed. It’s just fun to take the roof off and cruise around, enjoying a nice sunny day. After all, that’s why Honda named it “del Sol”.
Image Gallery


