Everything must go!
With the rear suspension removed, I turned my attention to getting the front suspension out. Aside from the steering knuckles and the shock absorber forks, which you cannot purchase new replacements for, there really wasn’t much worth saving. Everything that could be purchased new was getting replaced.
Ancient Brakes
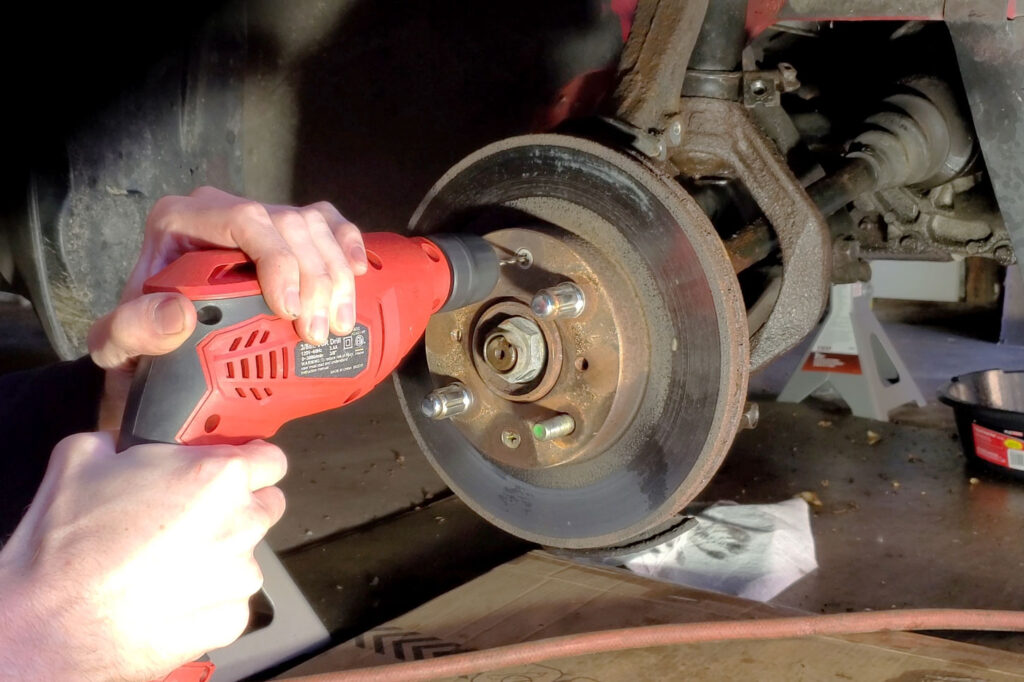
The first obstacle was the brake discs. The little screws that hold them in are helpful, unless they are seized, which of course mine were. I tried using the special “Vessel Impacta” screwdriver which is meant for these screws, but that had no effect on them. Drilling the screws out was the only option. I tried to do as little damage as possible to the hubs, but I intended to replace those anyway. I started by drilling a small pilot hole down the middle of the screw, then switched to a larger bit to take the head off.
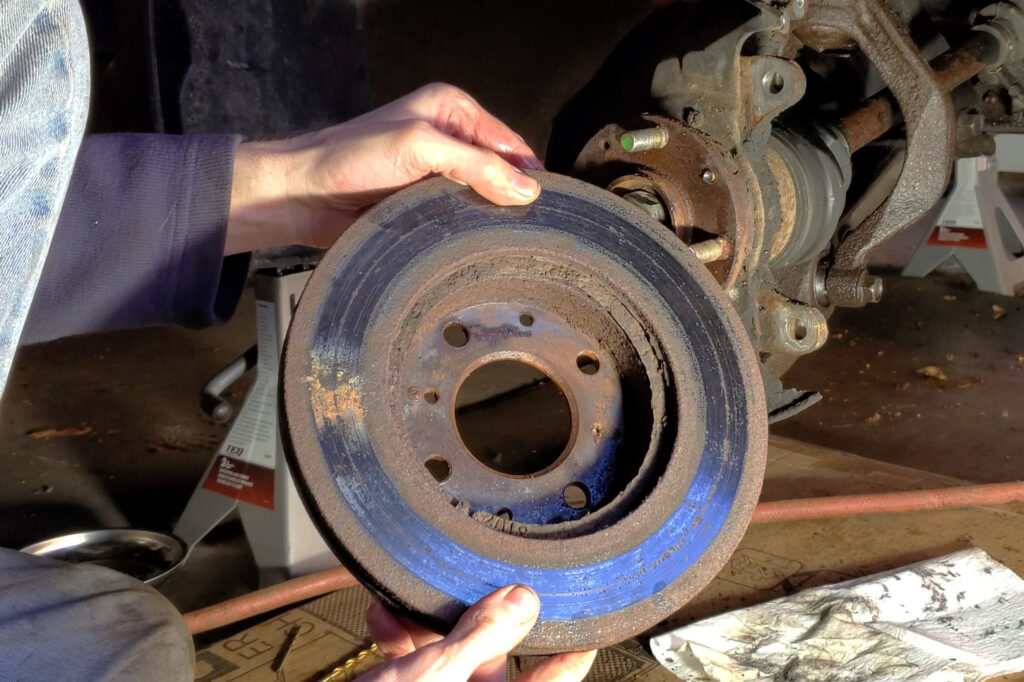
After finally drilling the heads off of the screws, the rotor came free. With the amount of corrosion on the areas not contacted by the brake pads, I suspect these rotors had not been replaced in a very long time. Perhaps they were the originals; I’m not totally sure. I think whoever last replaced the pads took one look at those screws and said, “Screw it, just throw some new pads on and call it good.”
Stubborn Ball Joints
The only other major trouble I had was with the upper ball joints. They had also likely been in the car for a very long time, plus I did not have a short enough socket to tighten my ball joint tool up inside the wheel well. I chose to unbolt everything else and remove the steering knuckle and upper control arm as one.

Out on the driveway, I had more space to work. I did not have a bench vise at this time, so I used a plastic hammer to hold the assembly in place while I tightened the bolt on the ball joint tool. Eventually the ball joint popped loose and I was able to remove the upper control arm.
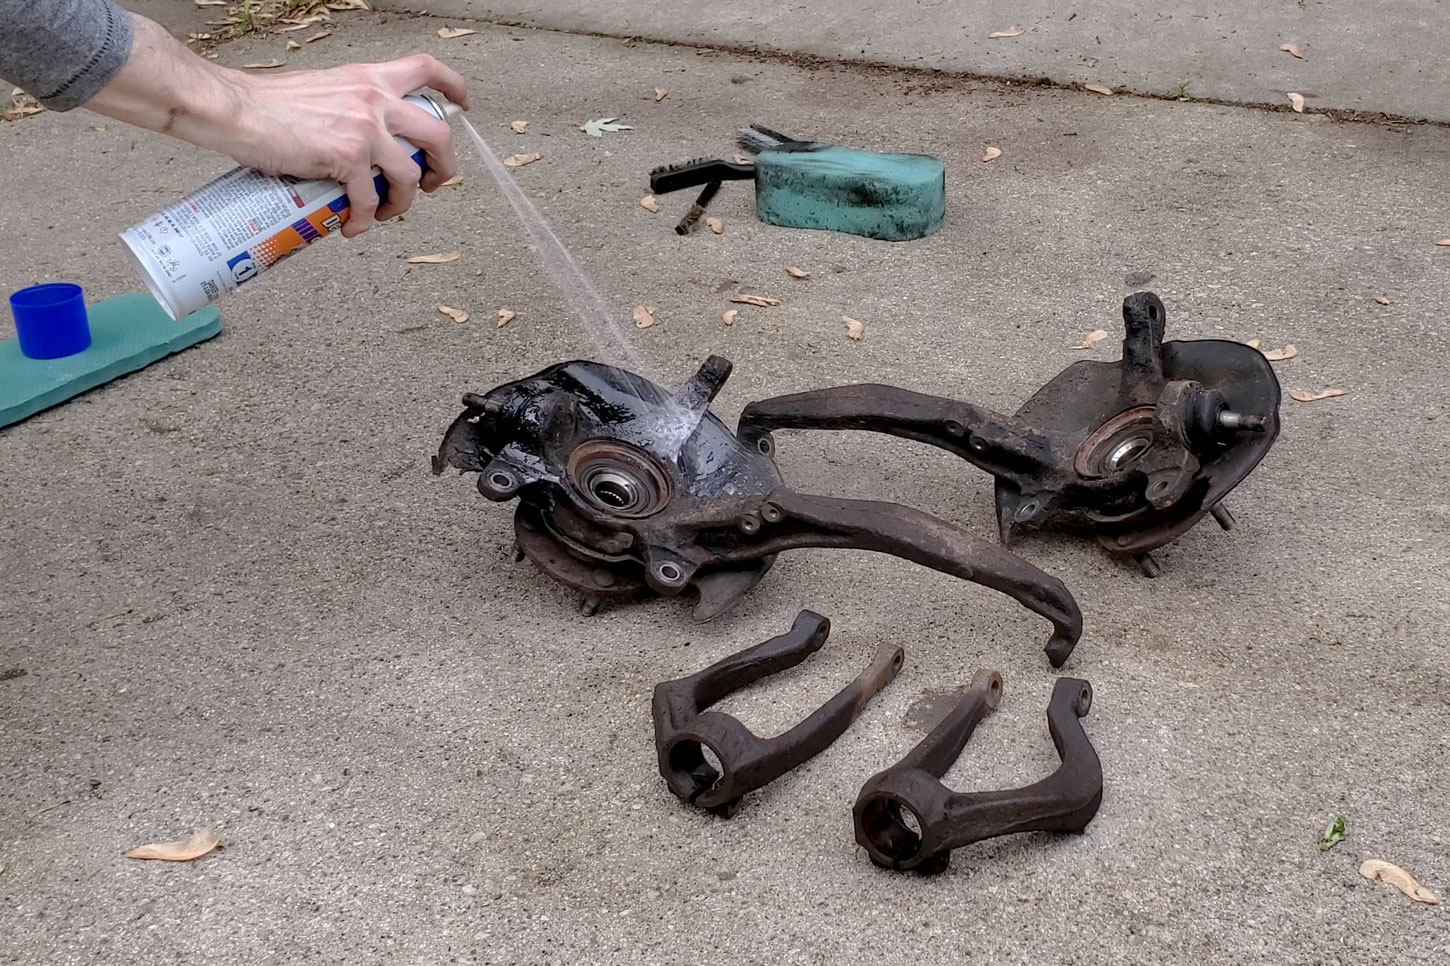
Some Cleanup
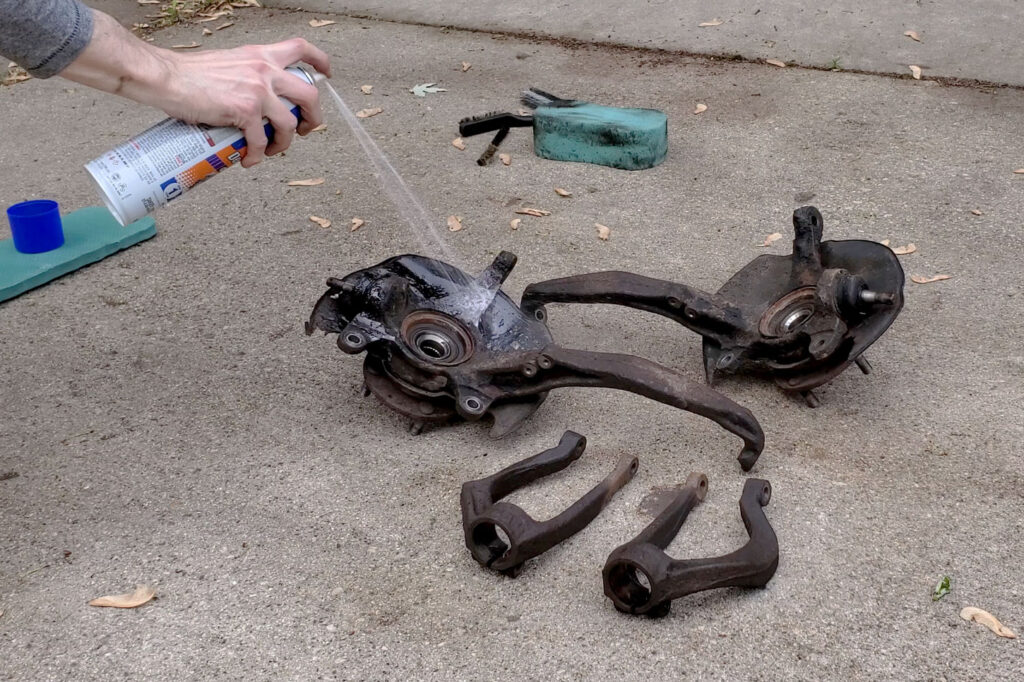
Using some engine degreaser followed by some soap and water, I cleaned up the cast metal parts as much as I could, knowing that I would be painting them before reinstalling.

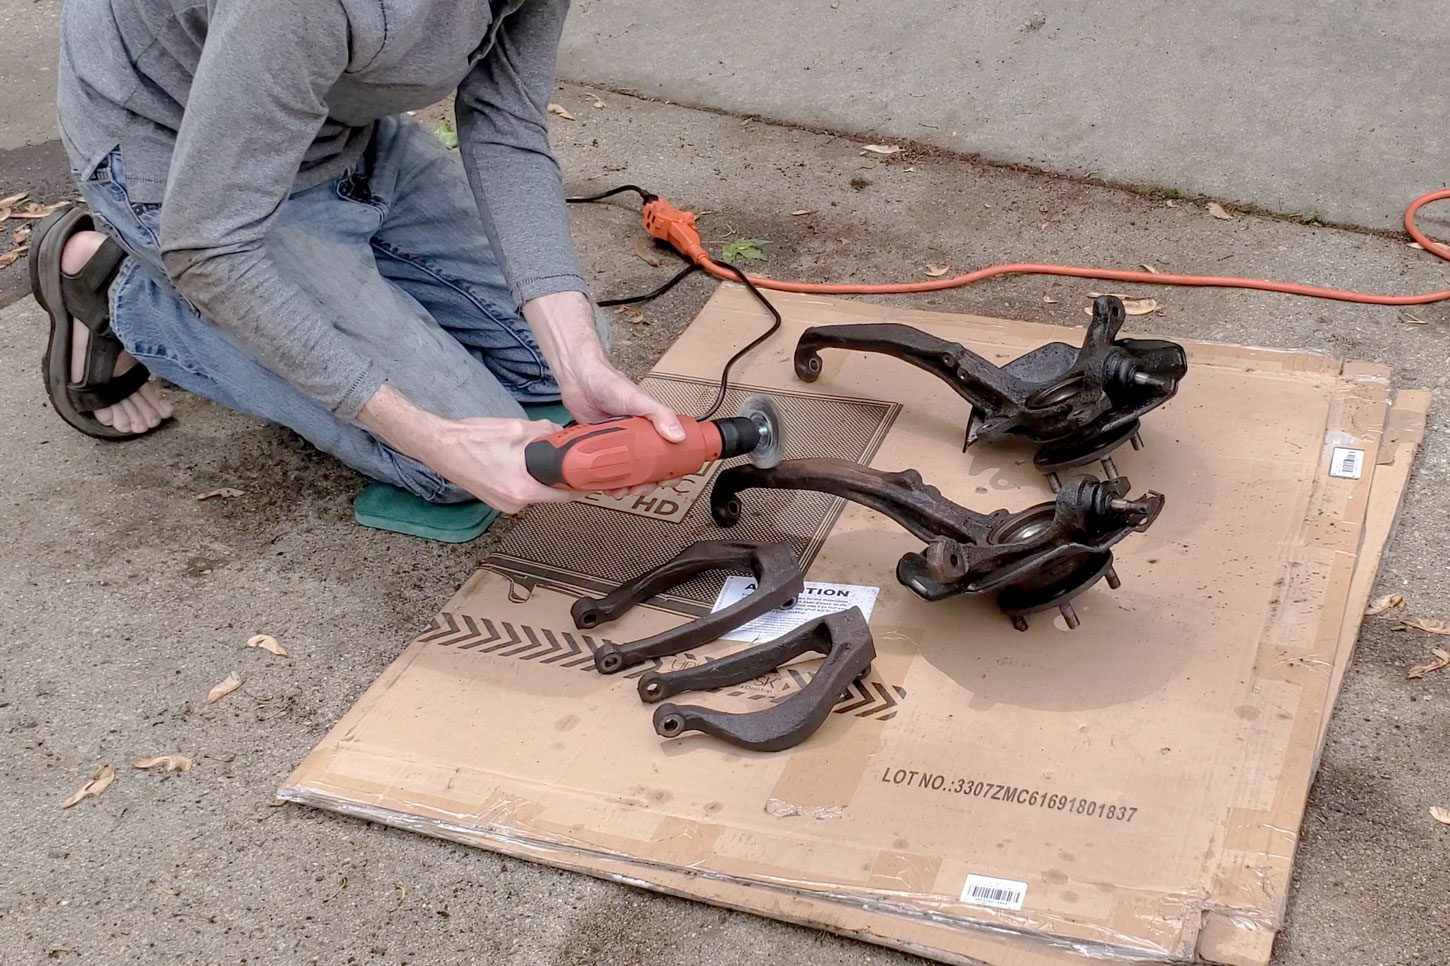
After blasting everything dry with some compressed air, I removed as much scale and rust as I could with a wire wheel.

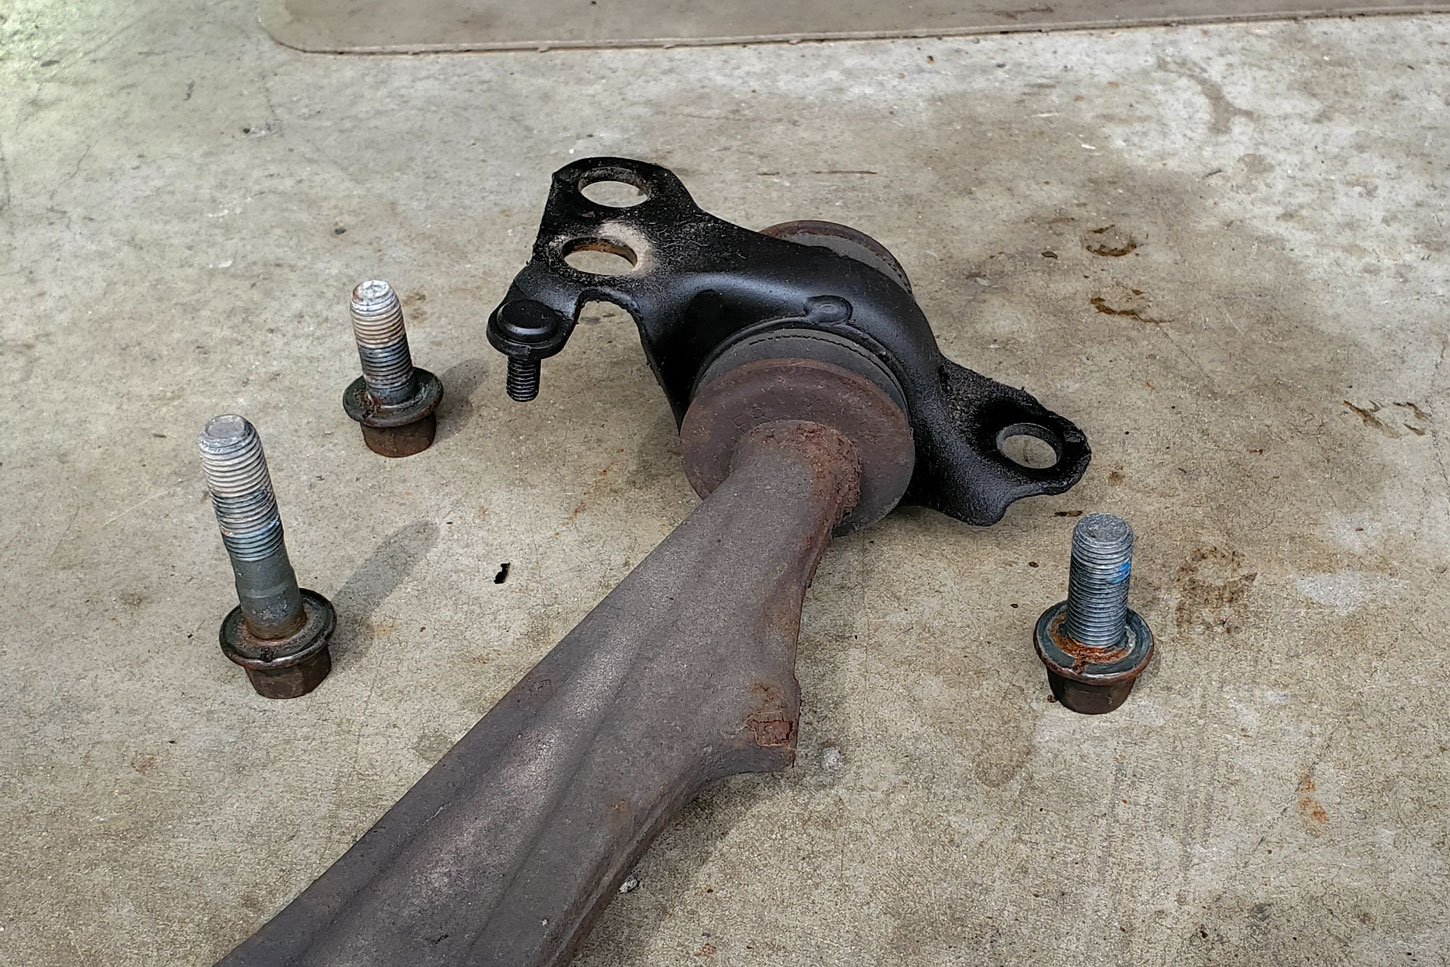
These bushings on the front lower control arms appeared to be the only suspension parts that had been replaced recently. Even so, there were signs of wear, so I got rid of these and bought new replacements. This is one of the pictures I took so I could remember where each of the different length bolts were supposed to go.

Removal Complete
I got really used to seeing my car on jack stands. It took about two weeks of work to get all of the old suspension out, which was a lot longer than I had originally planned. That’s how these things always go: you can usually expect a project like this to take two or three times longer than you hoped.
I was past a lot of the difficult stuff at this point, but I still had a lot of cleanup and refinishing to do before I could begin installing the new parts. I’ll get into that in the next post.
Image Gallery